Getting head

I got the front cover and water pump installed.

image

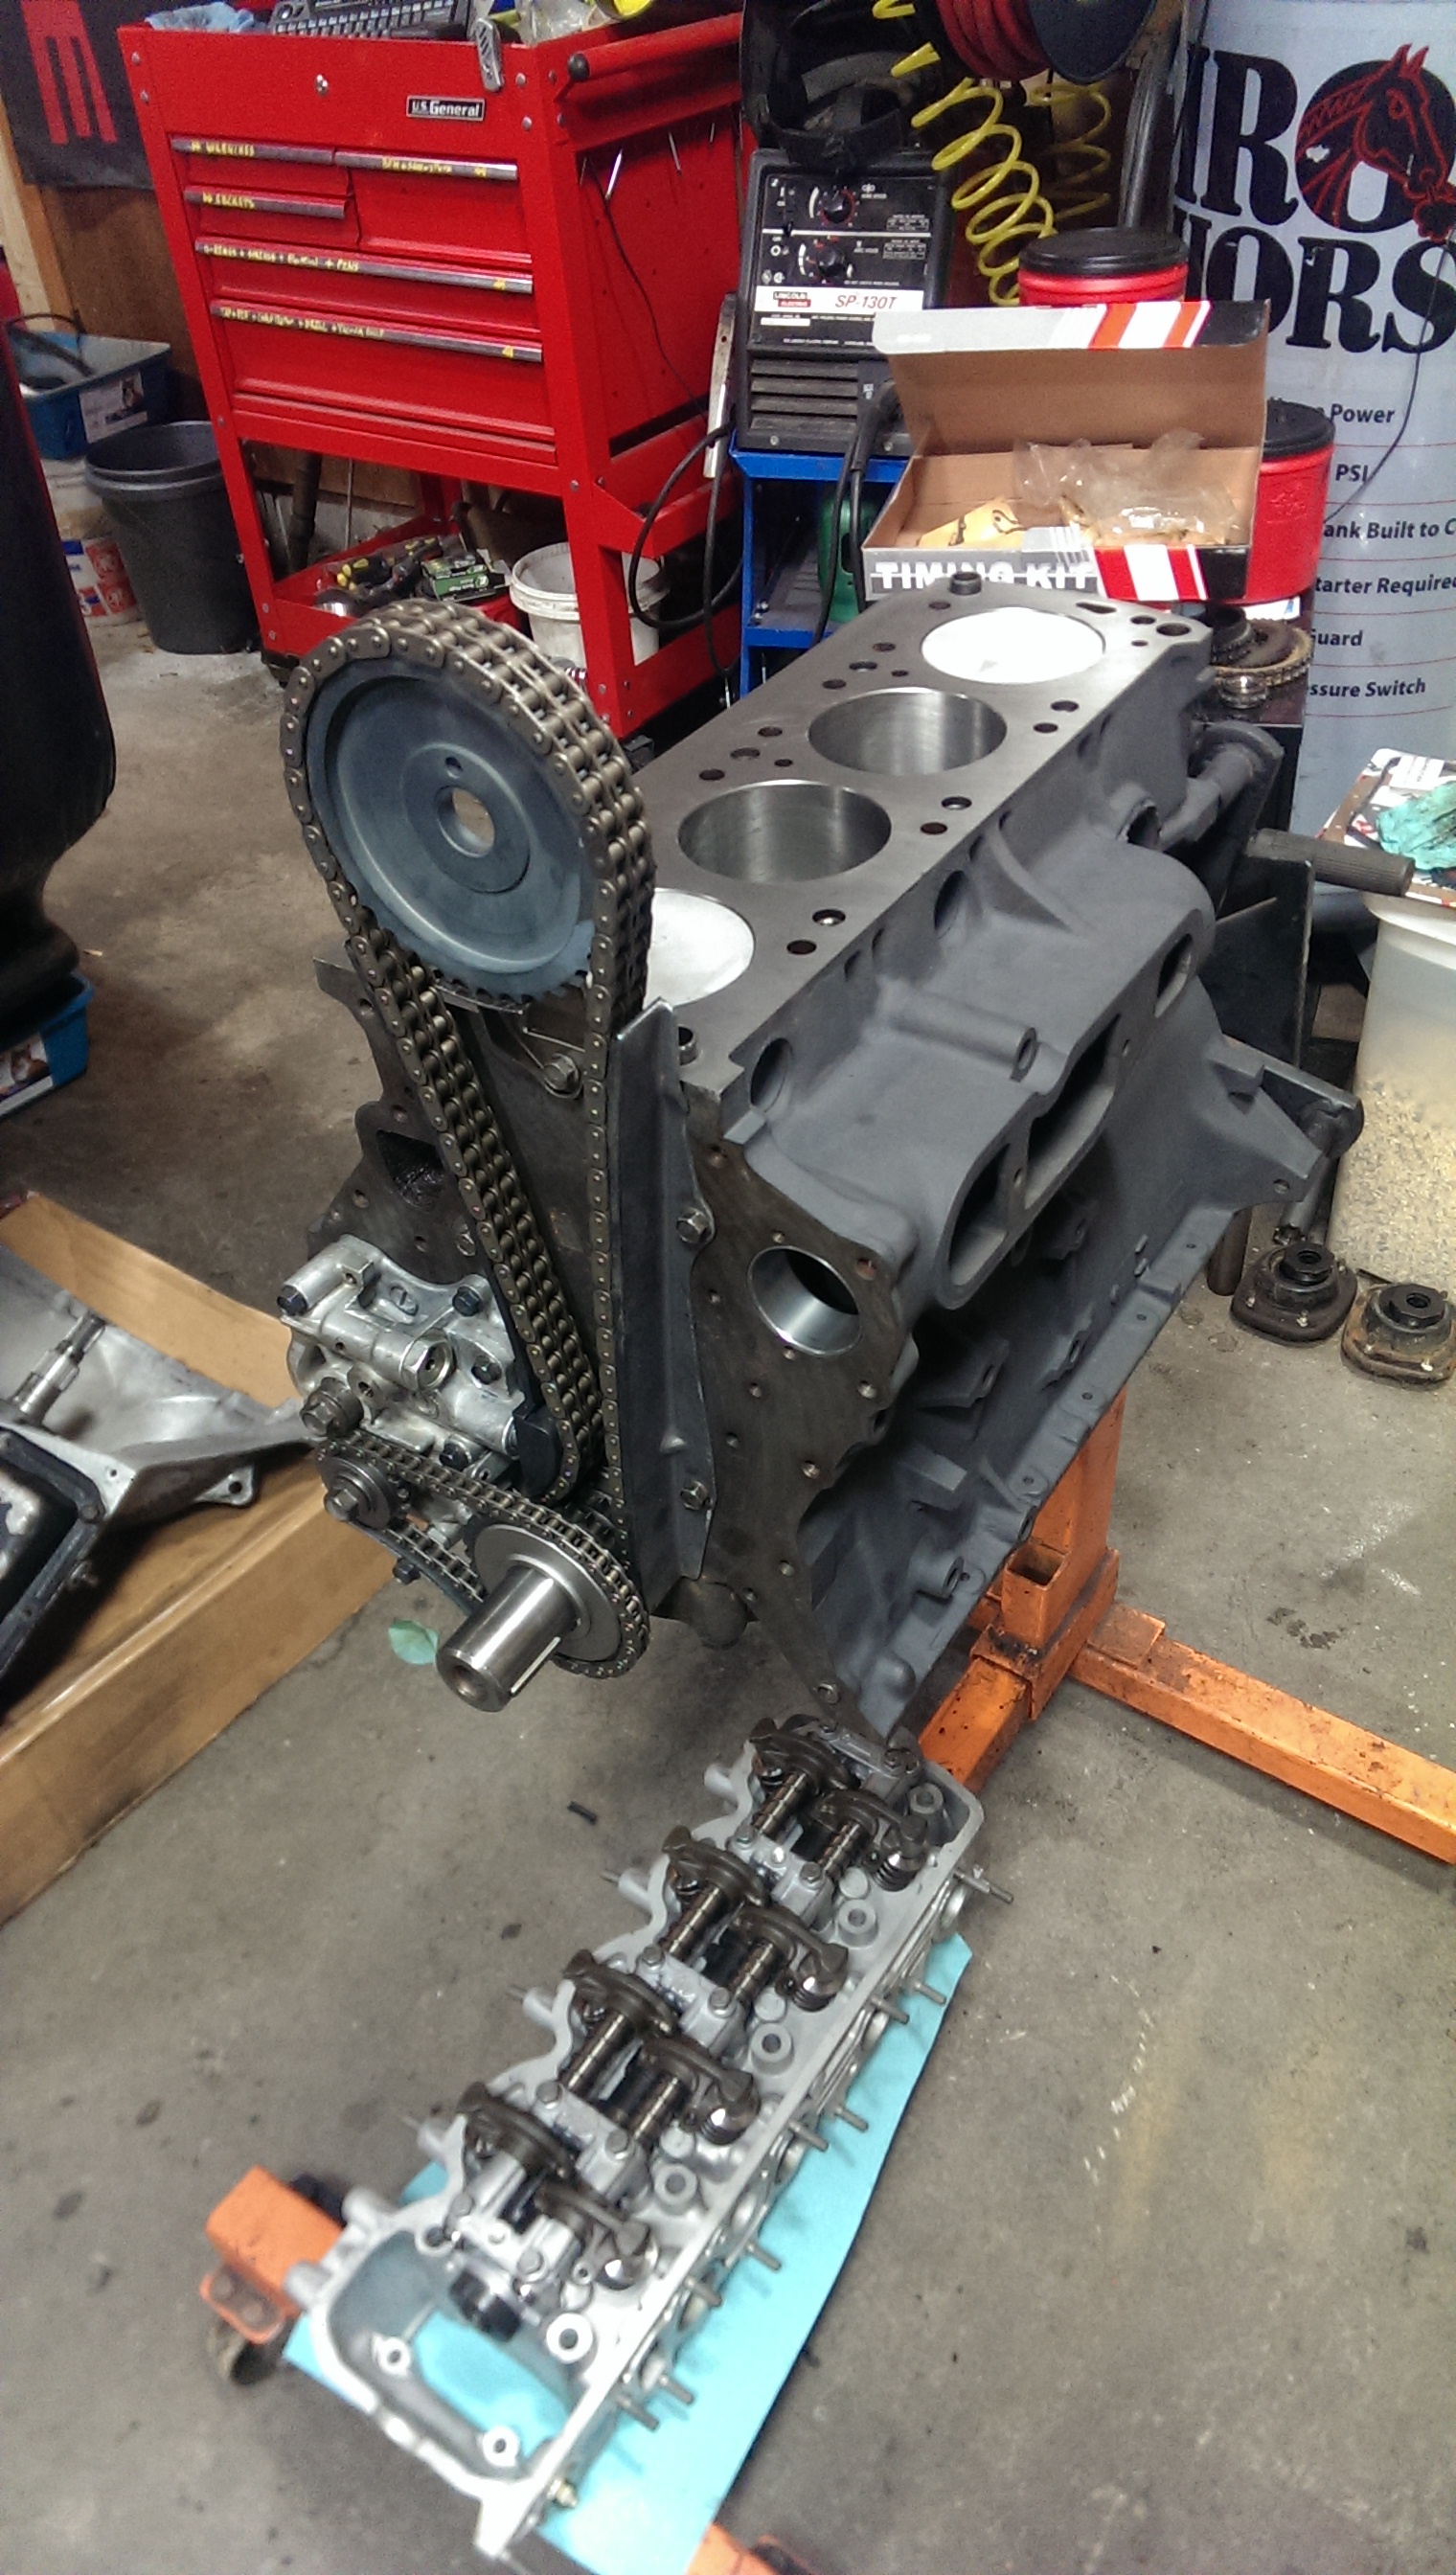
The next step was the head.

image

That went on pretty smooth. Iused the same arp ultra torque, on the threads and on the shoulders of the head bolts. After assembling, everything rotated smoothly. You can hear the cylinders breathing.
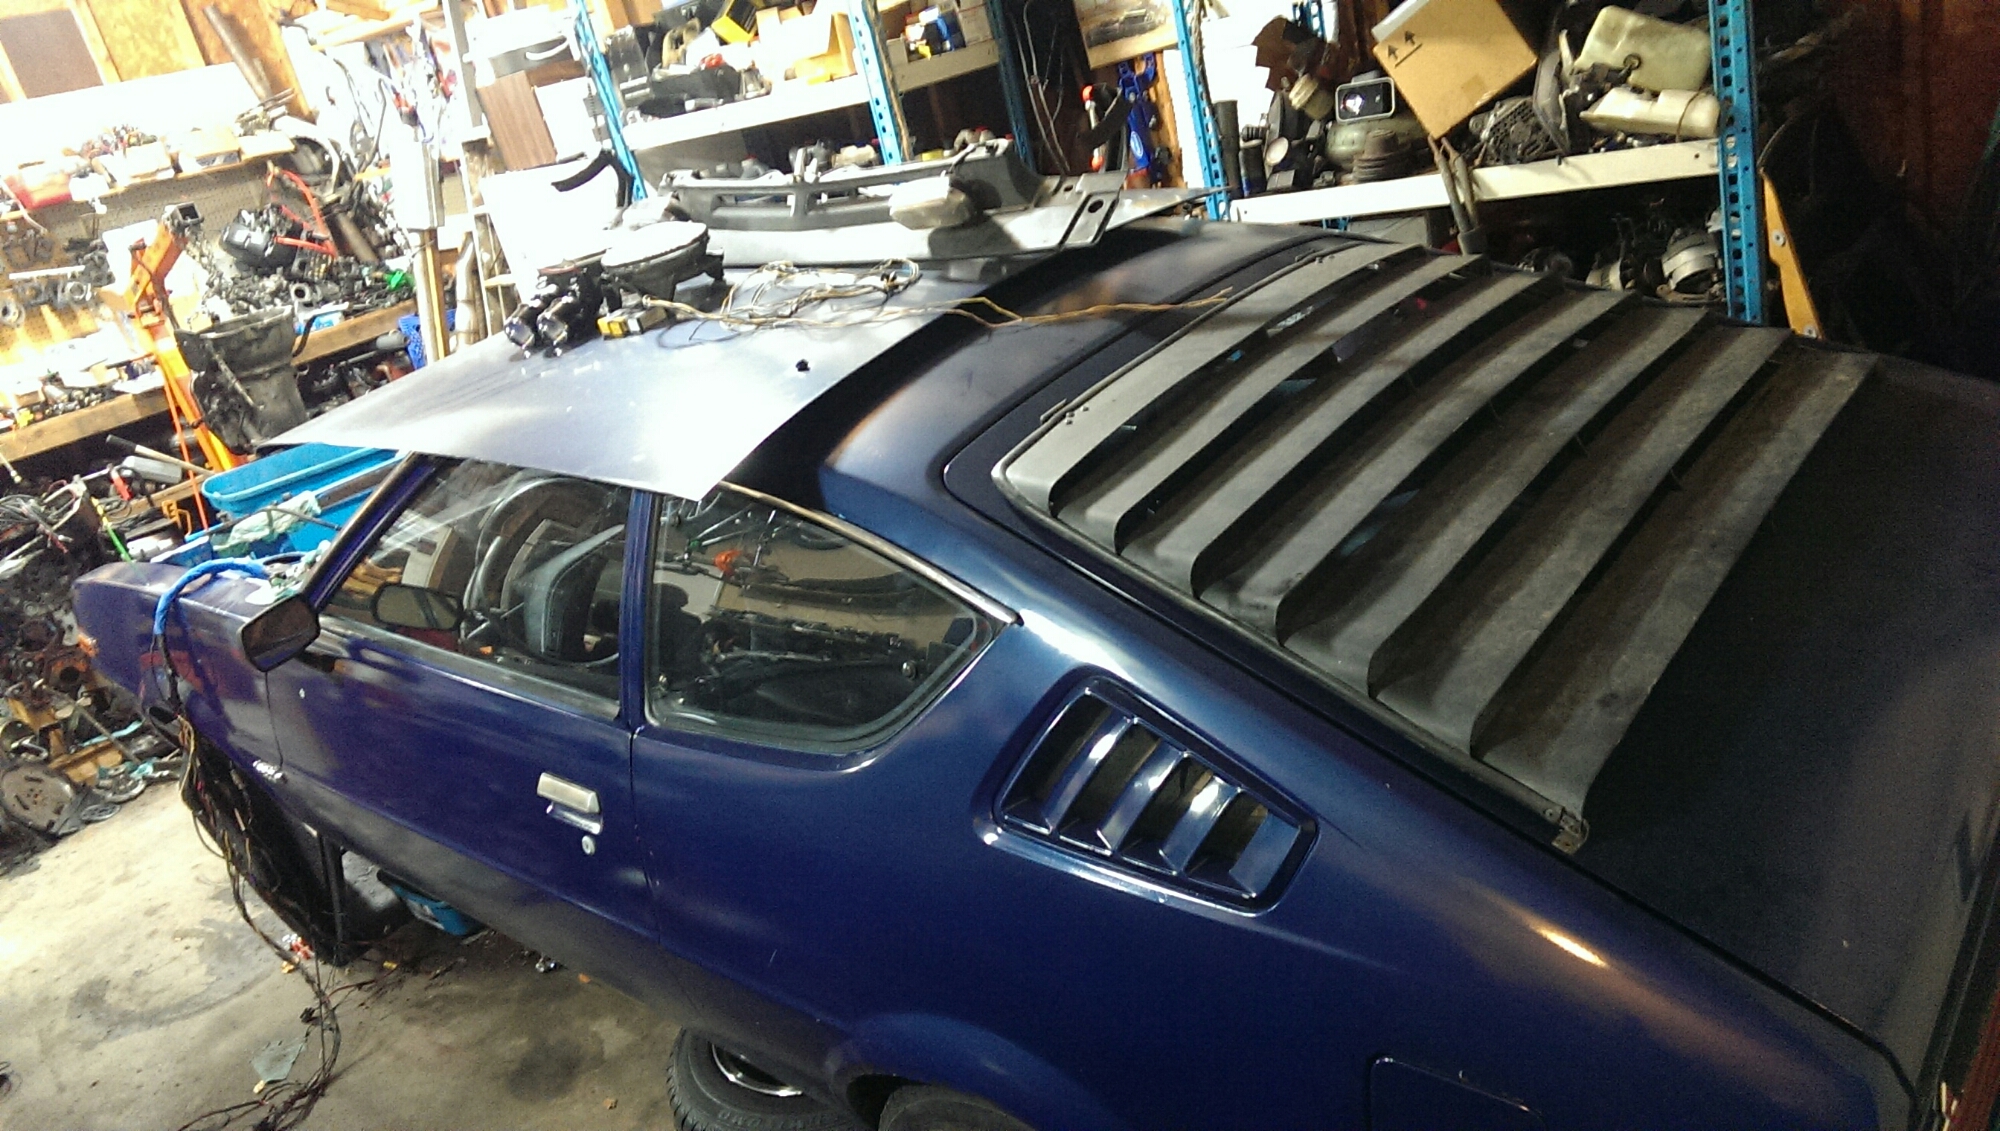
Then I had to check my louvers fitment.

image

They will look nice. I need to make the side louvers match.

Bolts and nuts.

Today is engine assembly day.
There is a lot to do.
Everything of mine has already been cleaned. Make sure everything is clean. Clean anything that isn’t clean. In case you haven’t noticed, you want to be clean when you are assembling an engine.
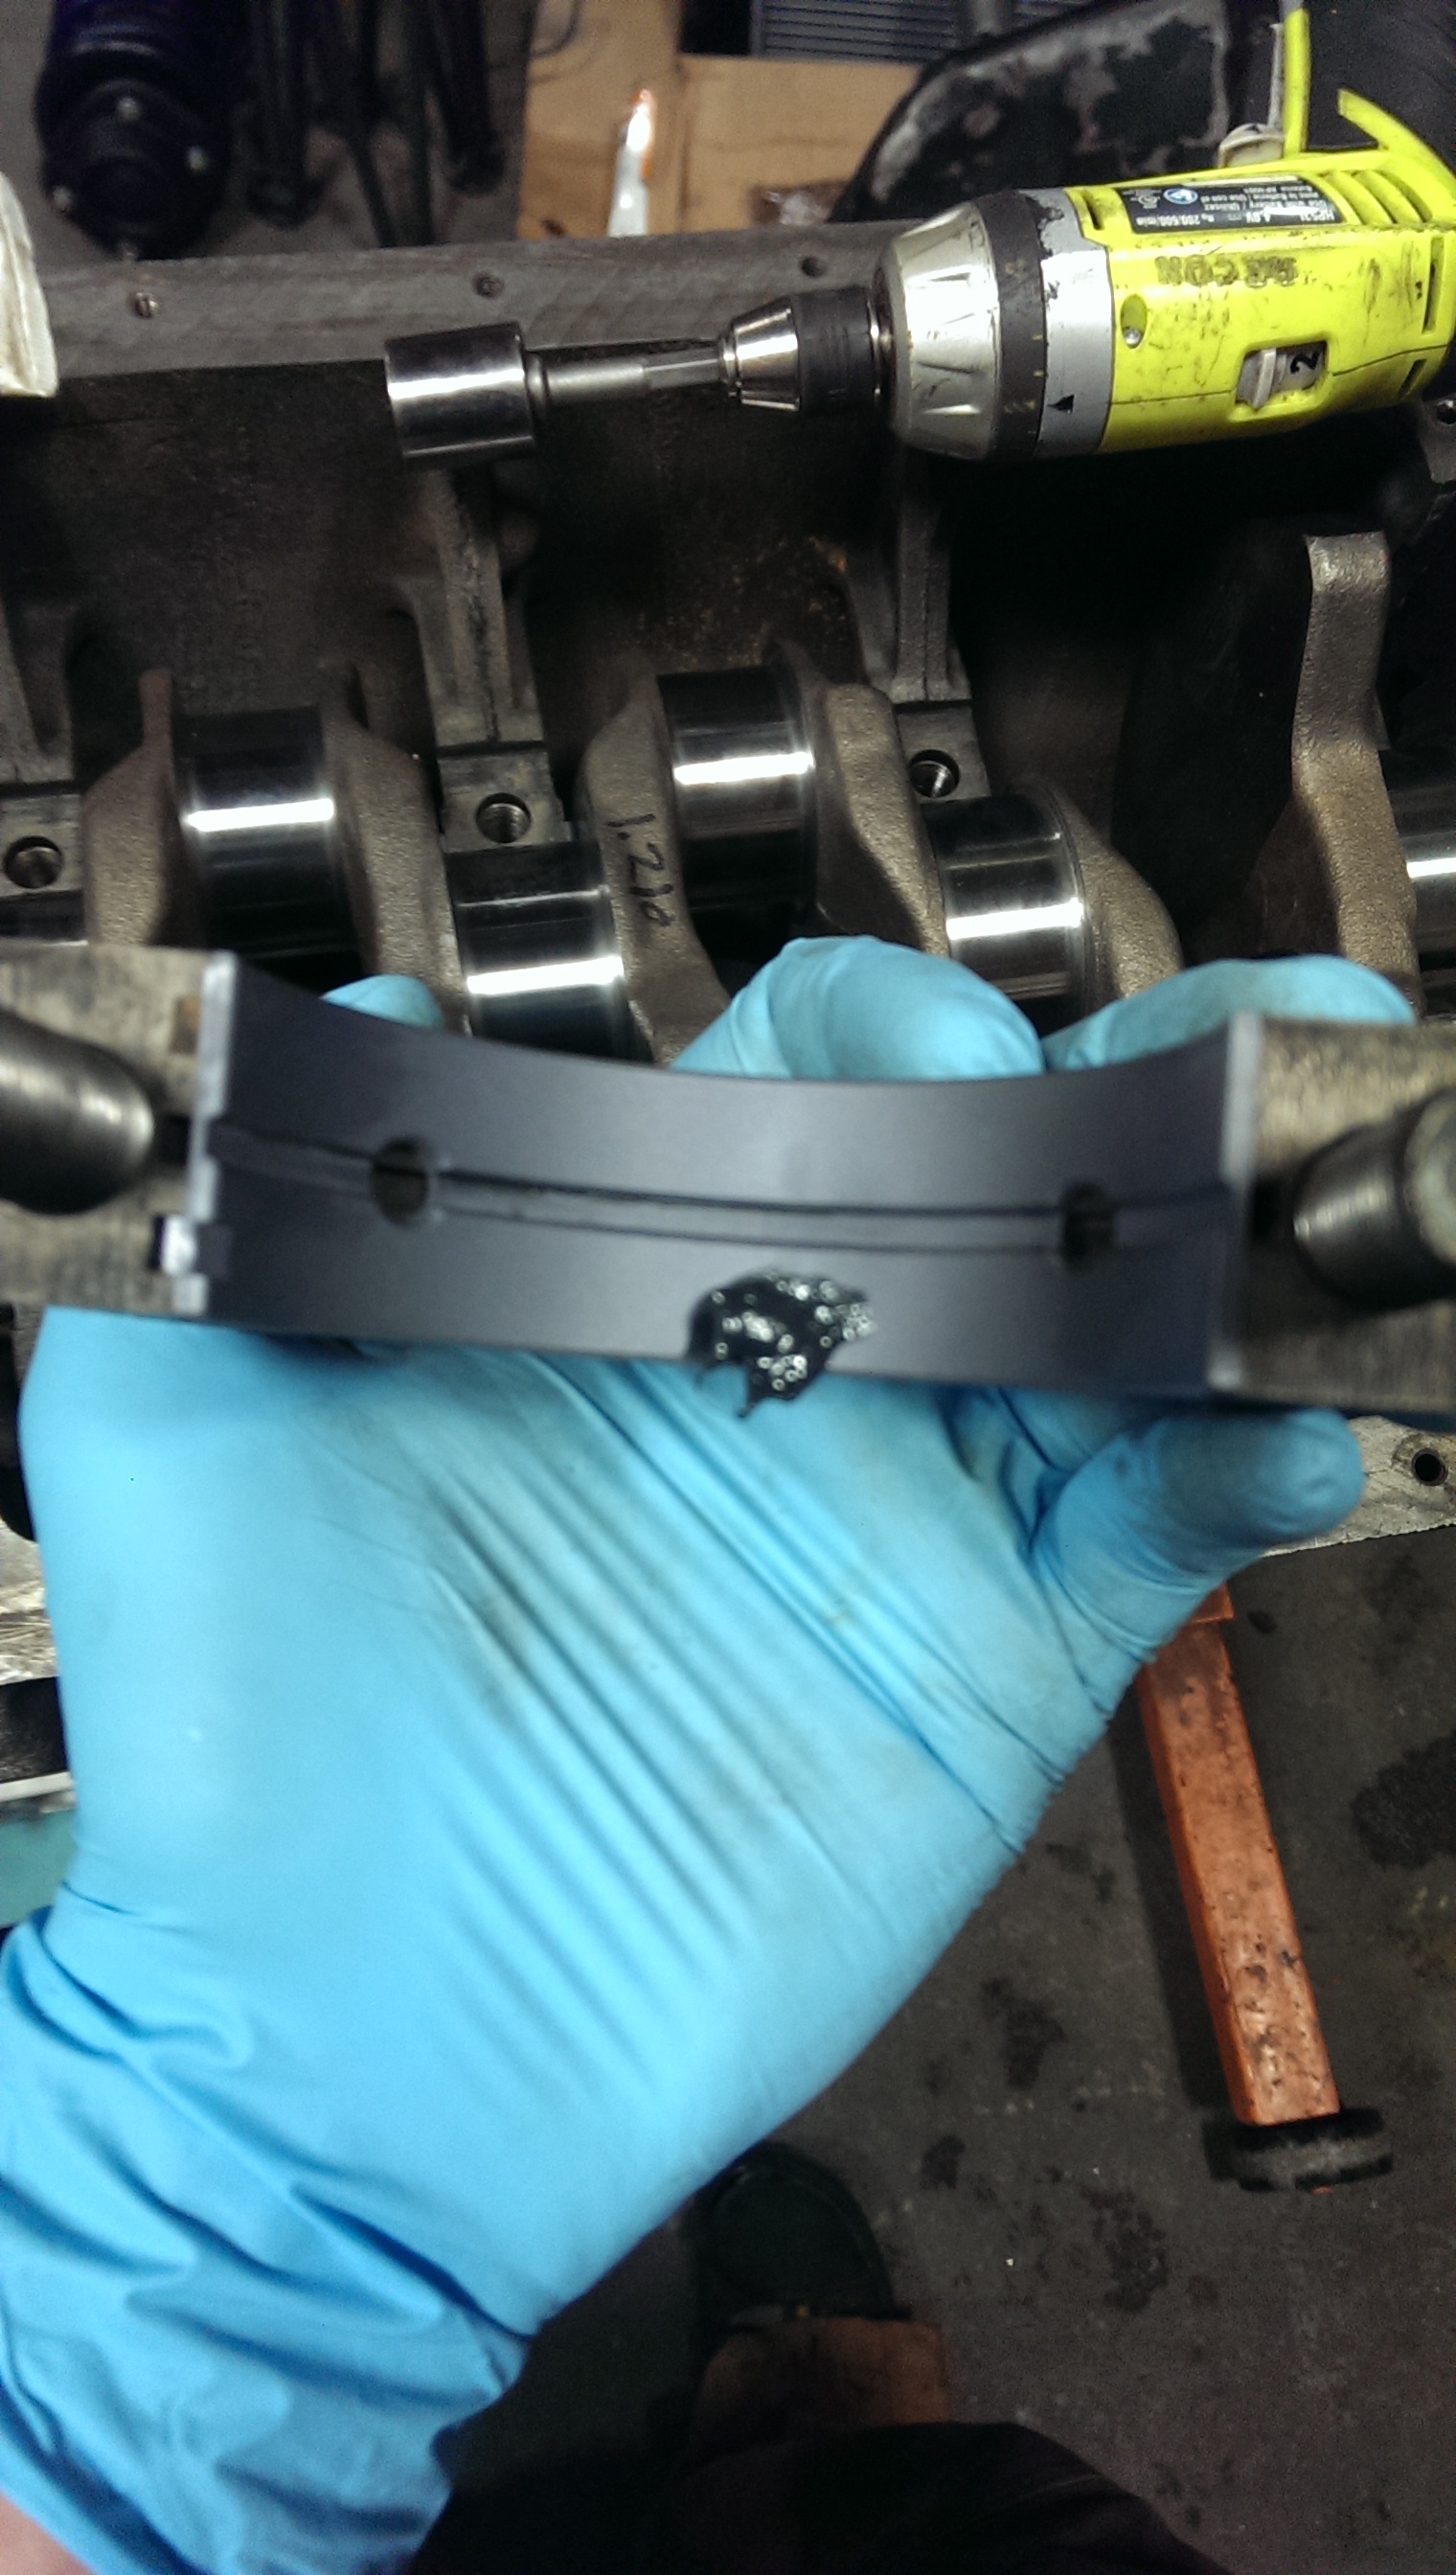
So, first step, clean. Second step, lube.
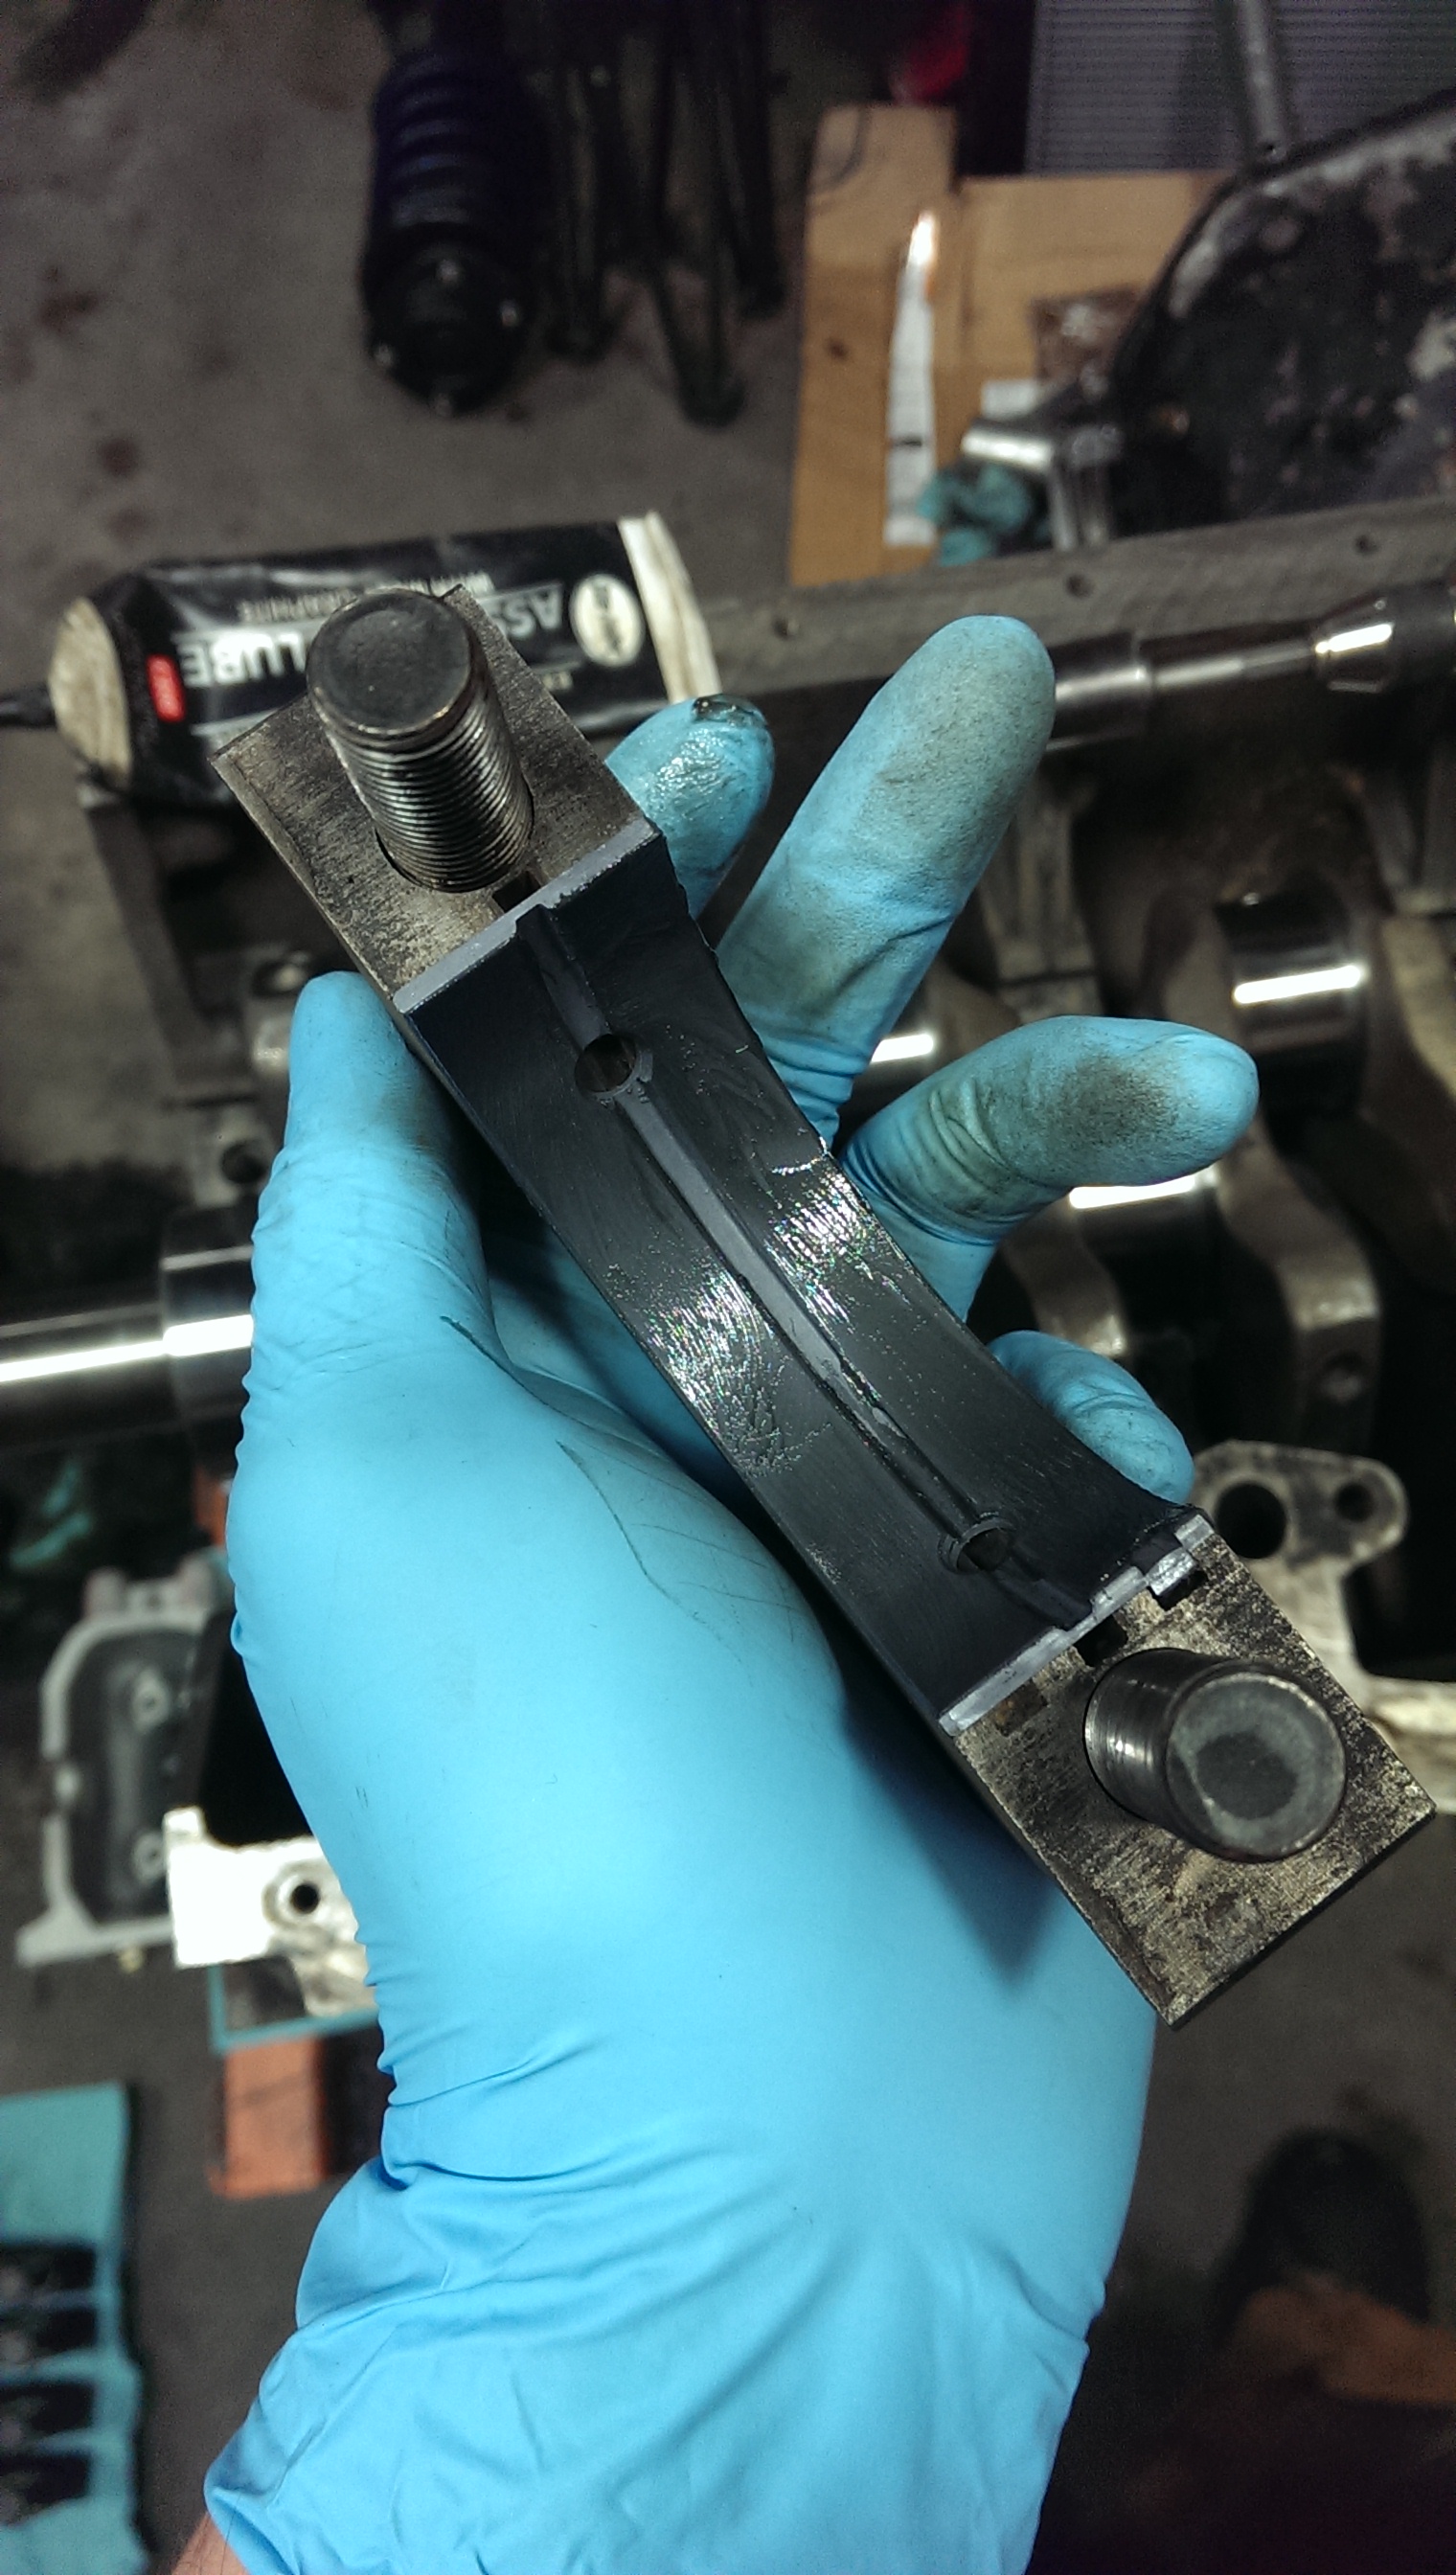
I start with a glob of moly assembly lube, then spread it out. I try not to get any in the oil groove.
image

image

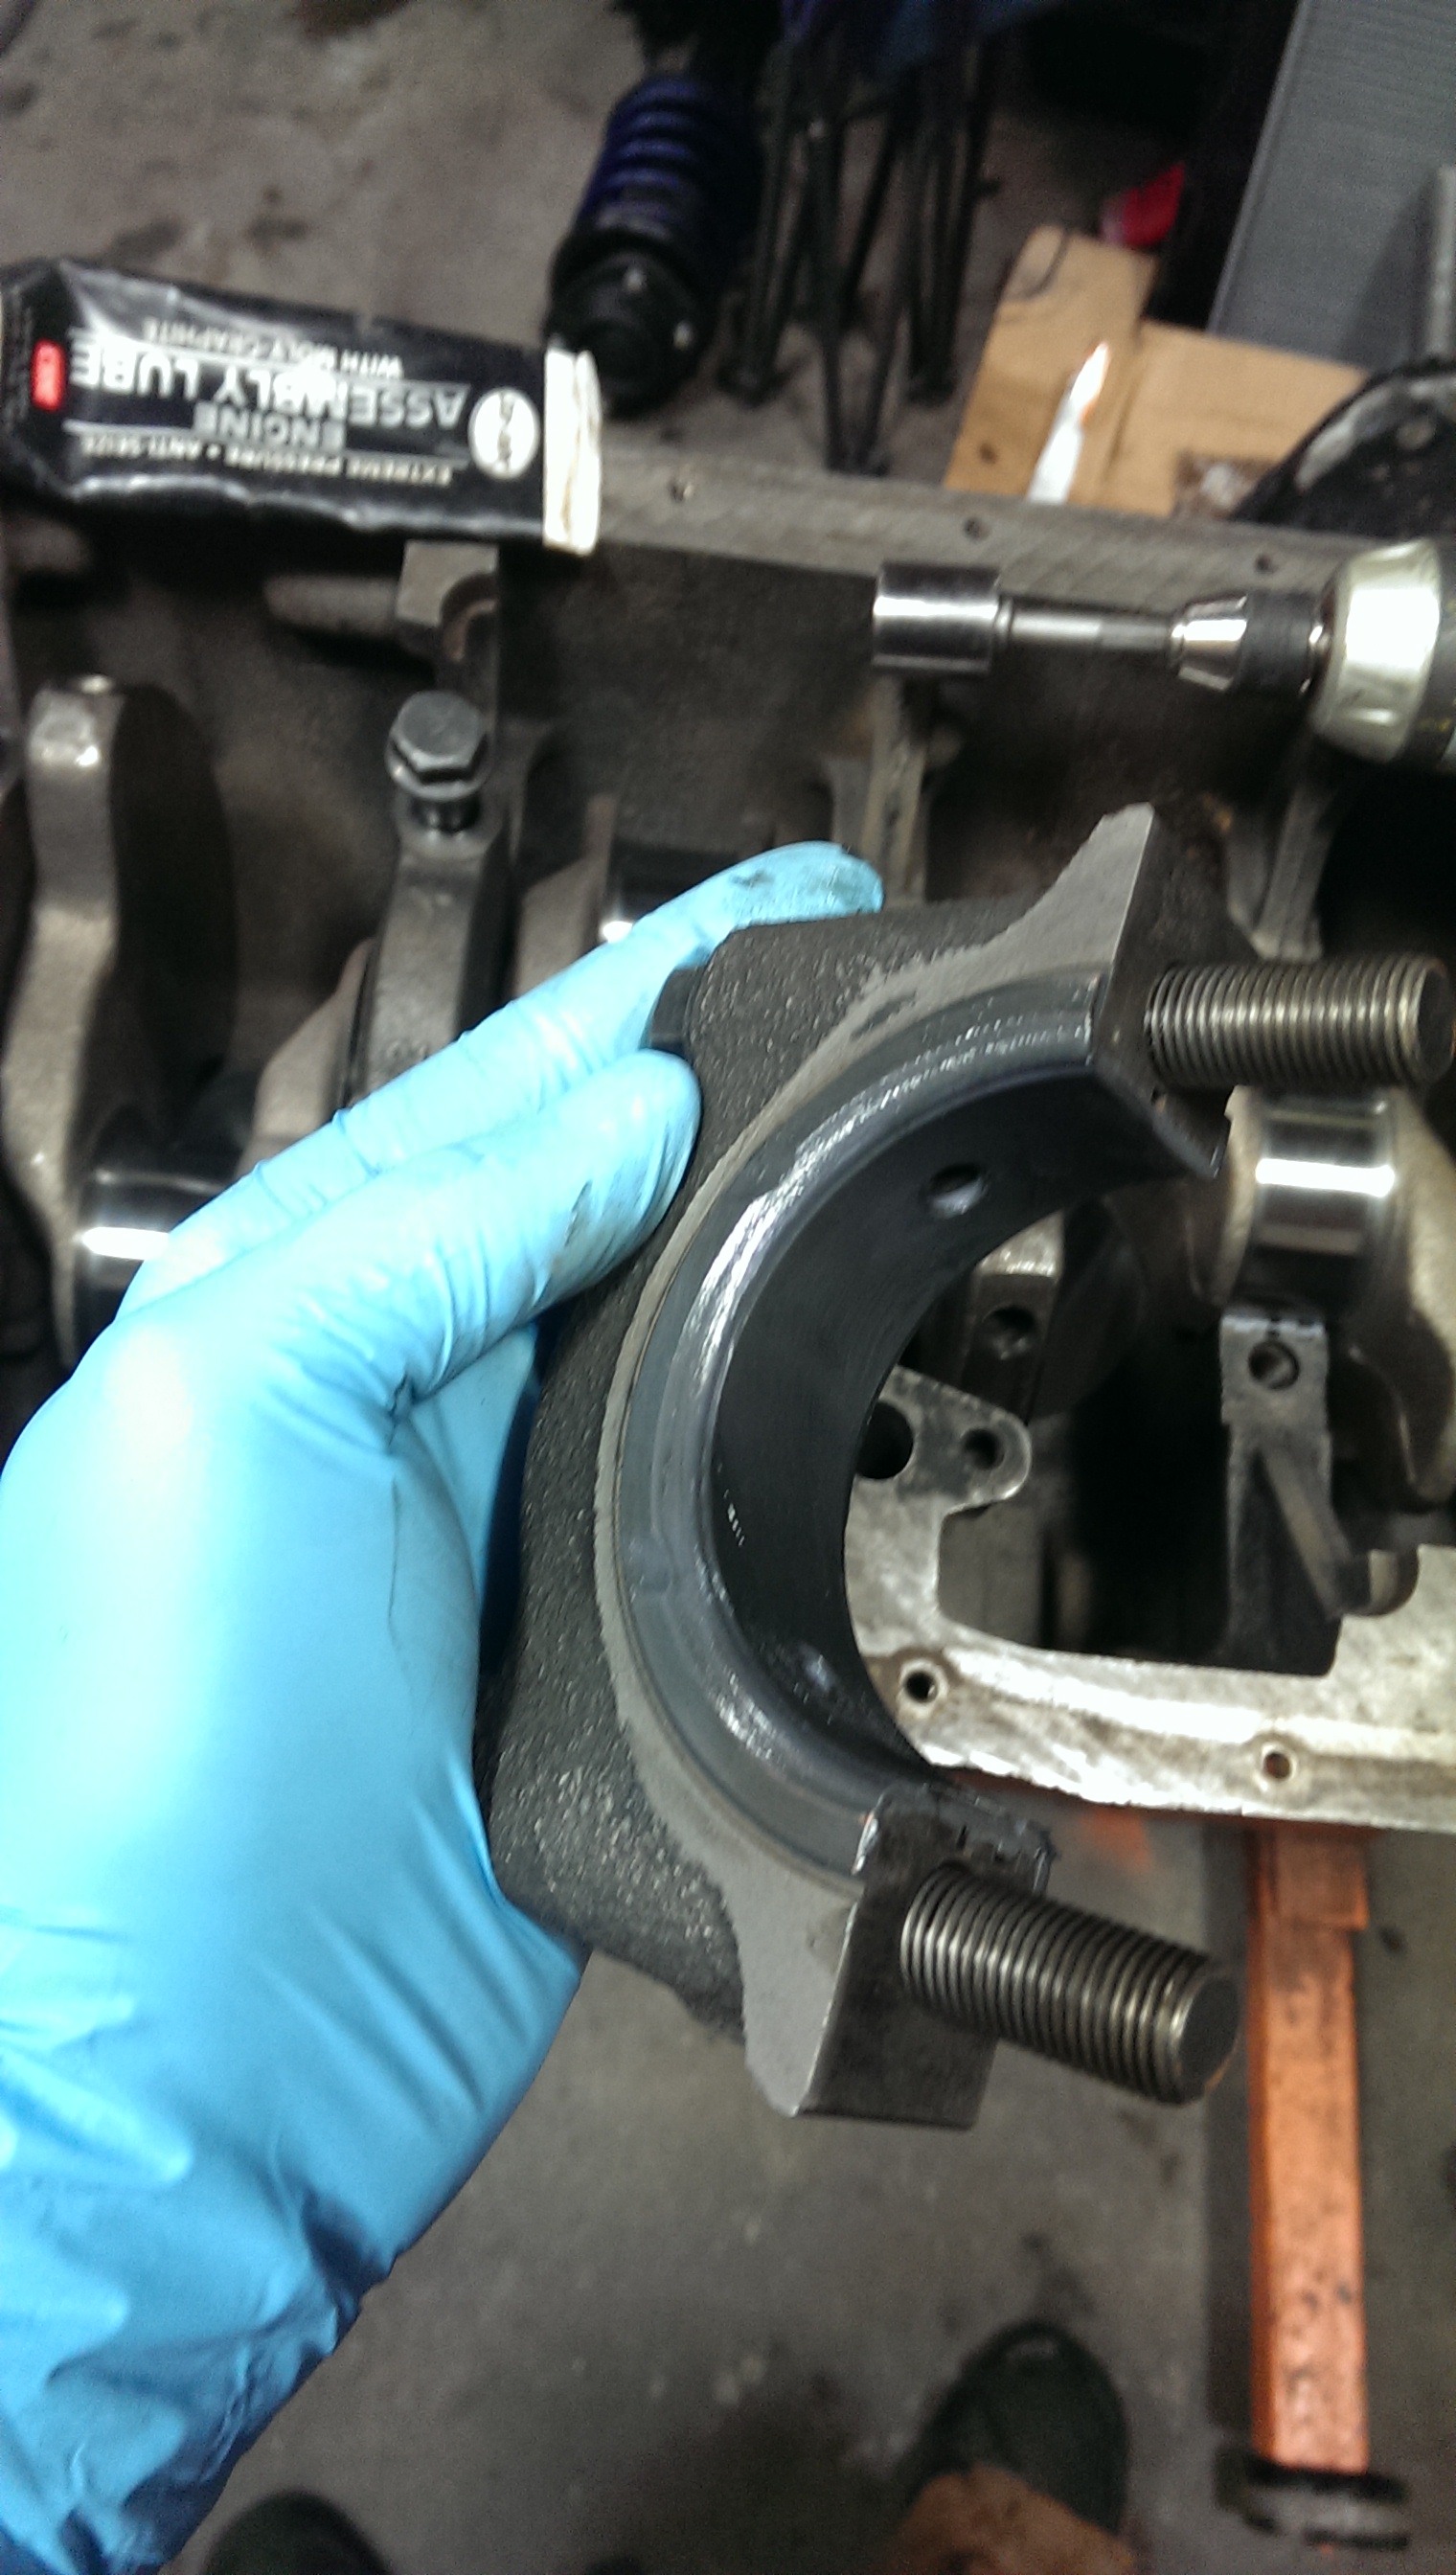
Also, get the side of the thrust bearing.
image

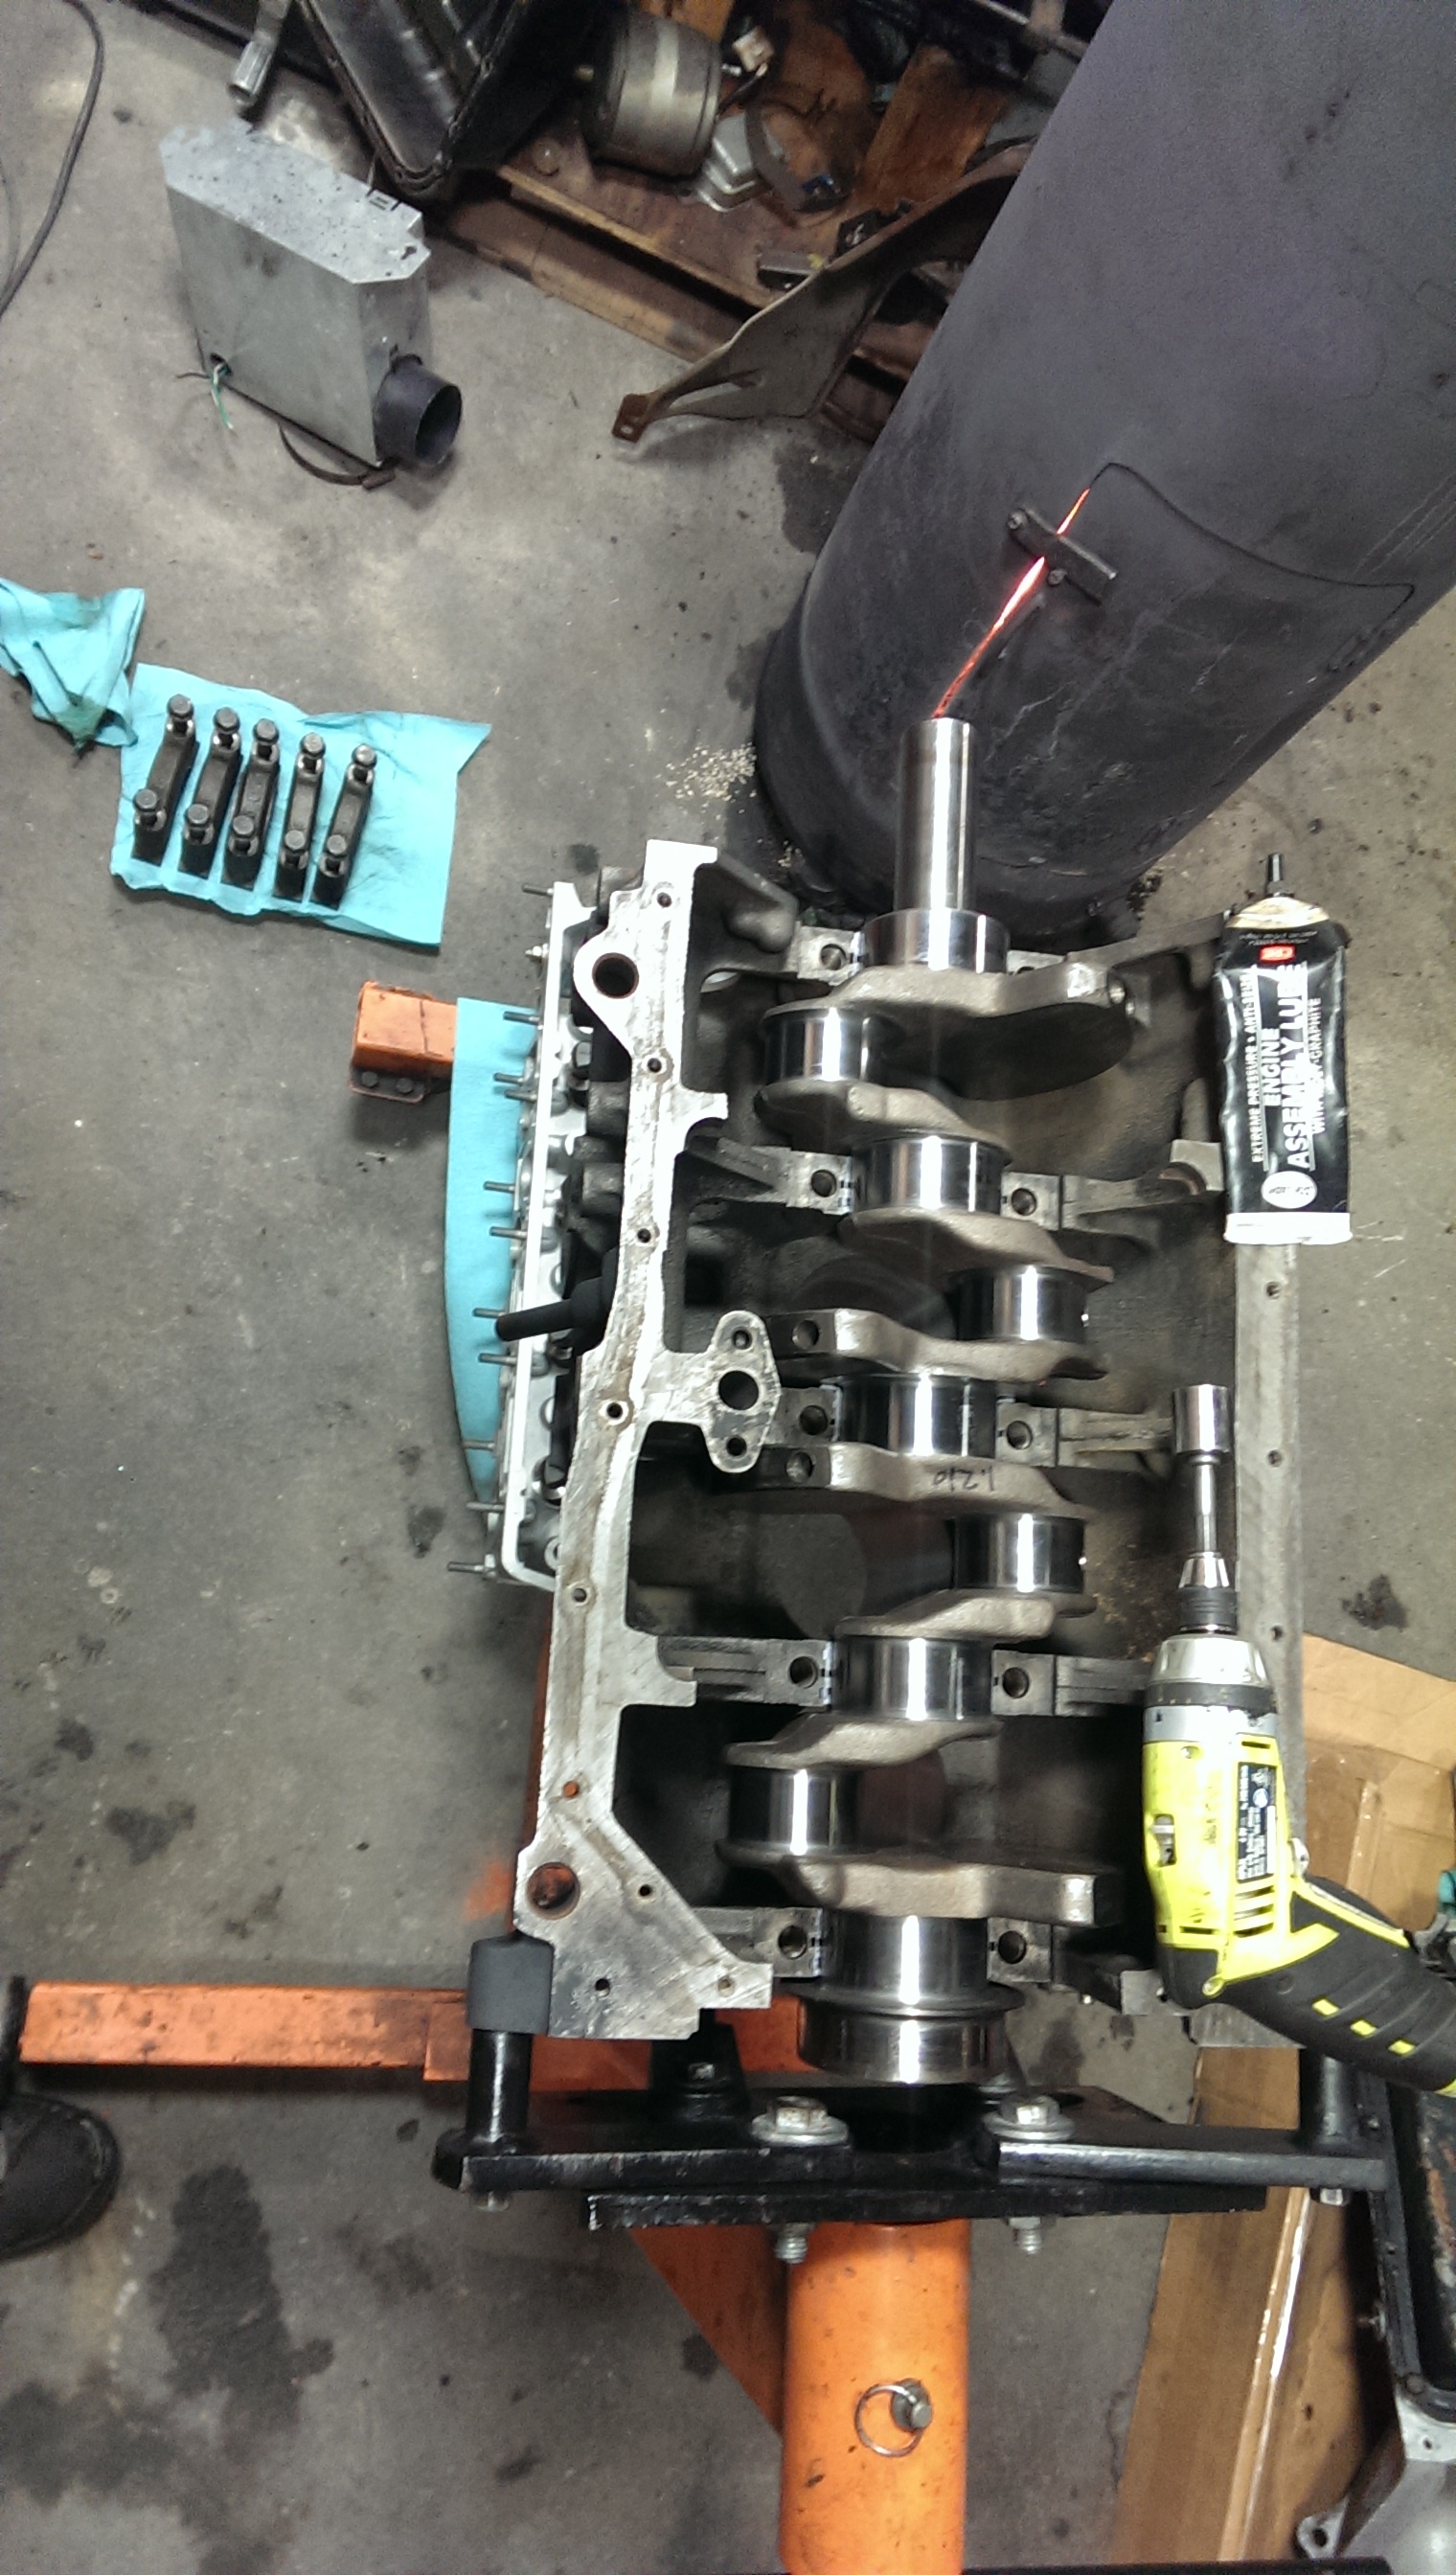
Once the bearings are lubed and installed in the block and caps, install the crankshaft.
image

Then I’ll install the bearing caps.

image

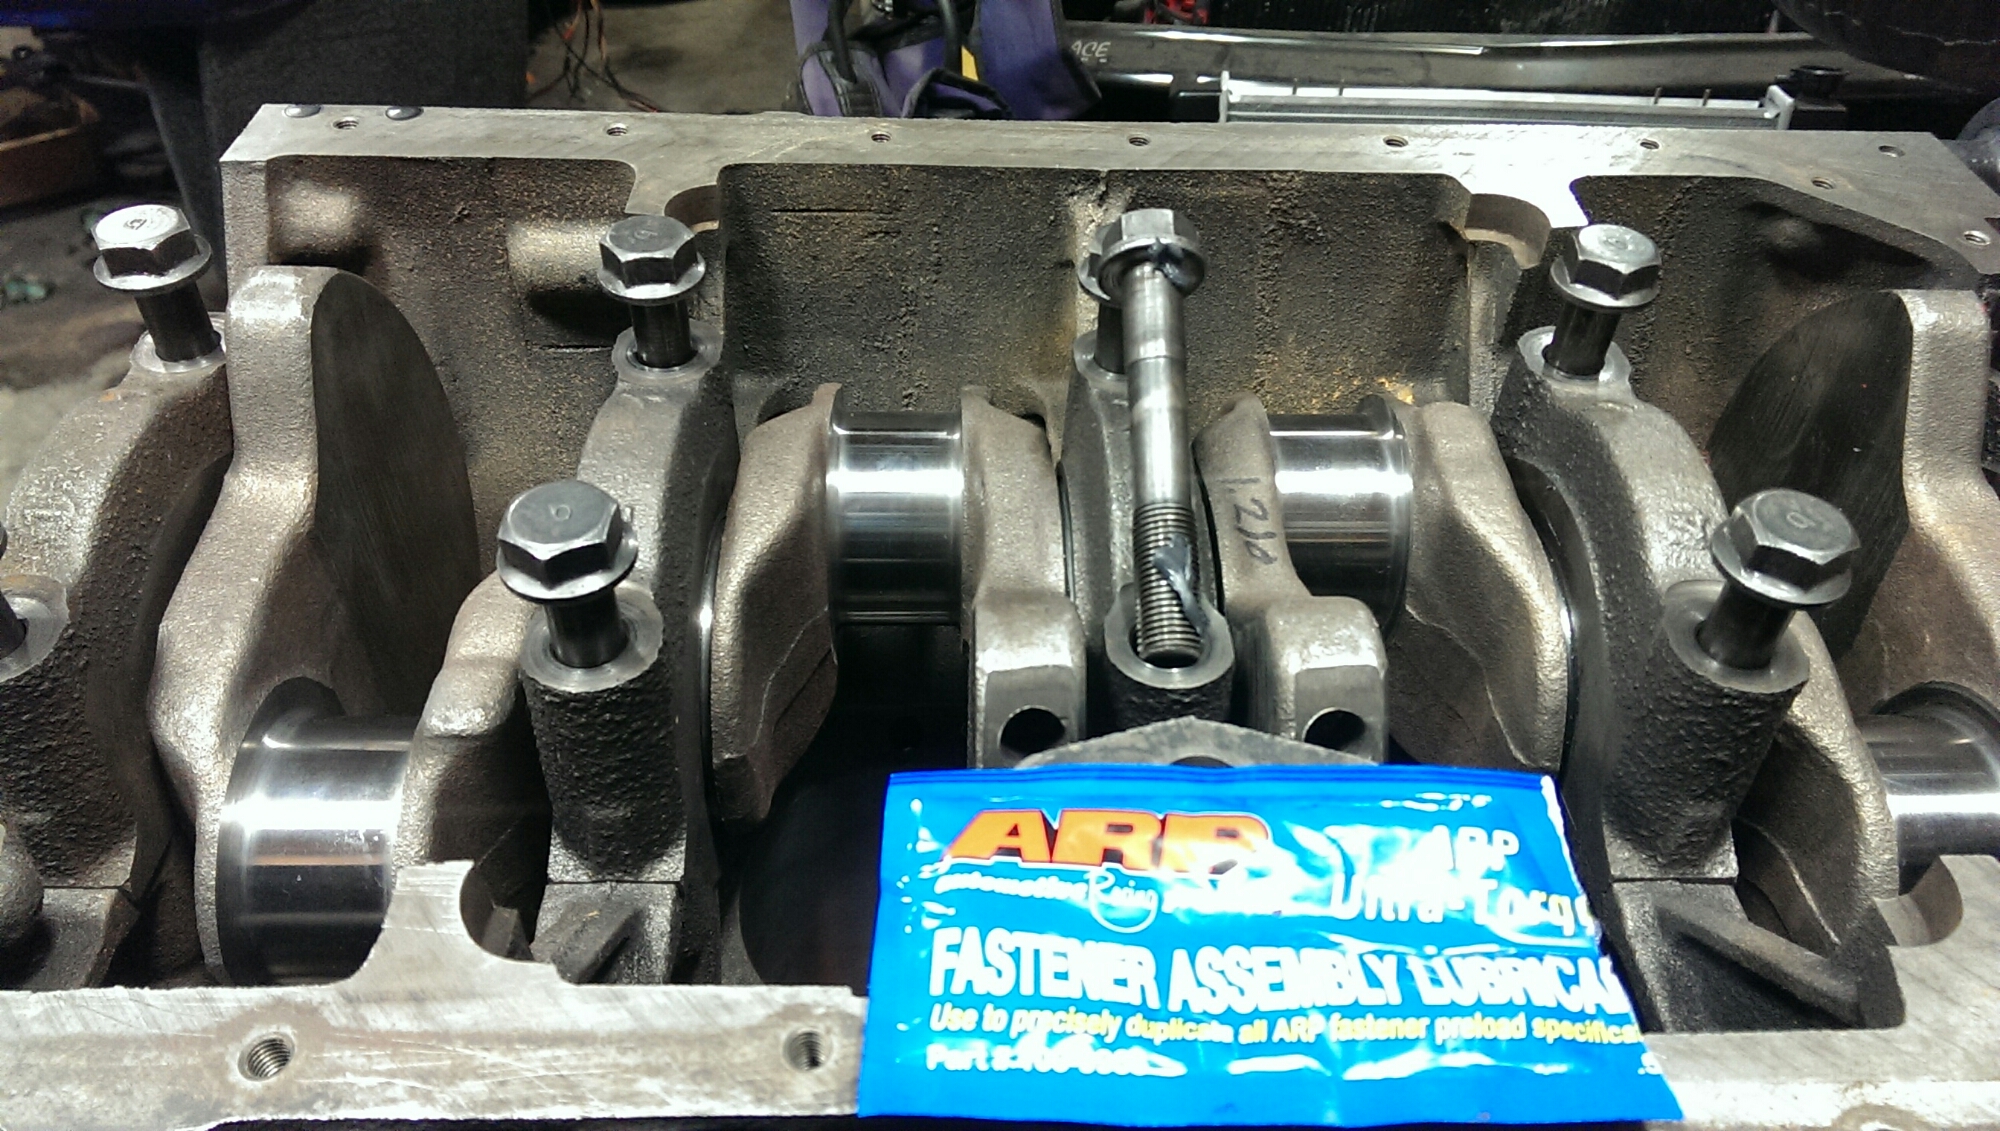
I prefer to use arp ultra torque. Even if I’m not using arp fasteners. You could use oil, or assembly lube.
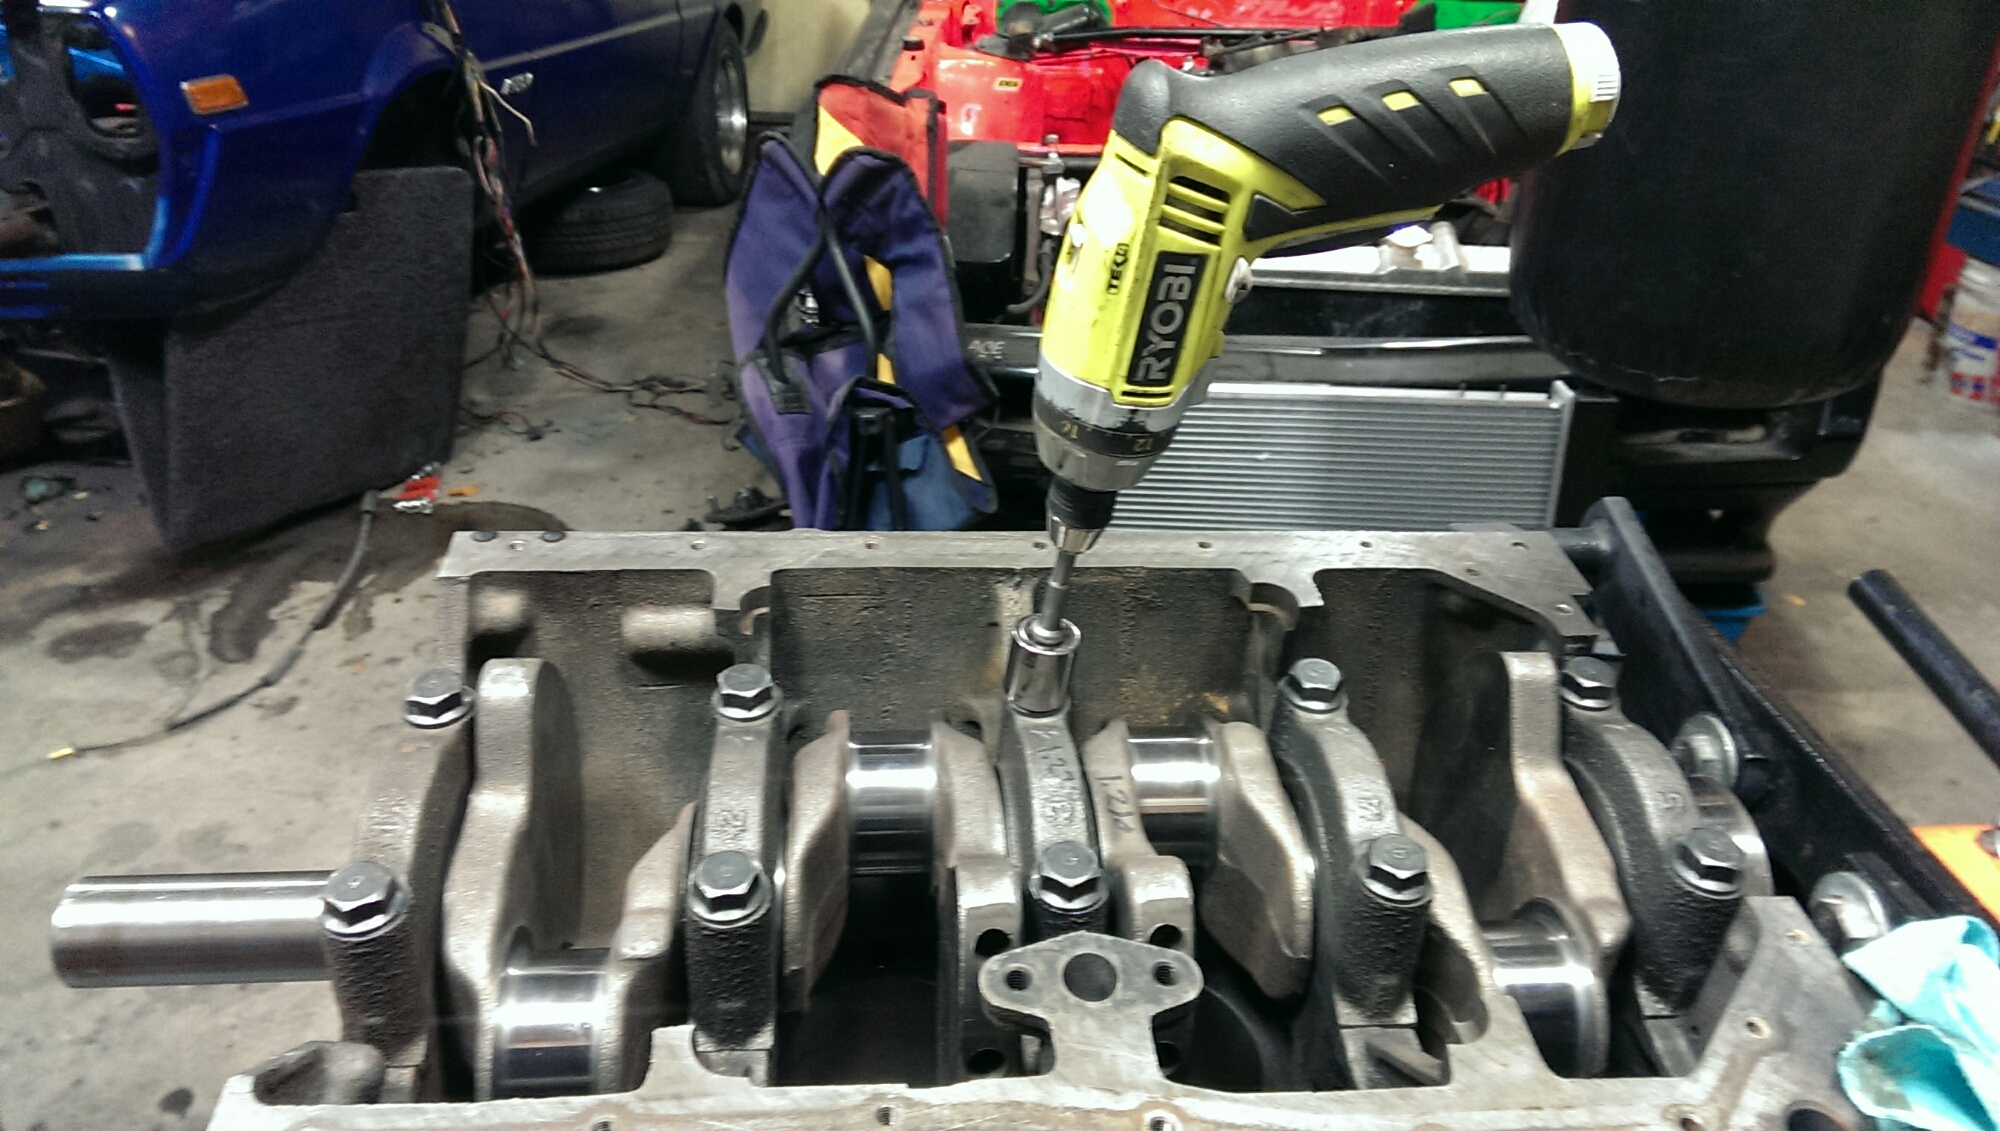
I cheat a little and pretorque the bolts with my ryobi. I think it only goes up to 20, but I dial it back to 16 or so.
image

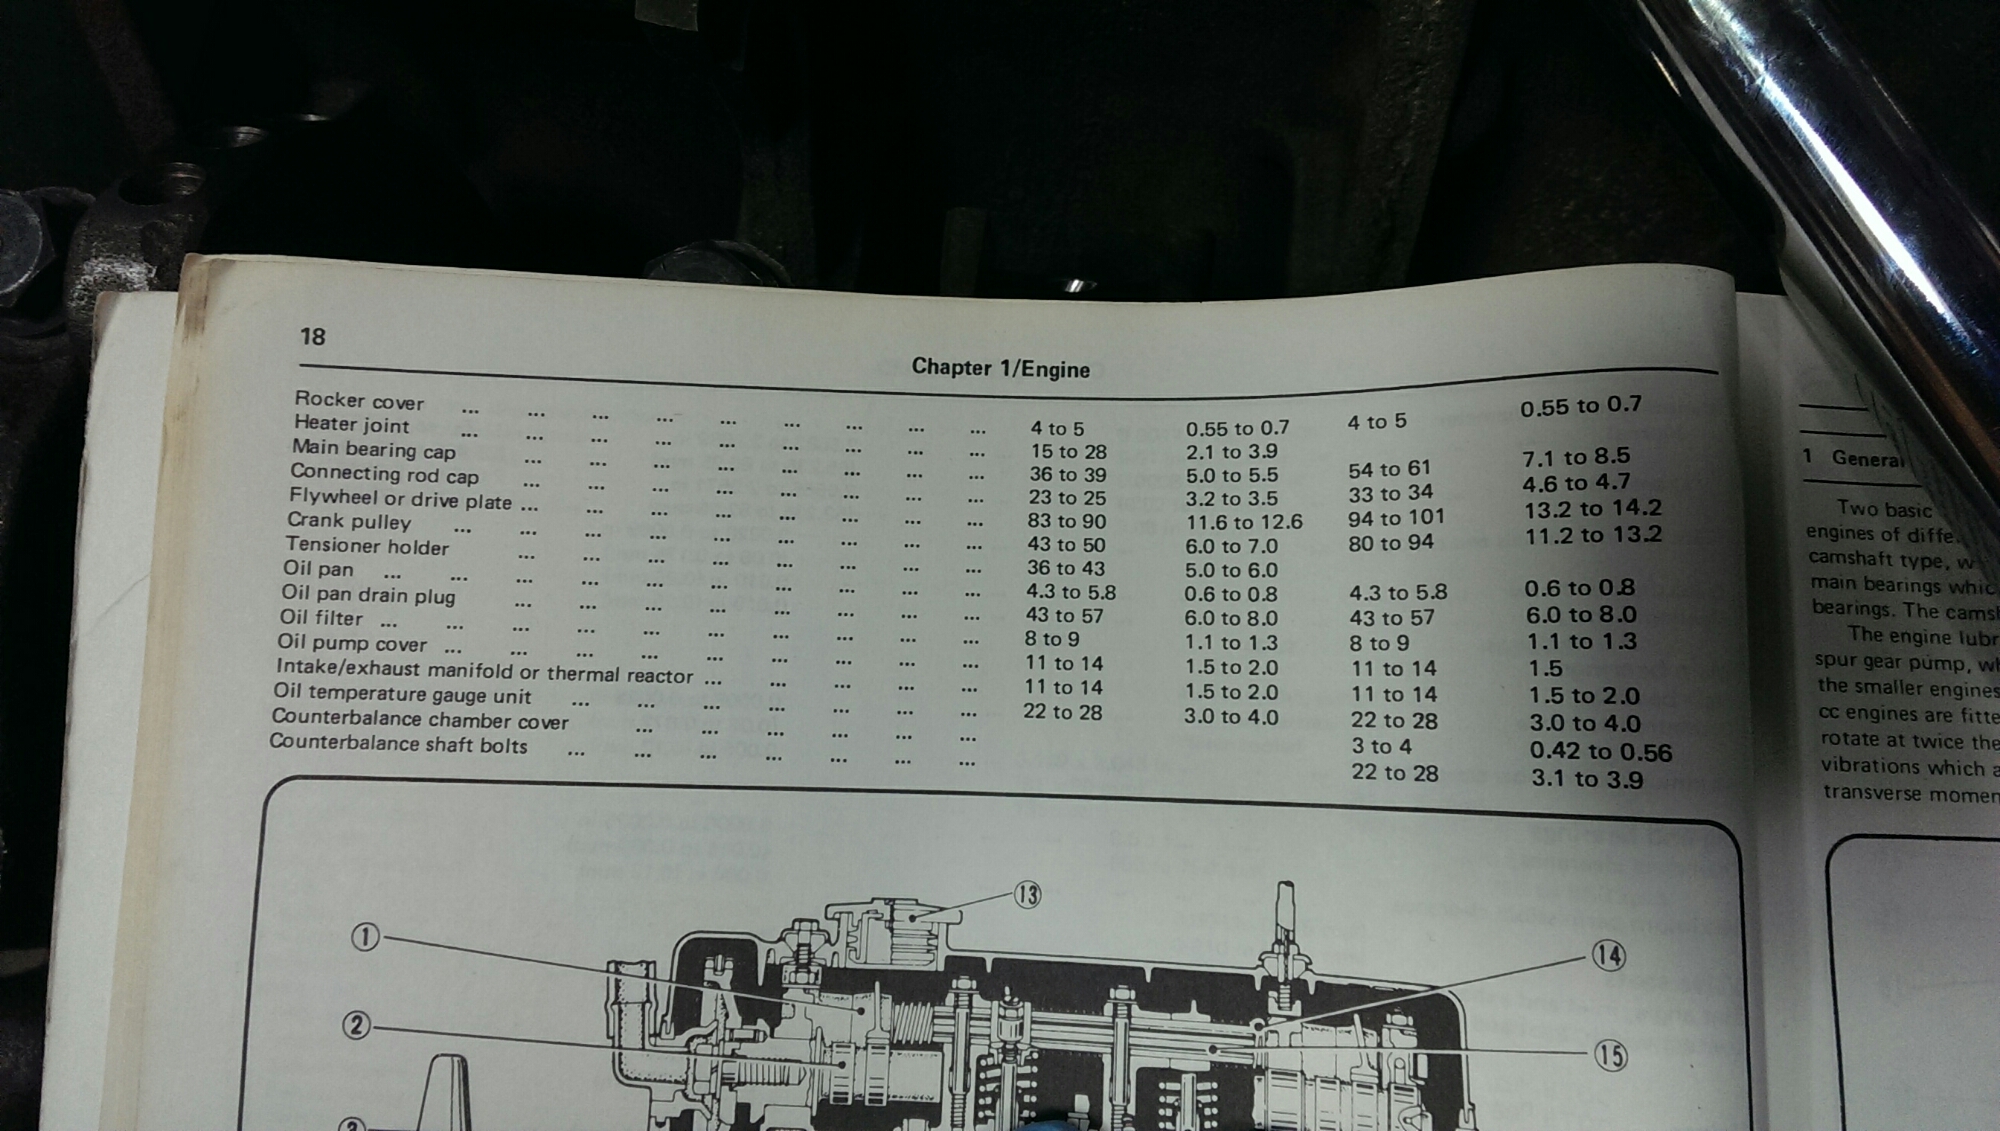
Then, torque them to spec. I’m going to use the same setting I used when I plastigauged the crank, 60 ft/lbs.
image

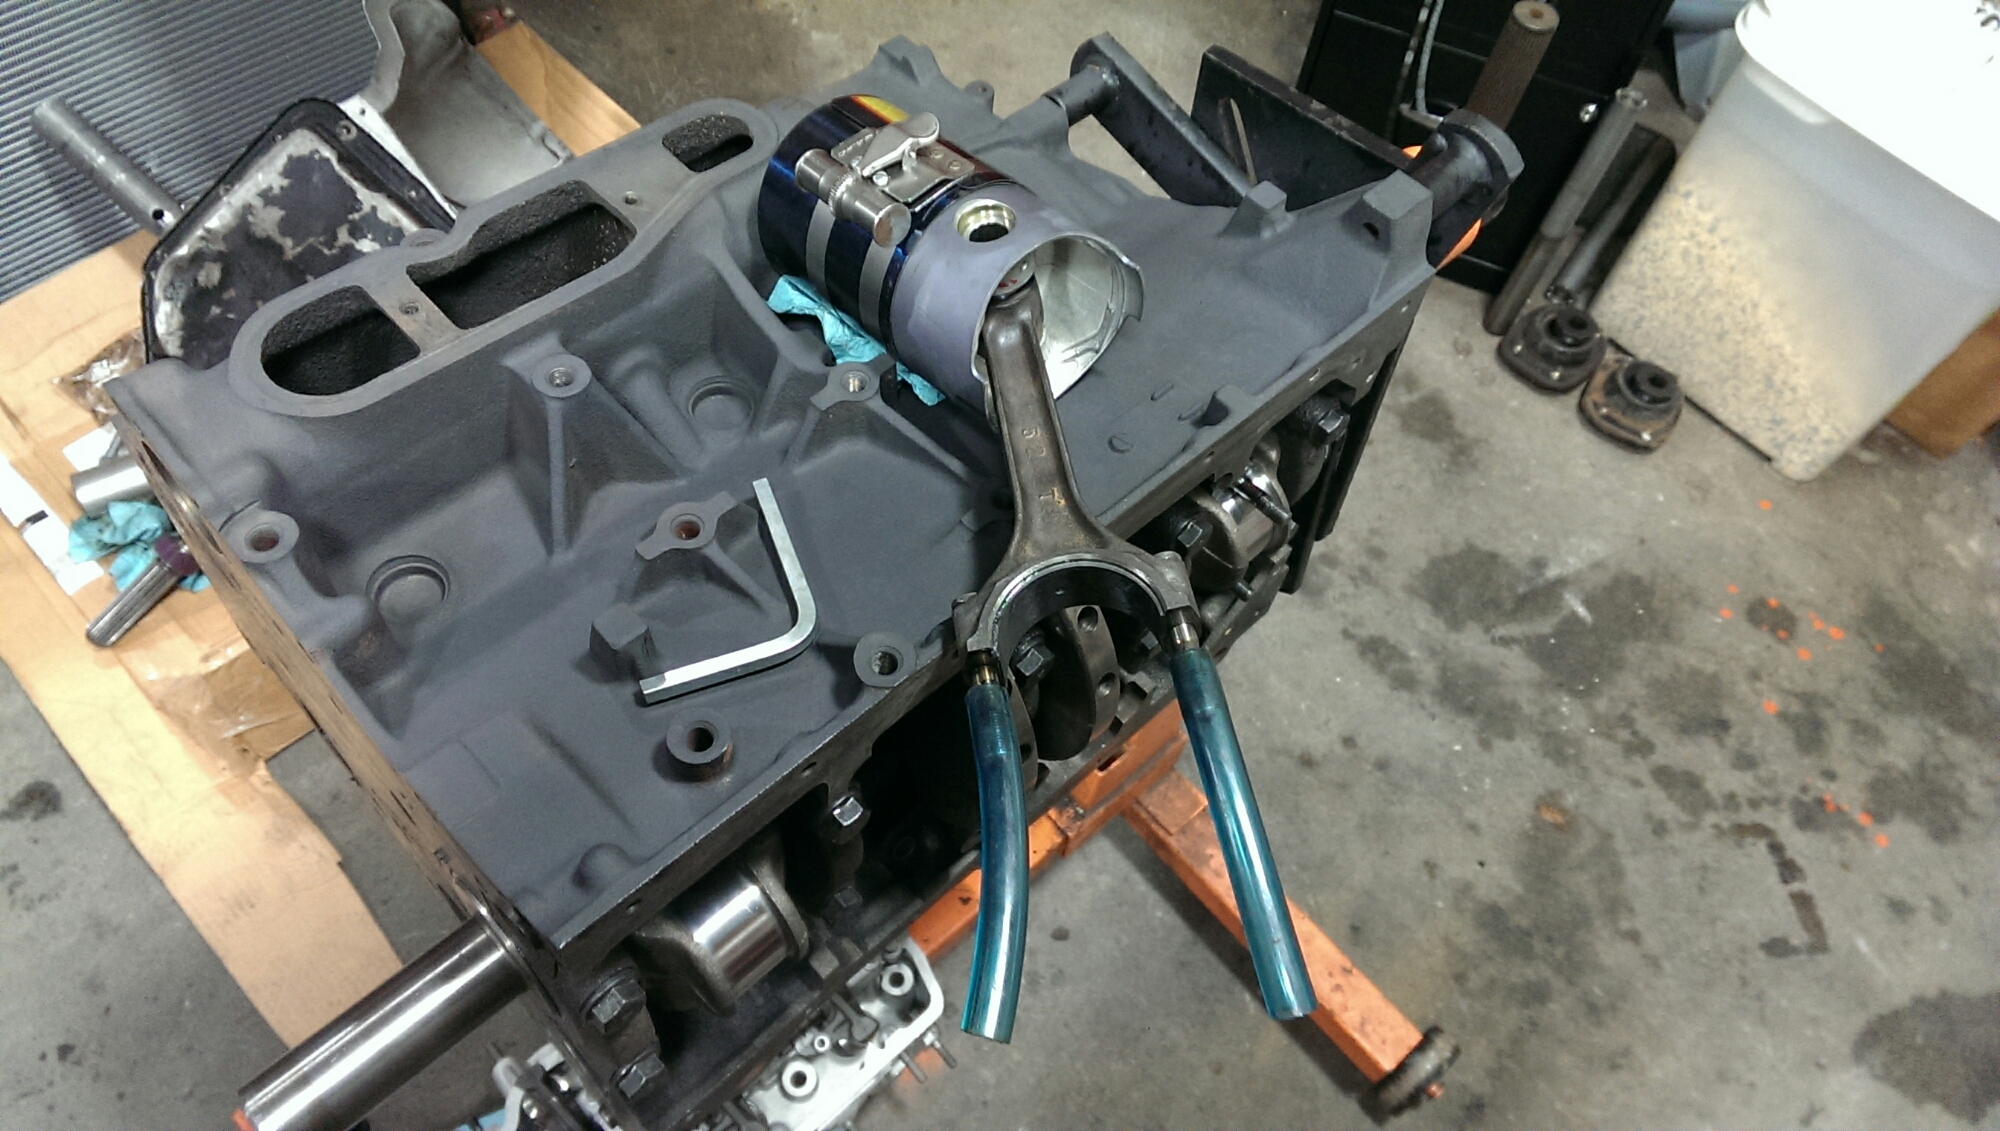
Once the crank is bolted in, I’ll flip the block over, or on its side, to start installing the pistons.
image

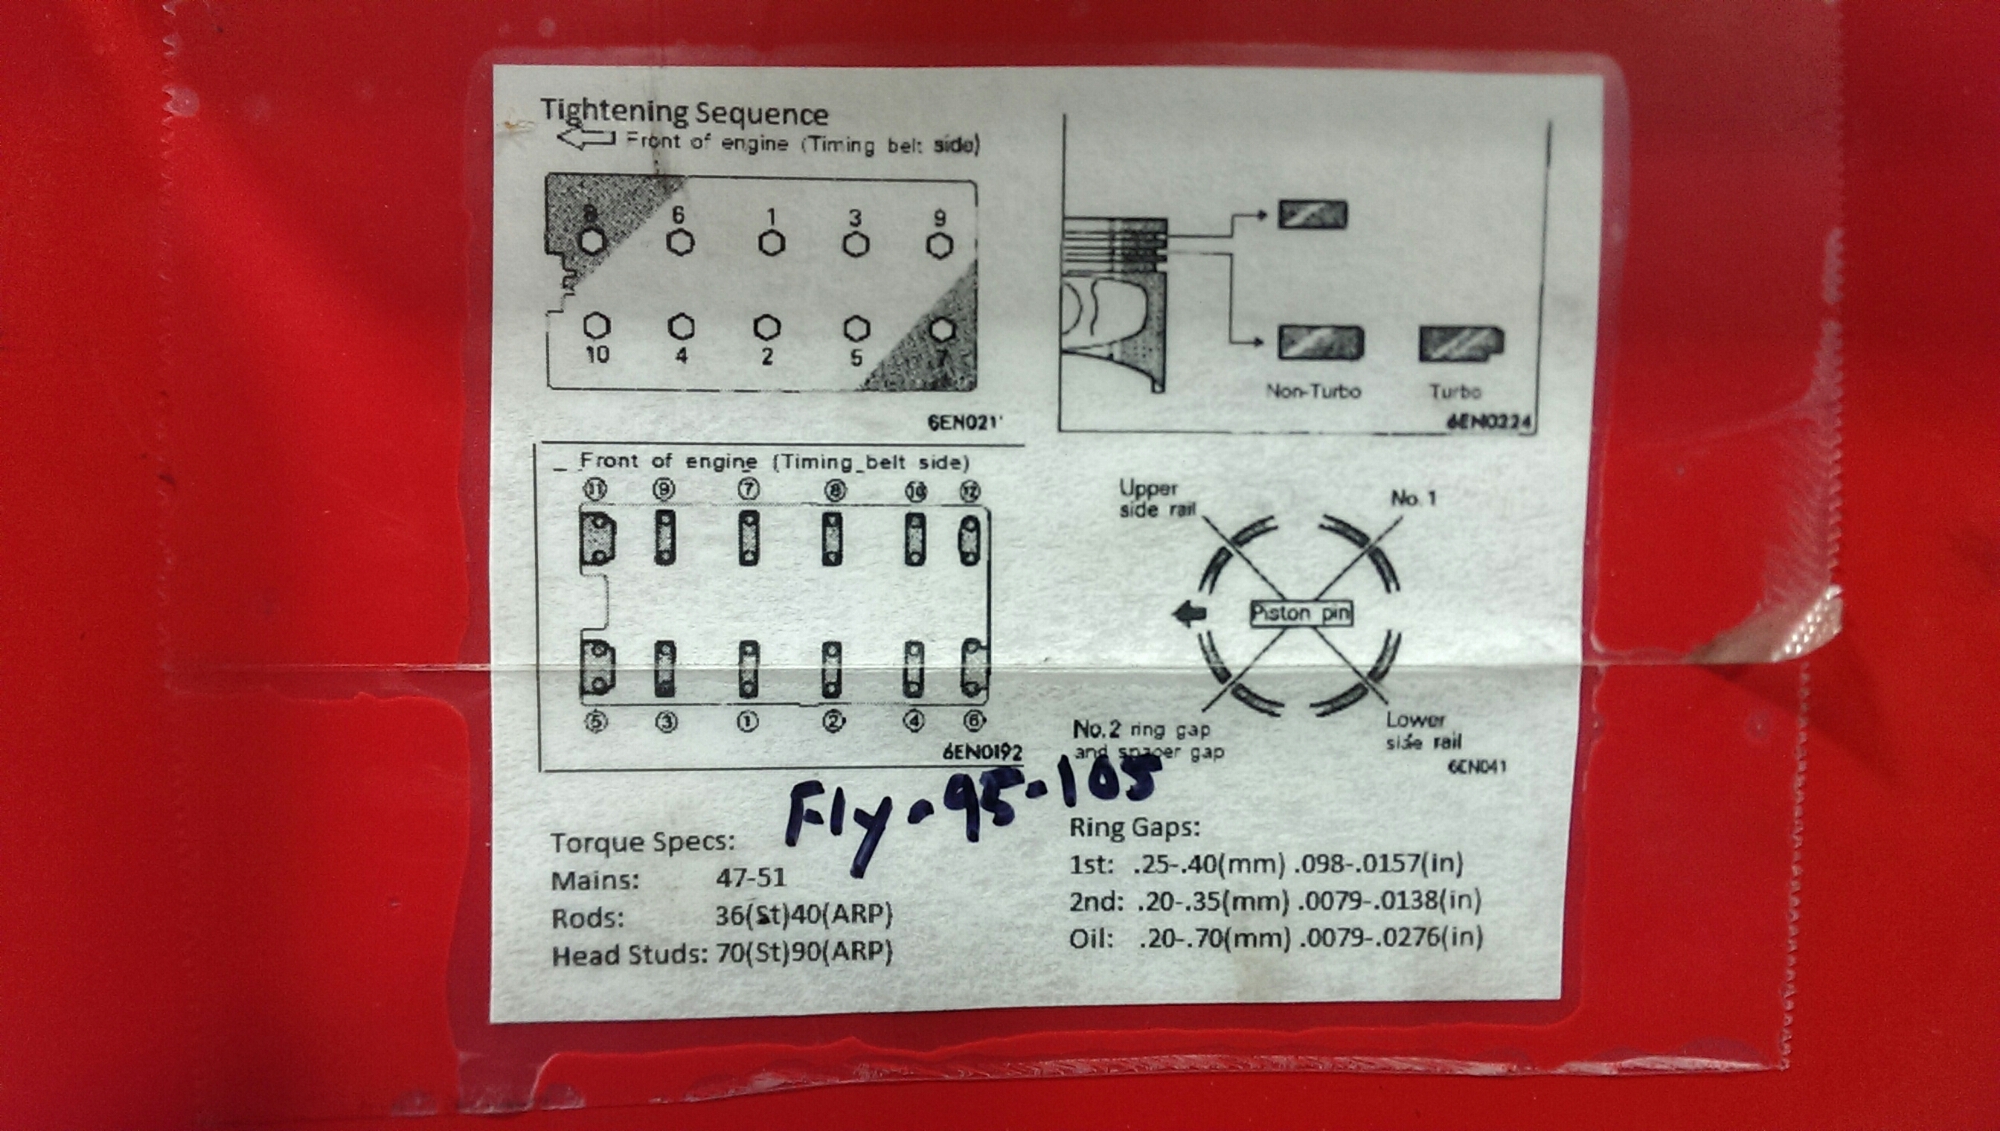
Proper ring placement is important.

image

In order not to scratch the newly ground crankshaft, I’m using pieces of silicone hose. They also help give an indication of how far, or how straight the piston is.
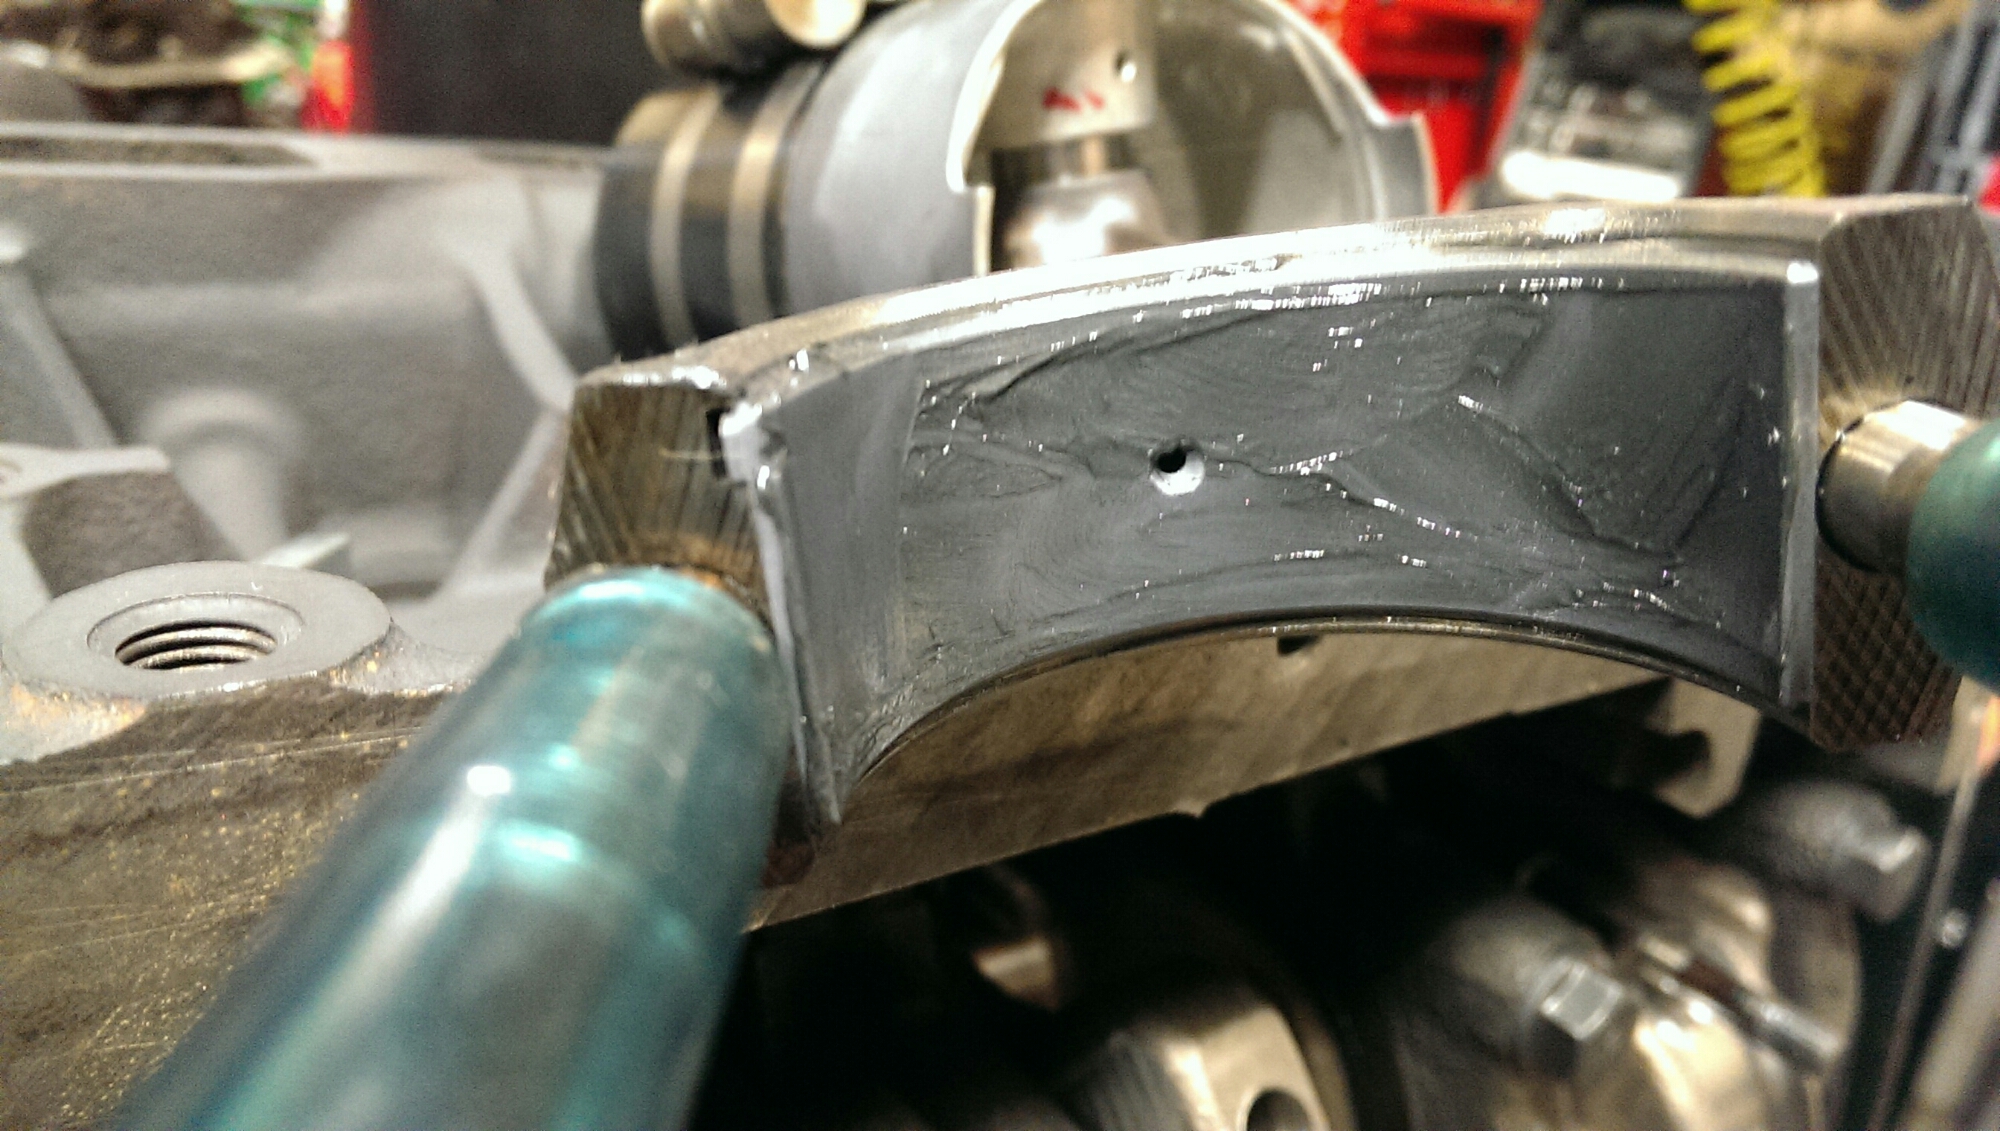
When I apply assembly lube to the big end caps, I try not to pack it in the hole.
image

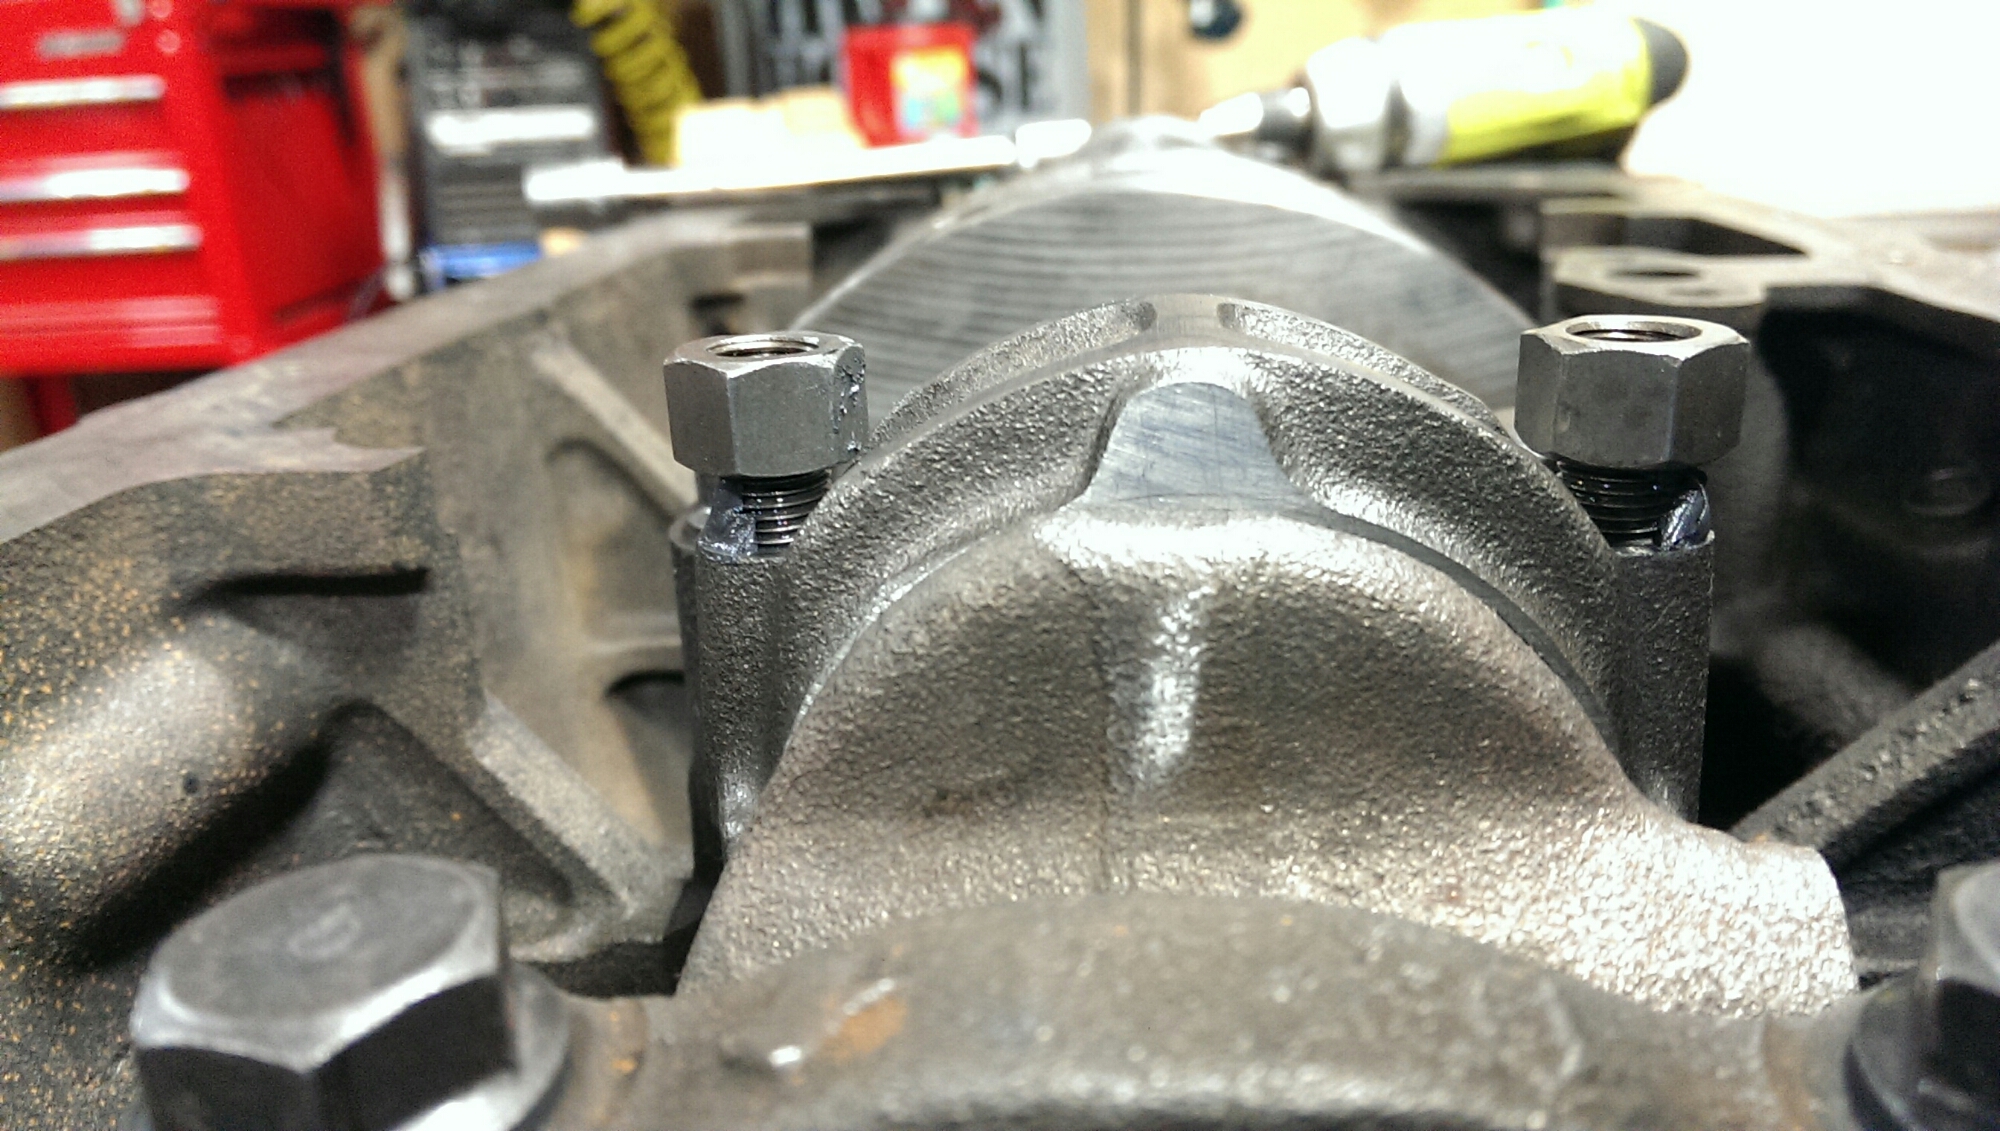
I apply the ultra torque to the rod bolts, and nut base like so. Also torque to the same spec as plastigauged.
image

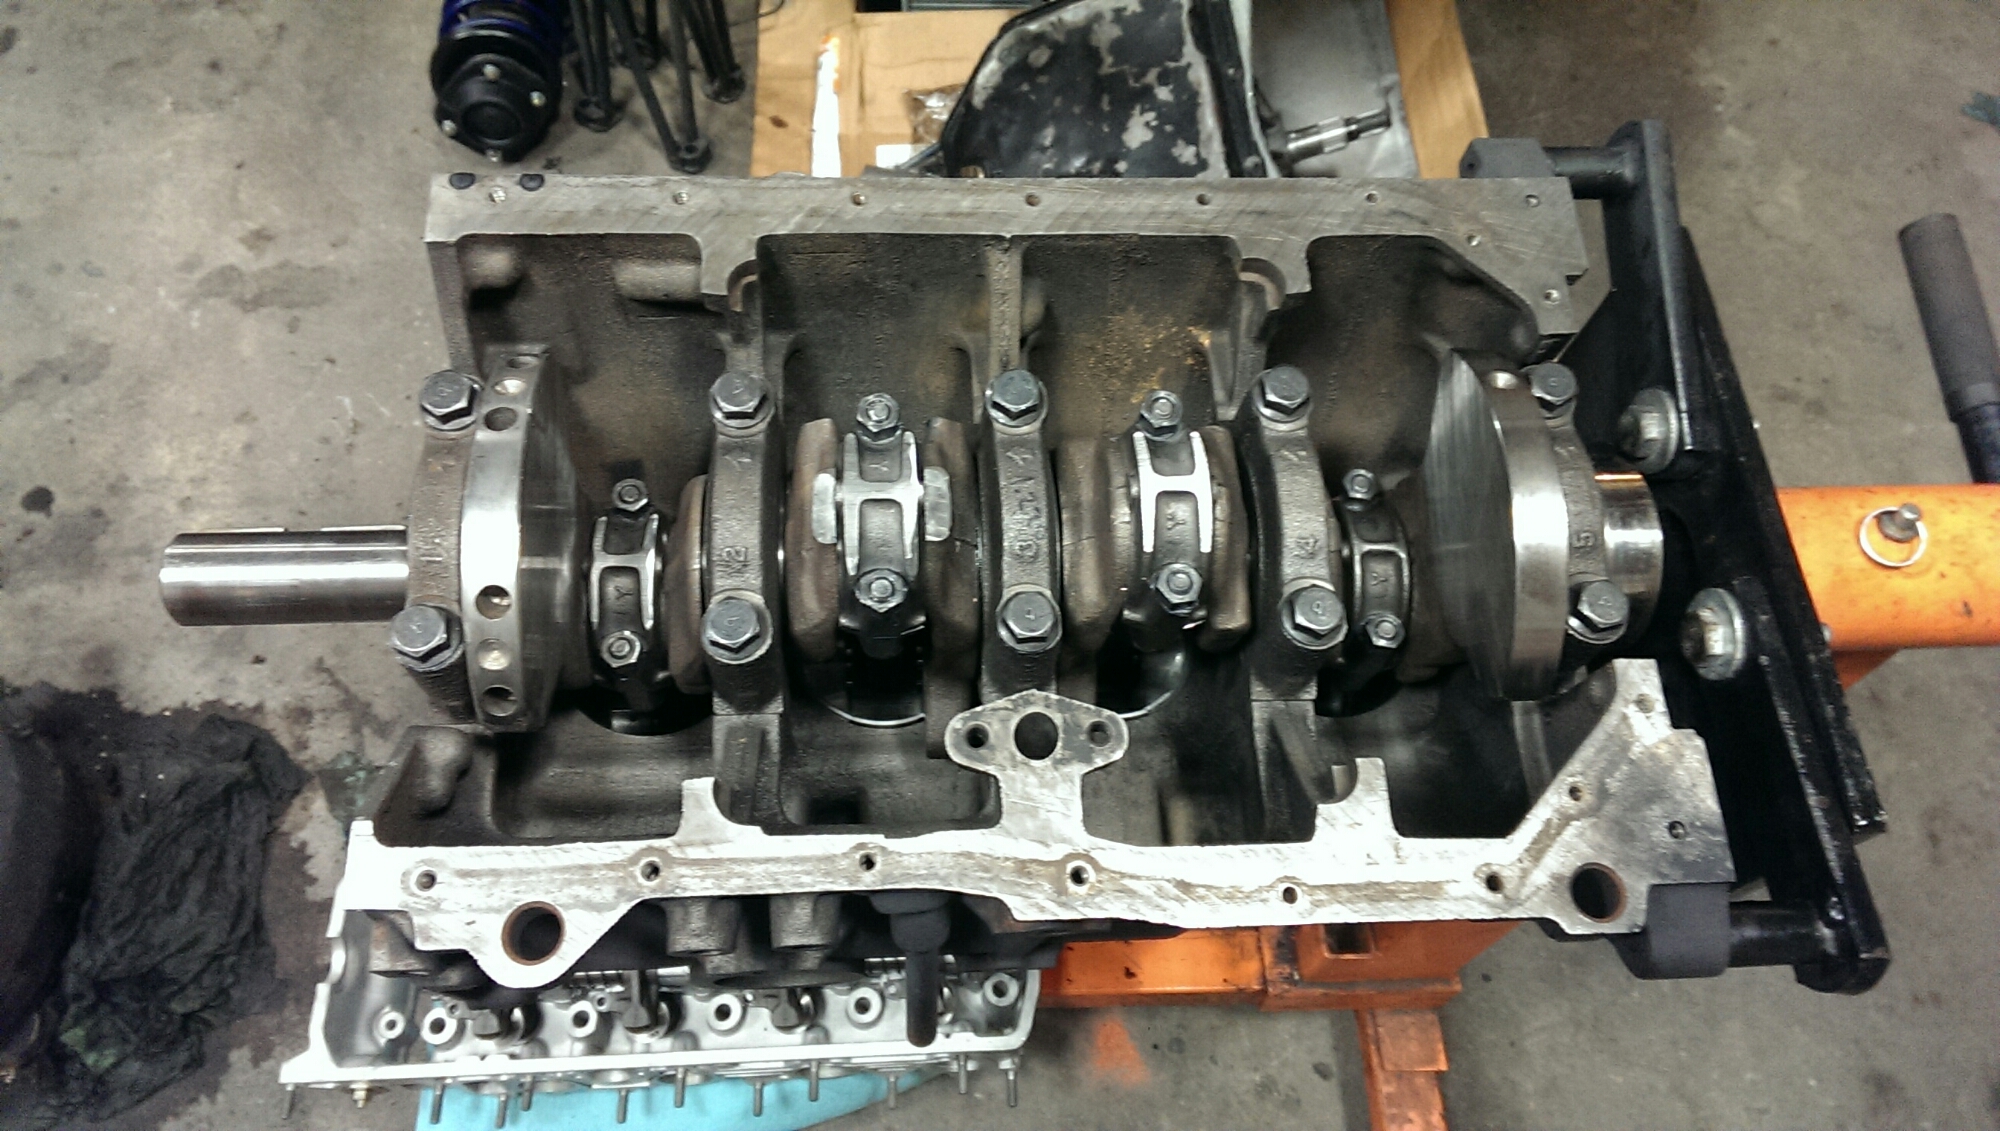
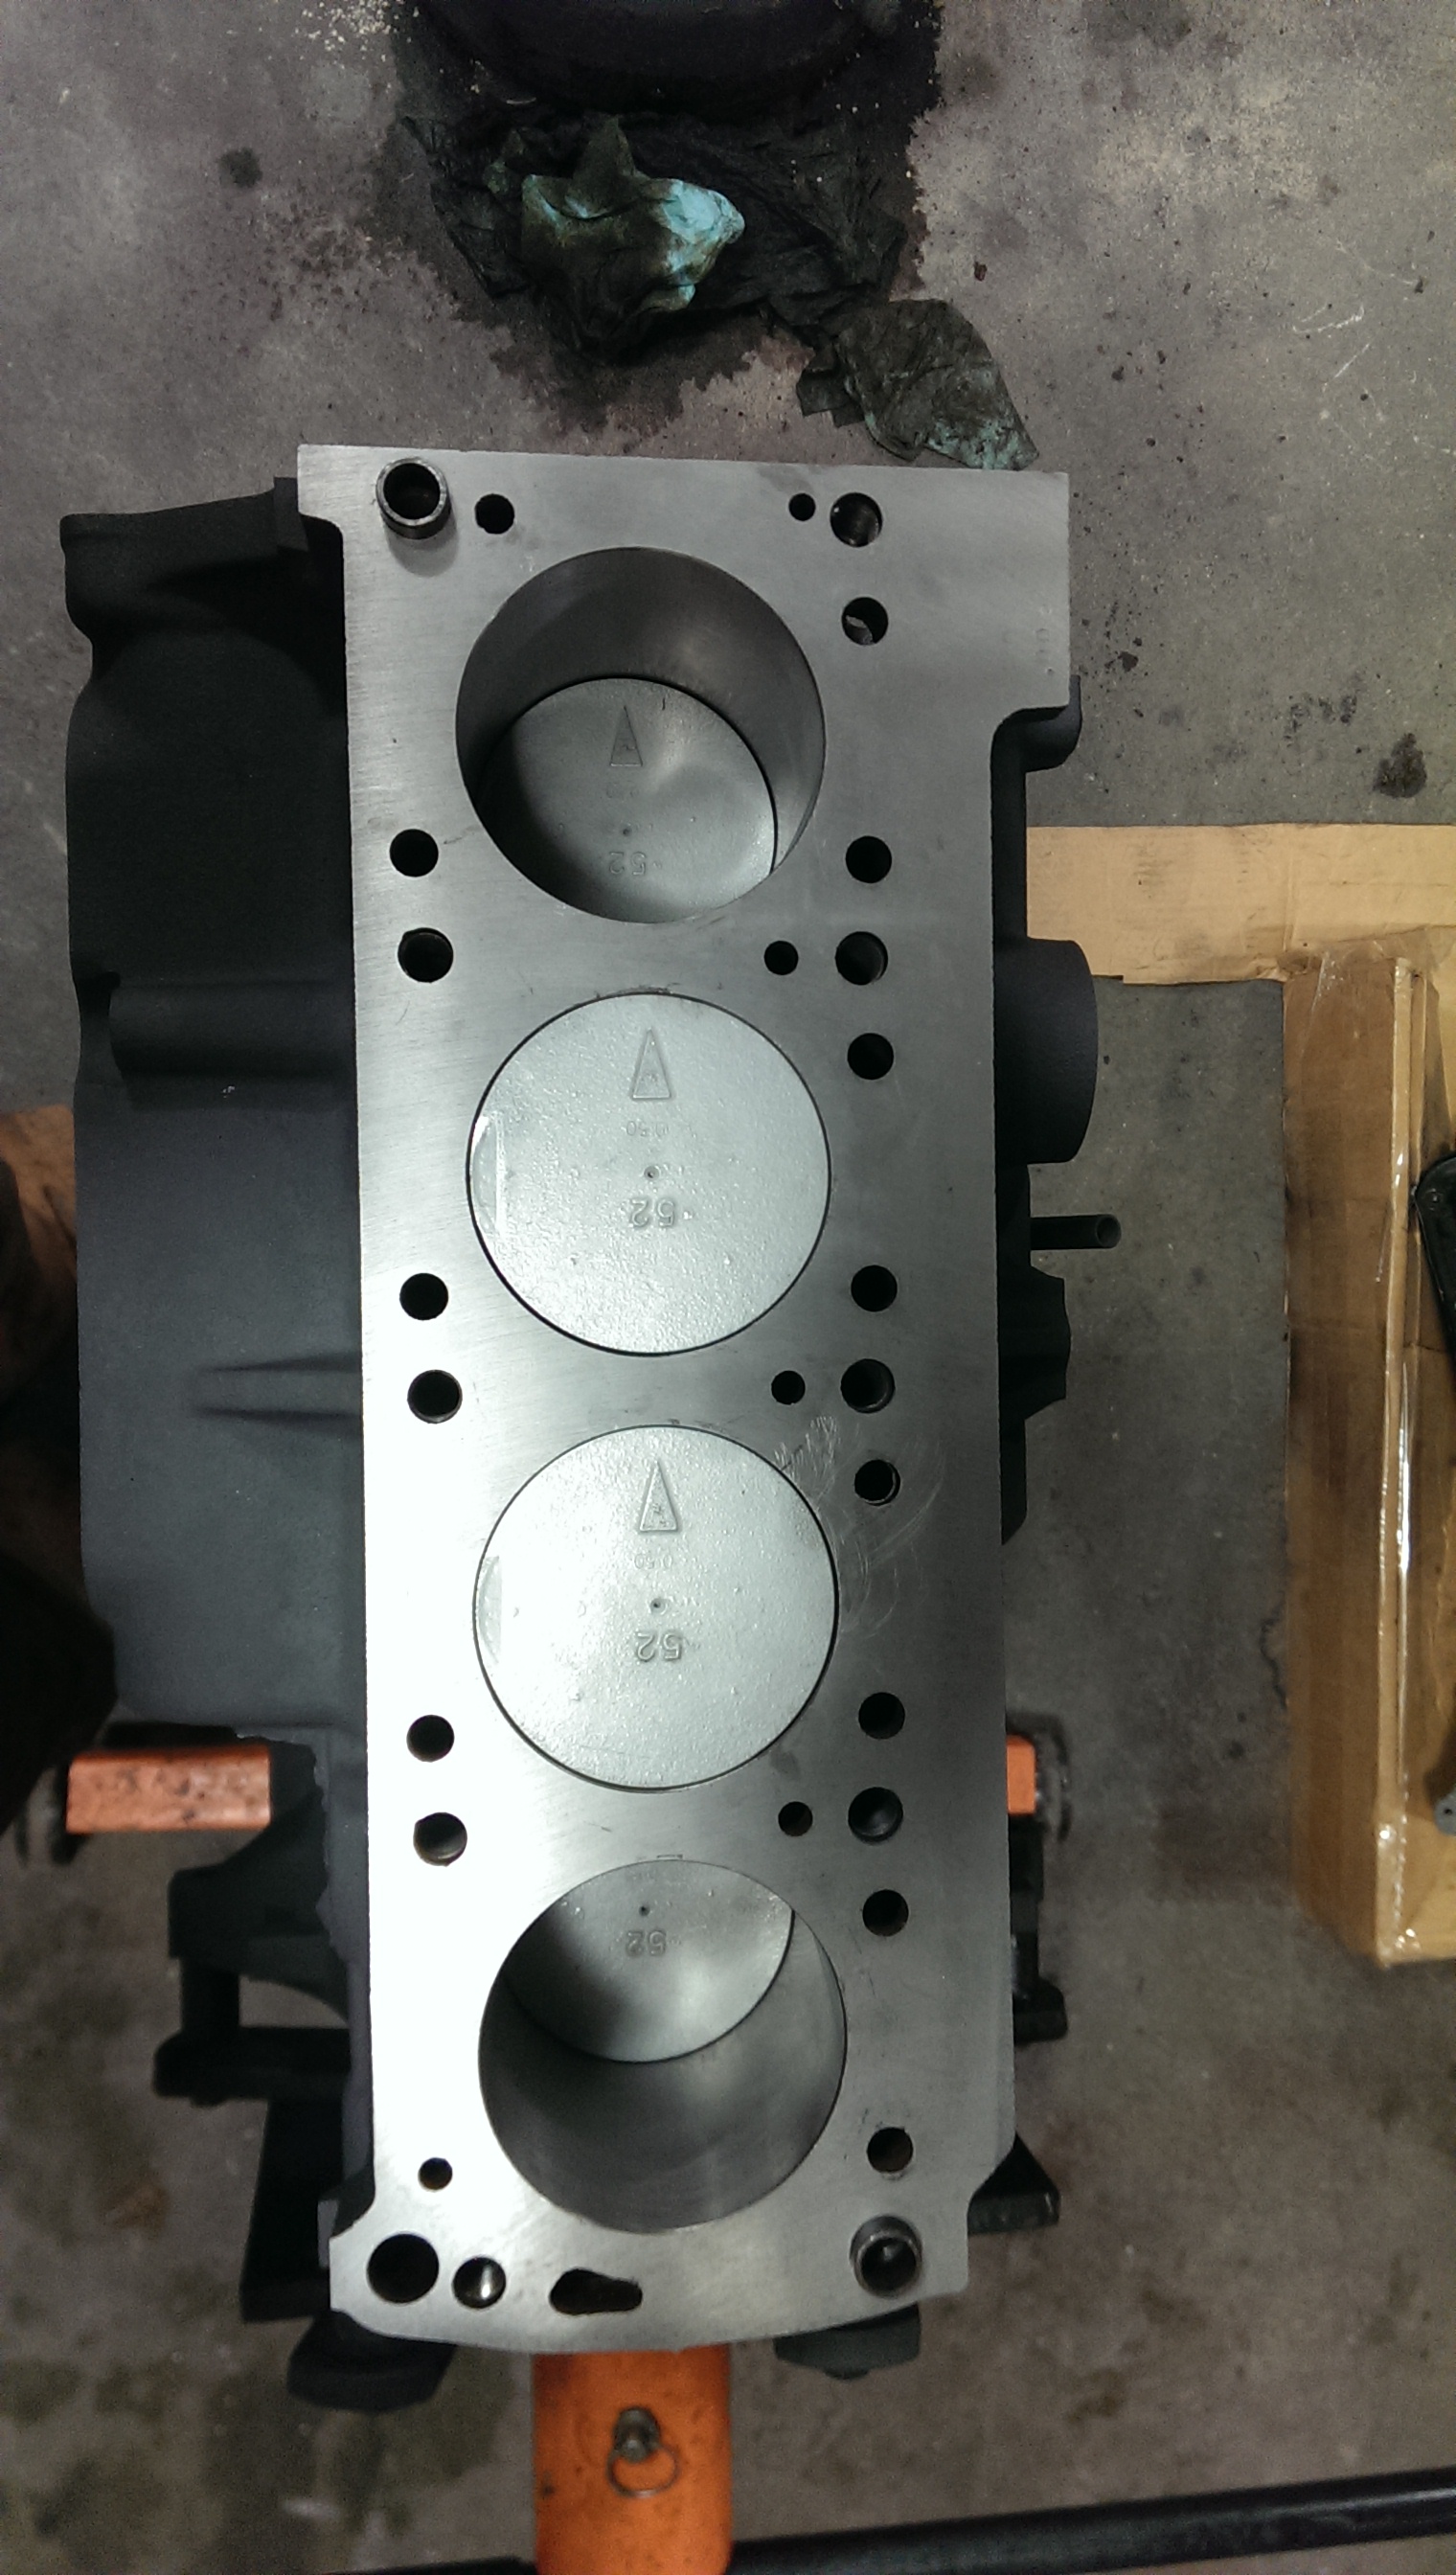
Then you should be able to rotate the assembly with a bit of effort. If you can’t rotate it, something went wrong.
image

image

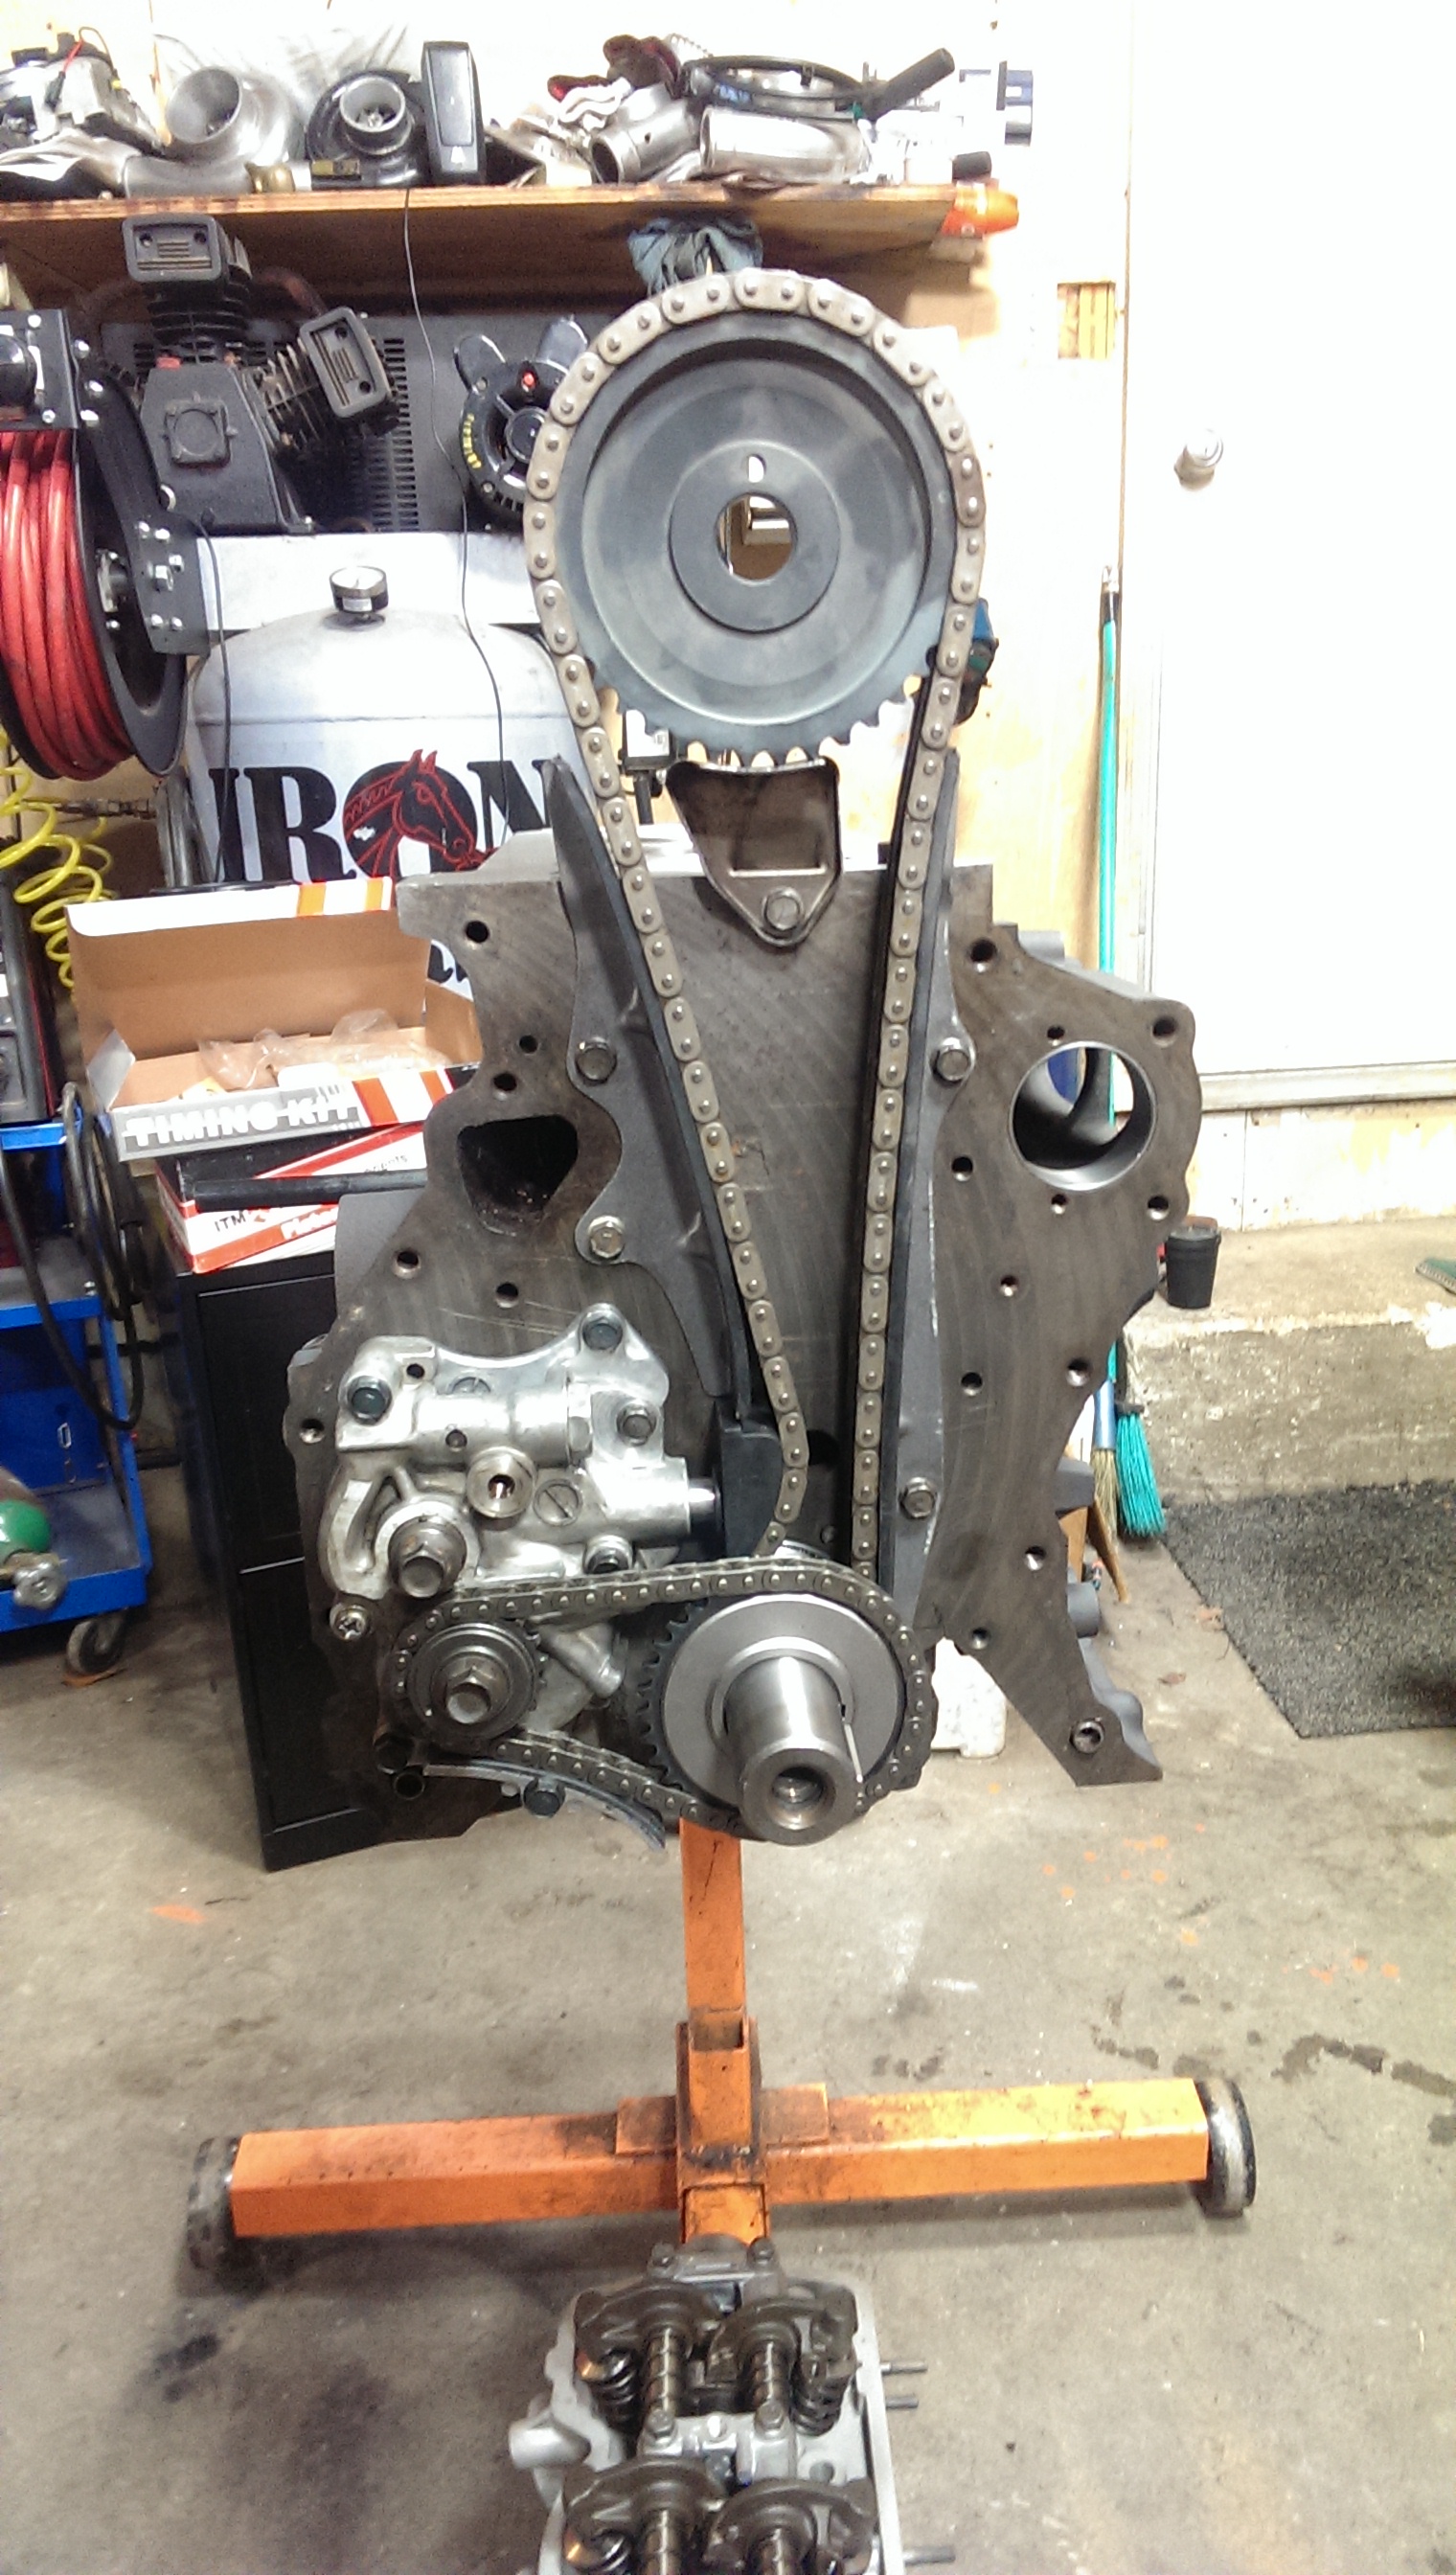
The last thing I did, was setup the timing components.
image

It’s a little puzzle in itself, just because you have to align key ways, pins, dots and links.
image

Oh the joy.

The engine rebuild

The engine rebuild is in a paused state at the moment. Everything was looking good until I test fit the thrust bearing. I knew I should have brought the bearings to shaker for reference.

image

The width on the crank is 1.210″, the bearing width is 1.220″. That surely won’t fit. So if both sides get .007″ trimmed off, that should give me my .002-.007″ clearance.
The mains do check out to .003″ clearance, max is .005″.

image

image

I swapped over the G54b turbo cam from the conquest, along with the hydraulic rocker assembly.
The top two rings are gaped to .29mm, and the oil rings are .35mm.
I have not plastigauged the rod bearings, but they calculate out to .0015″ clearance.

image

And now I wait, and clean.

image

Ewwww.

The hard work is done.

I got my parts back from shaker. They look great. I painted the block a flat black rated to 2k° and oil resistant.

image

The crank and rod look real nice. This weekend I plan to check clearances so I can get everything put together so it isn’t sitting all over the garage.

image

image

The head came out looking great. With 135lbs spring pressure. It might be able to push over 6k! Hah! Imagine that.

image

I also finally got a manual for this car. It’s filling in my blanks.

Parts got coatings

I sent my pistons, valves, main and rod bearings off for coatings by FFWD Connection in Oklahoma. www.ffwdconnection.com
I got the piston tops and valve faces ceramic coated, and the piston skirts and bearings coated with a molybdenum film

image

This process should help concentrate my cylinder temperature within the cylinders. They should help reduce rotating resistance, and hopefully, reduce intake heat soak. One major benefit, is that the piston tops shouldn’t melt.
I also saw my brothers old Montero. One of many.

image

And the heater is going.

image