Today is engine assembly day.
There is a lot to do.
Everything of mine has already been cleaned. Make sure everything is clean. Clean anything that isn’t clean. In case you haven’t noticed, you want to be clean when you are assembling an engine.
So, first step, clean. Second step, lube.
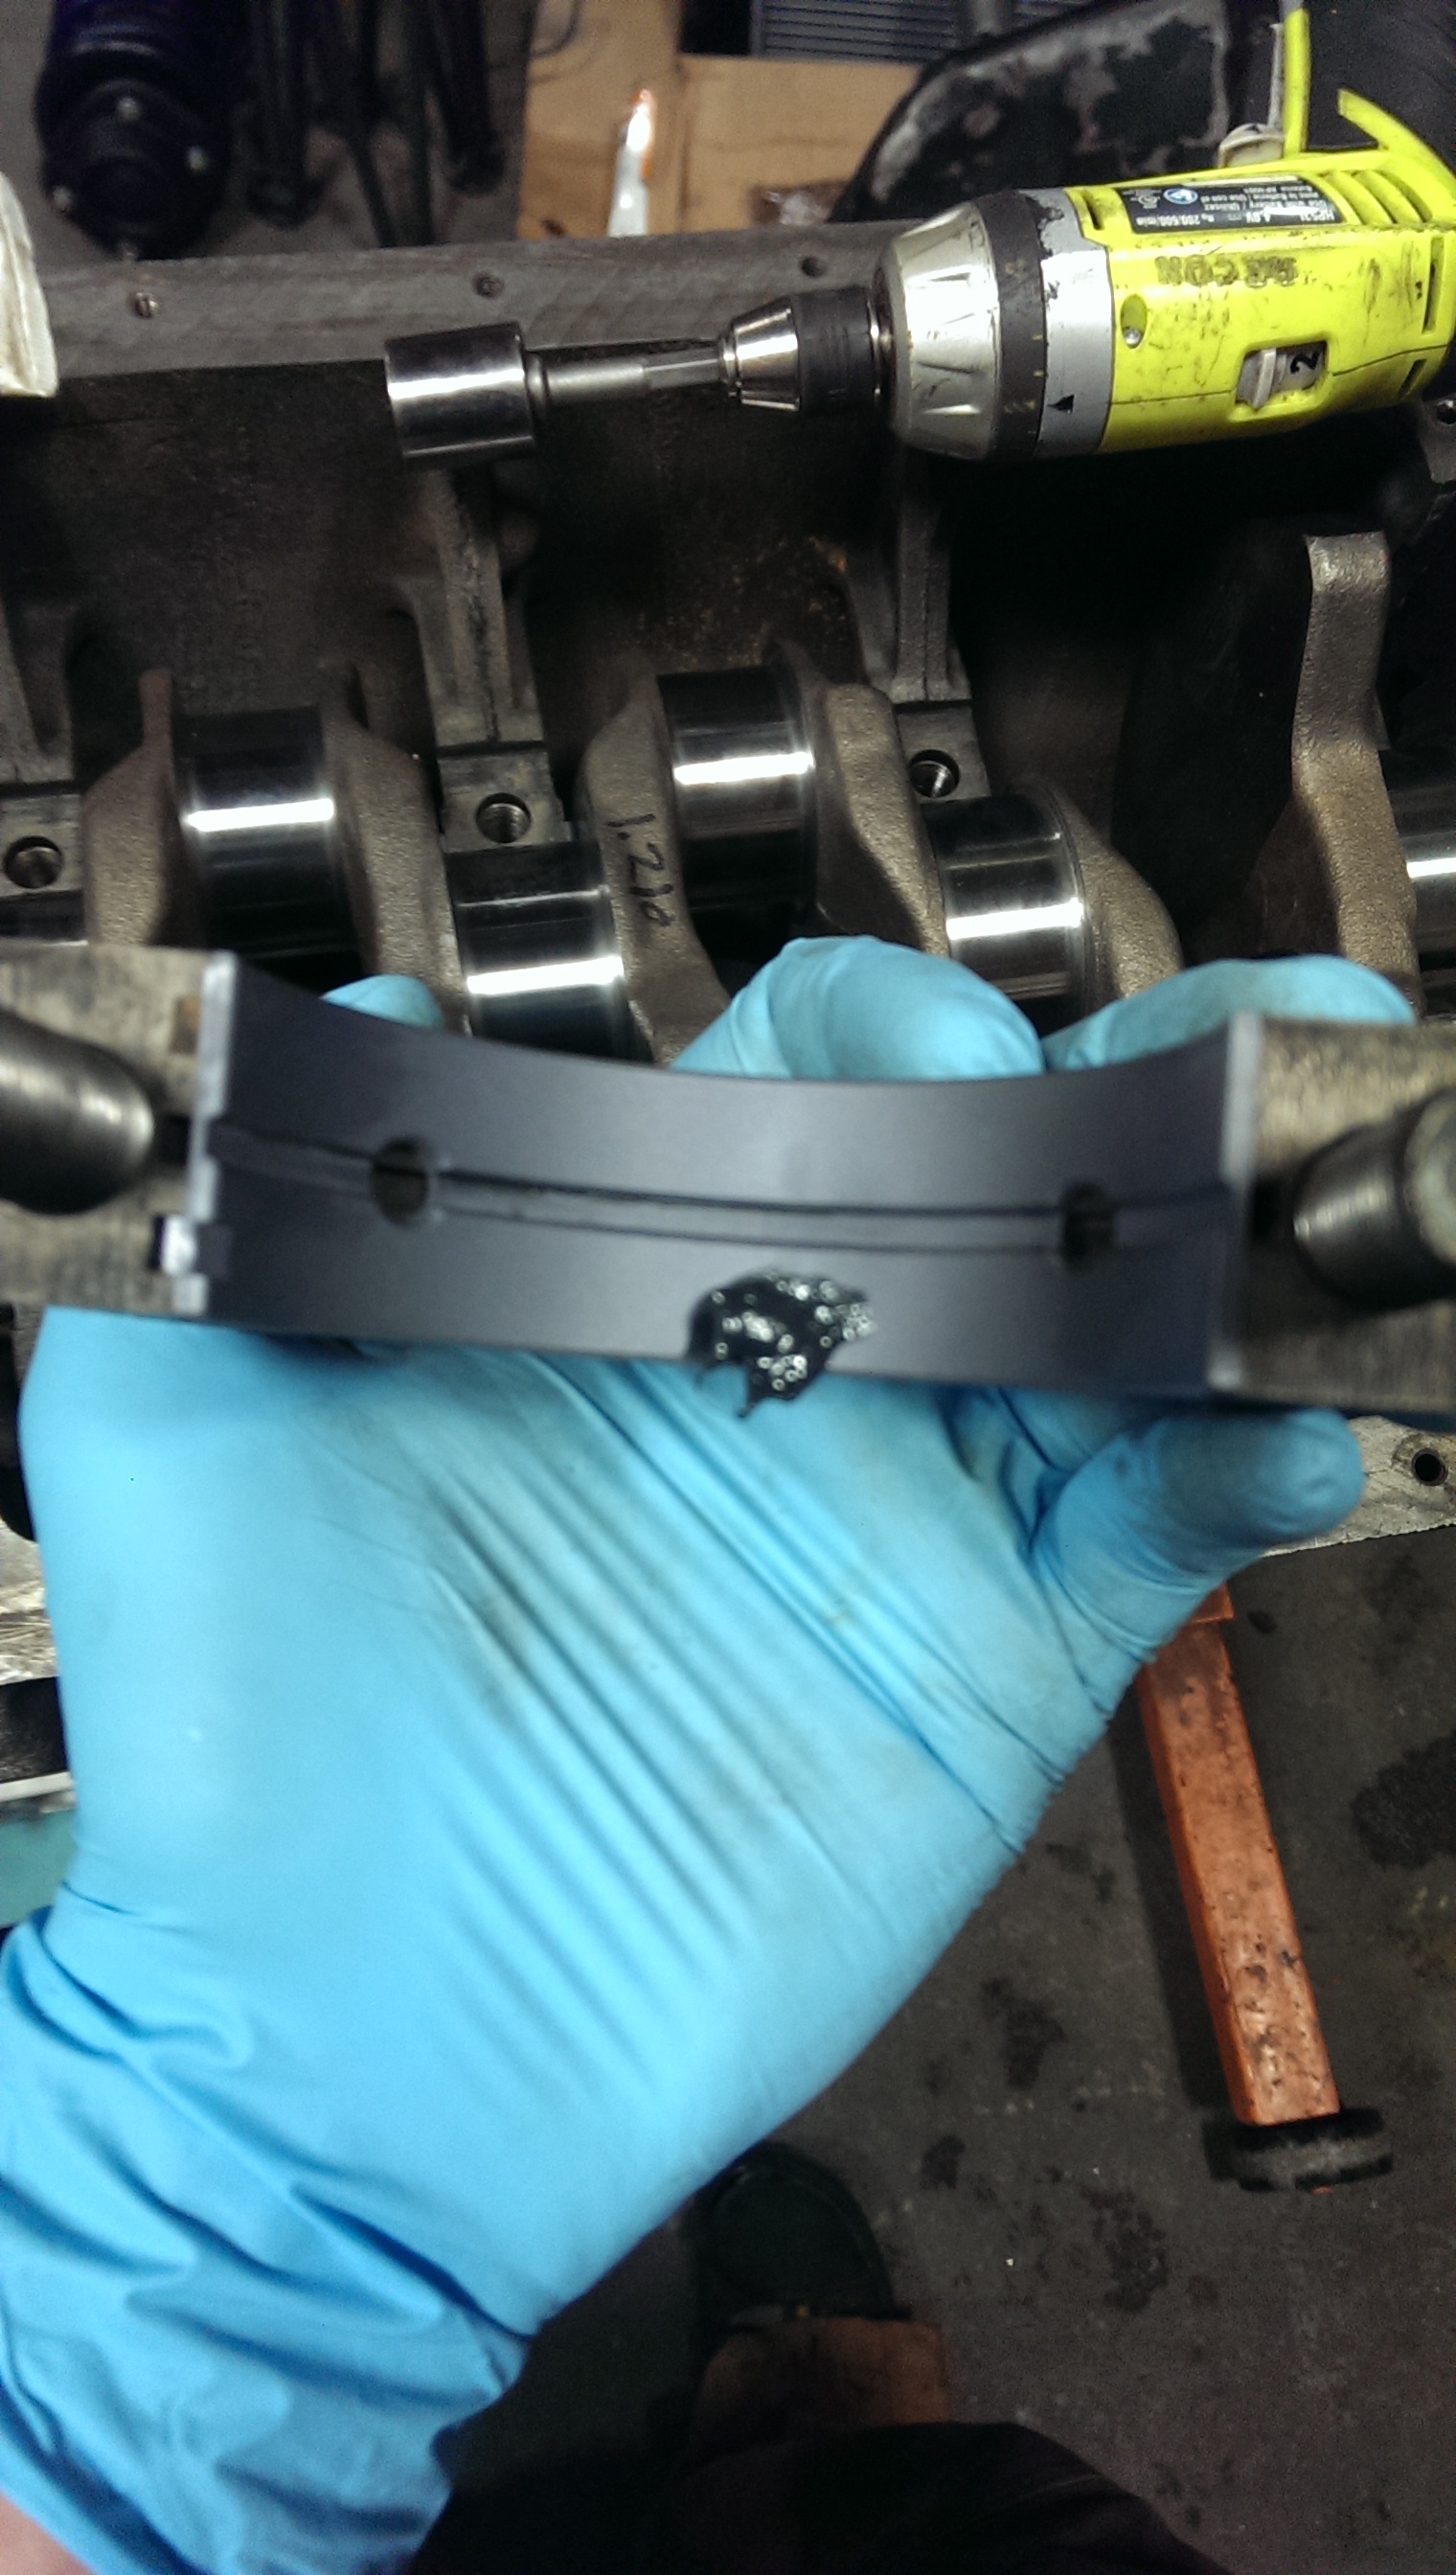
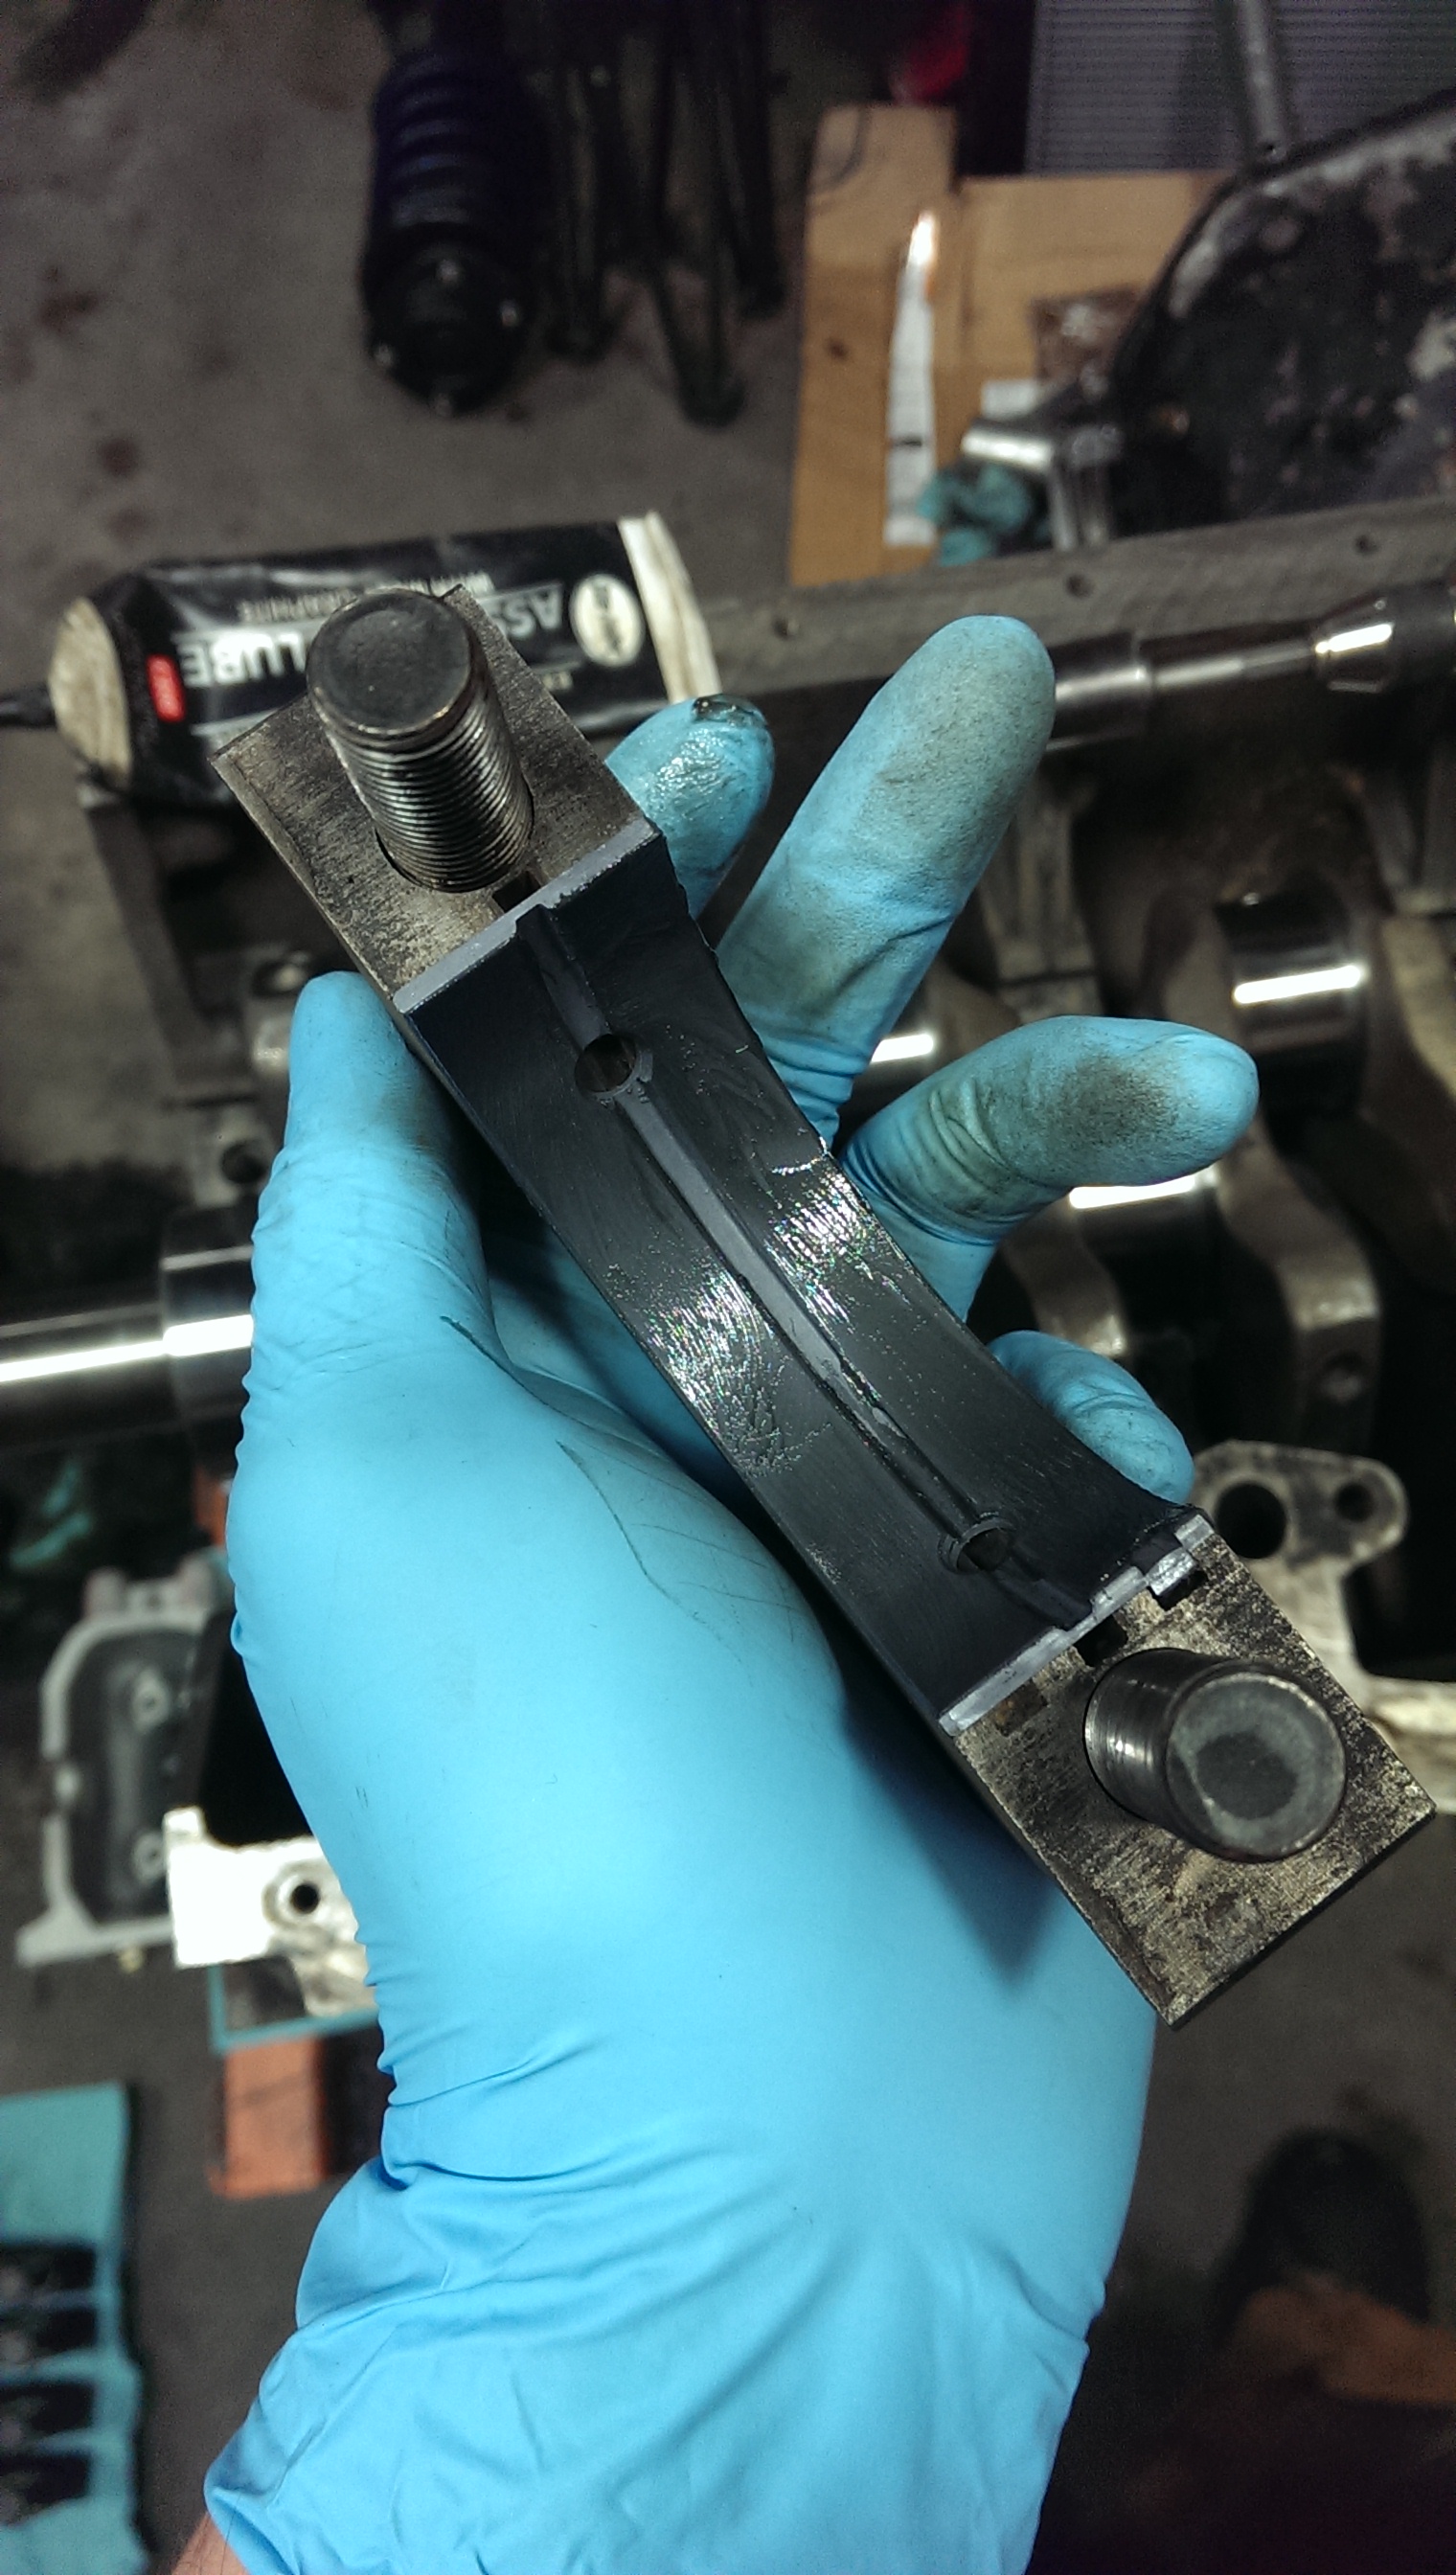
I start with a glob of moly assembly lube, then spread it out. I try not to get any in the oil groove.
Also, get the side of the thrust bearing.
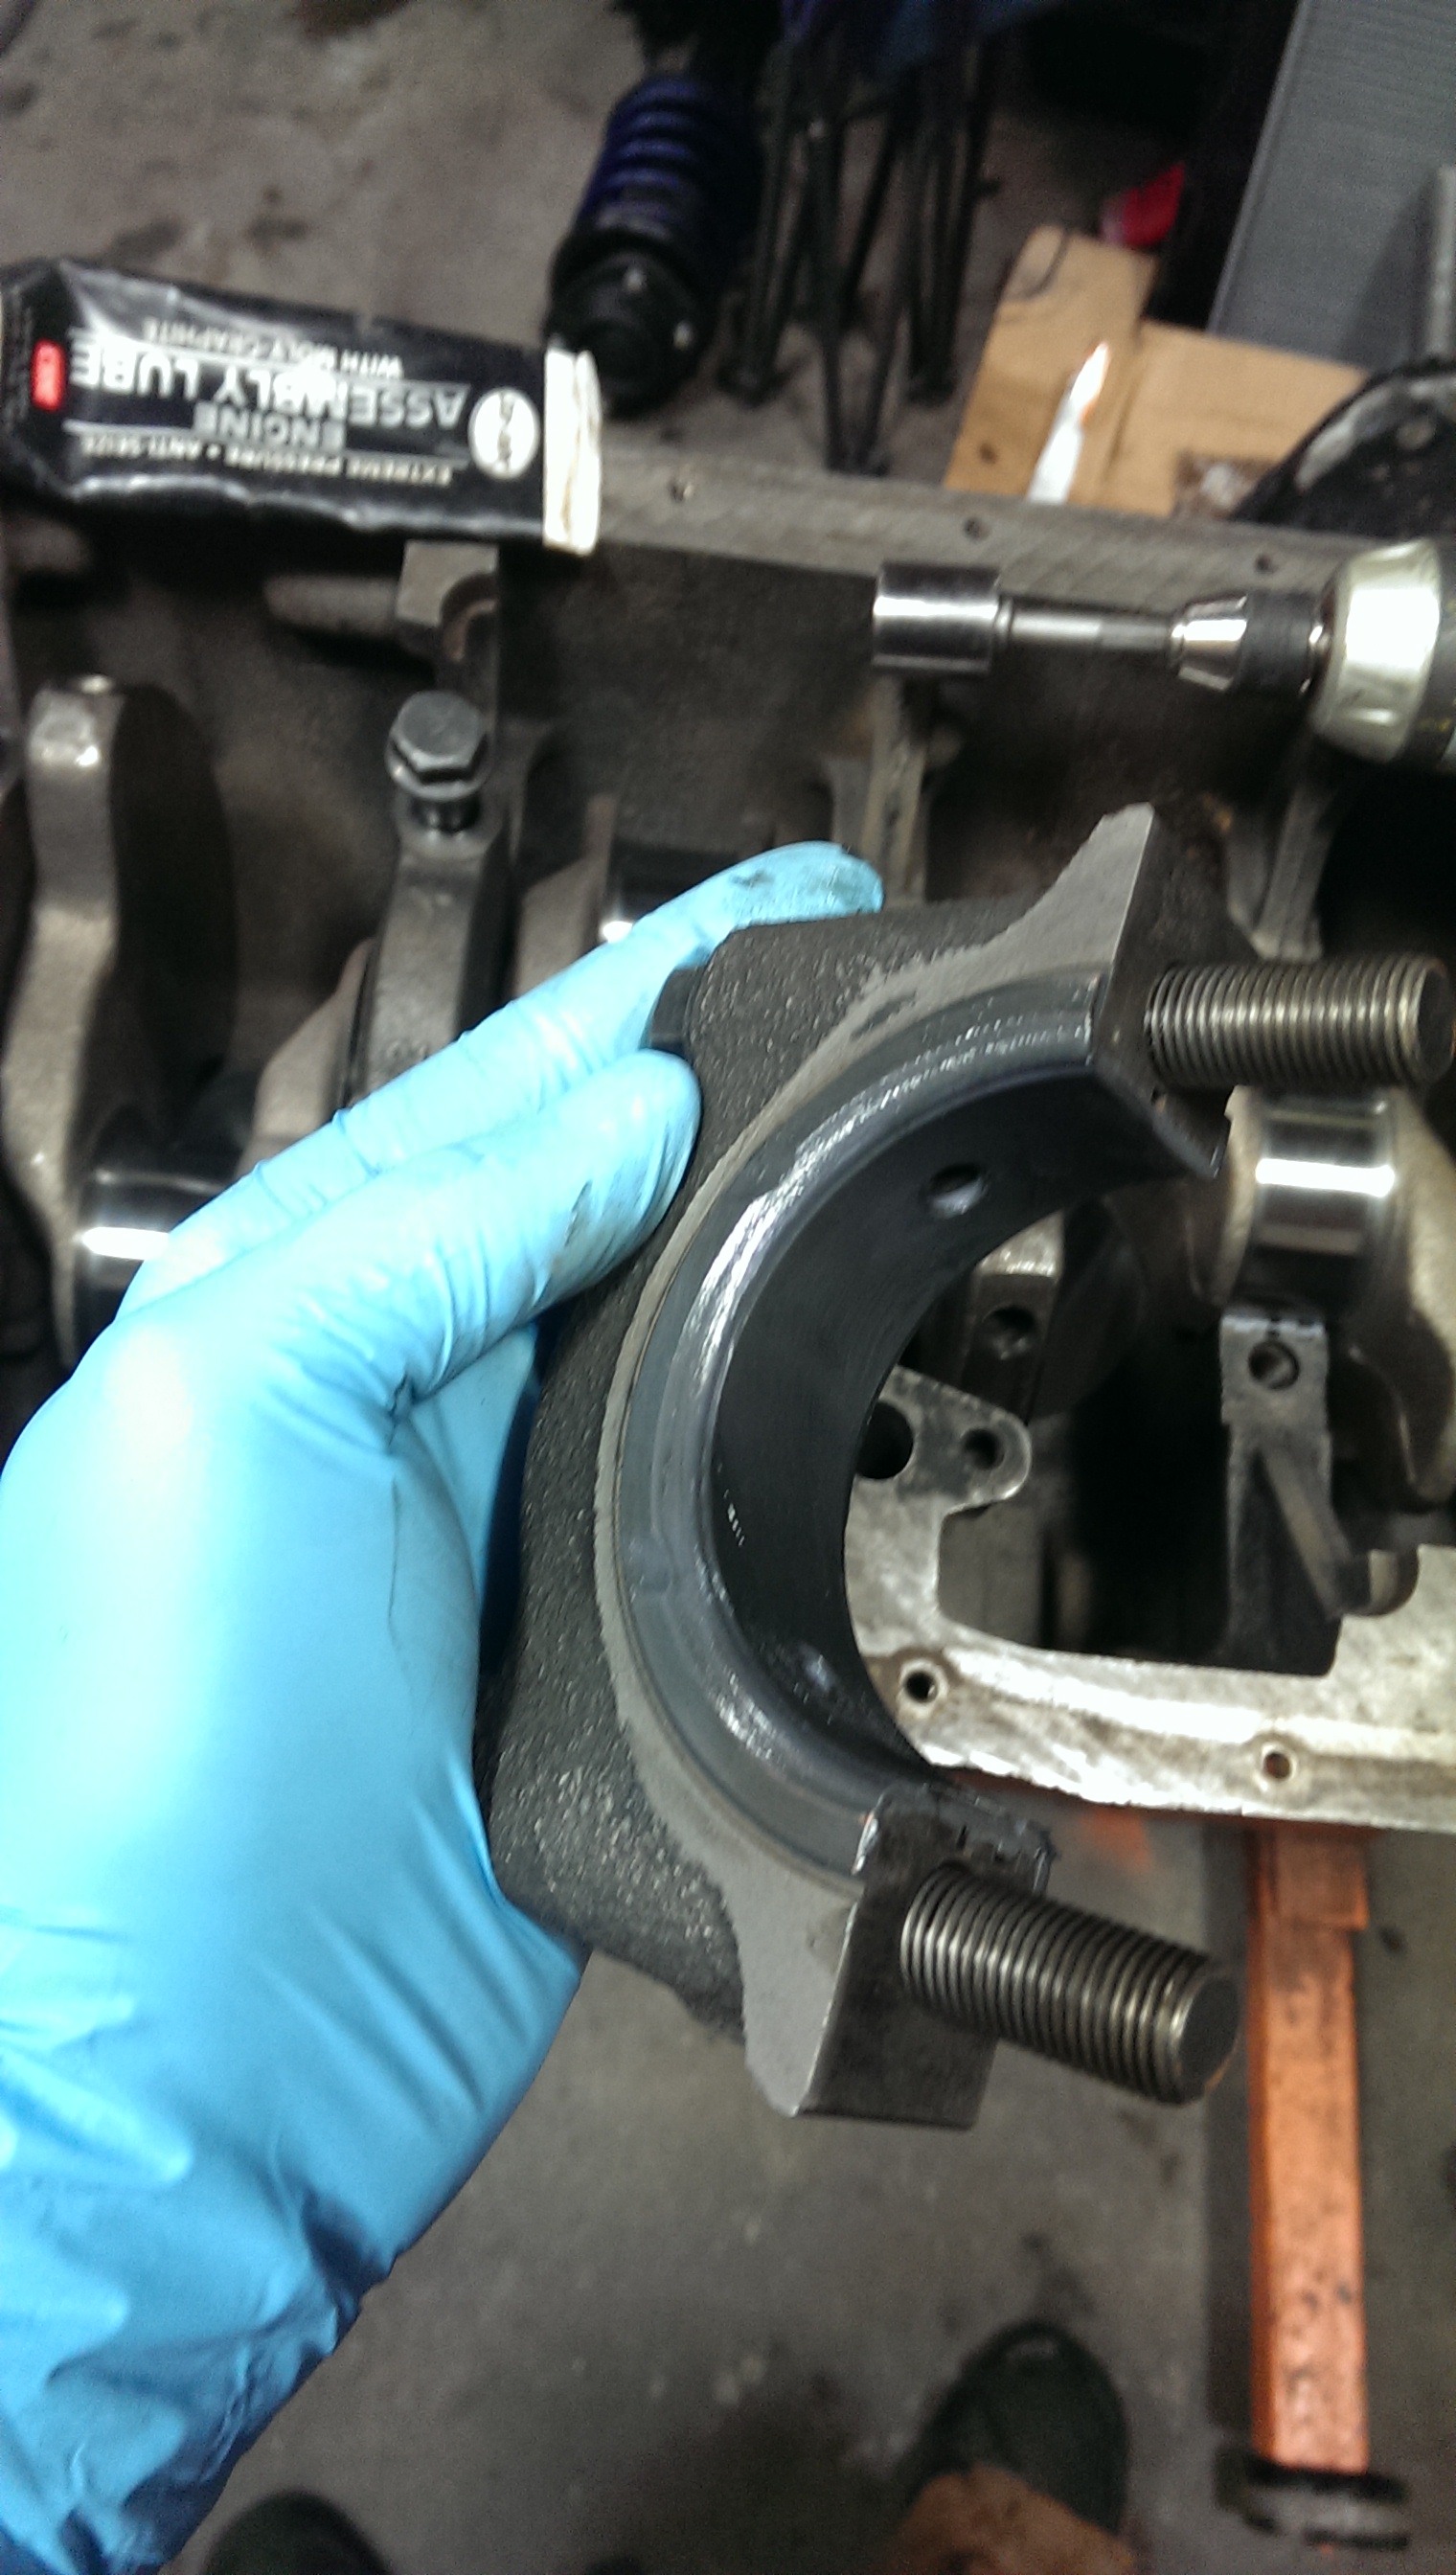
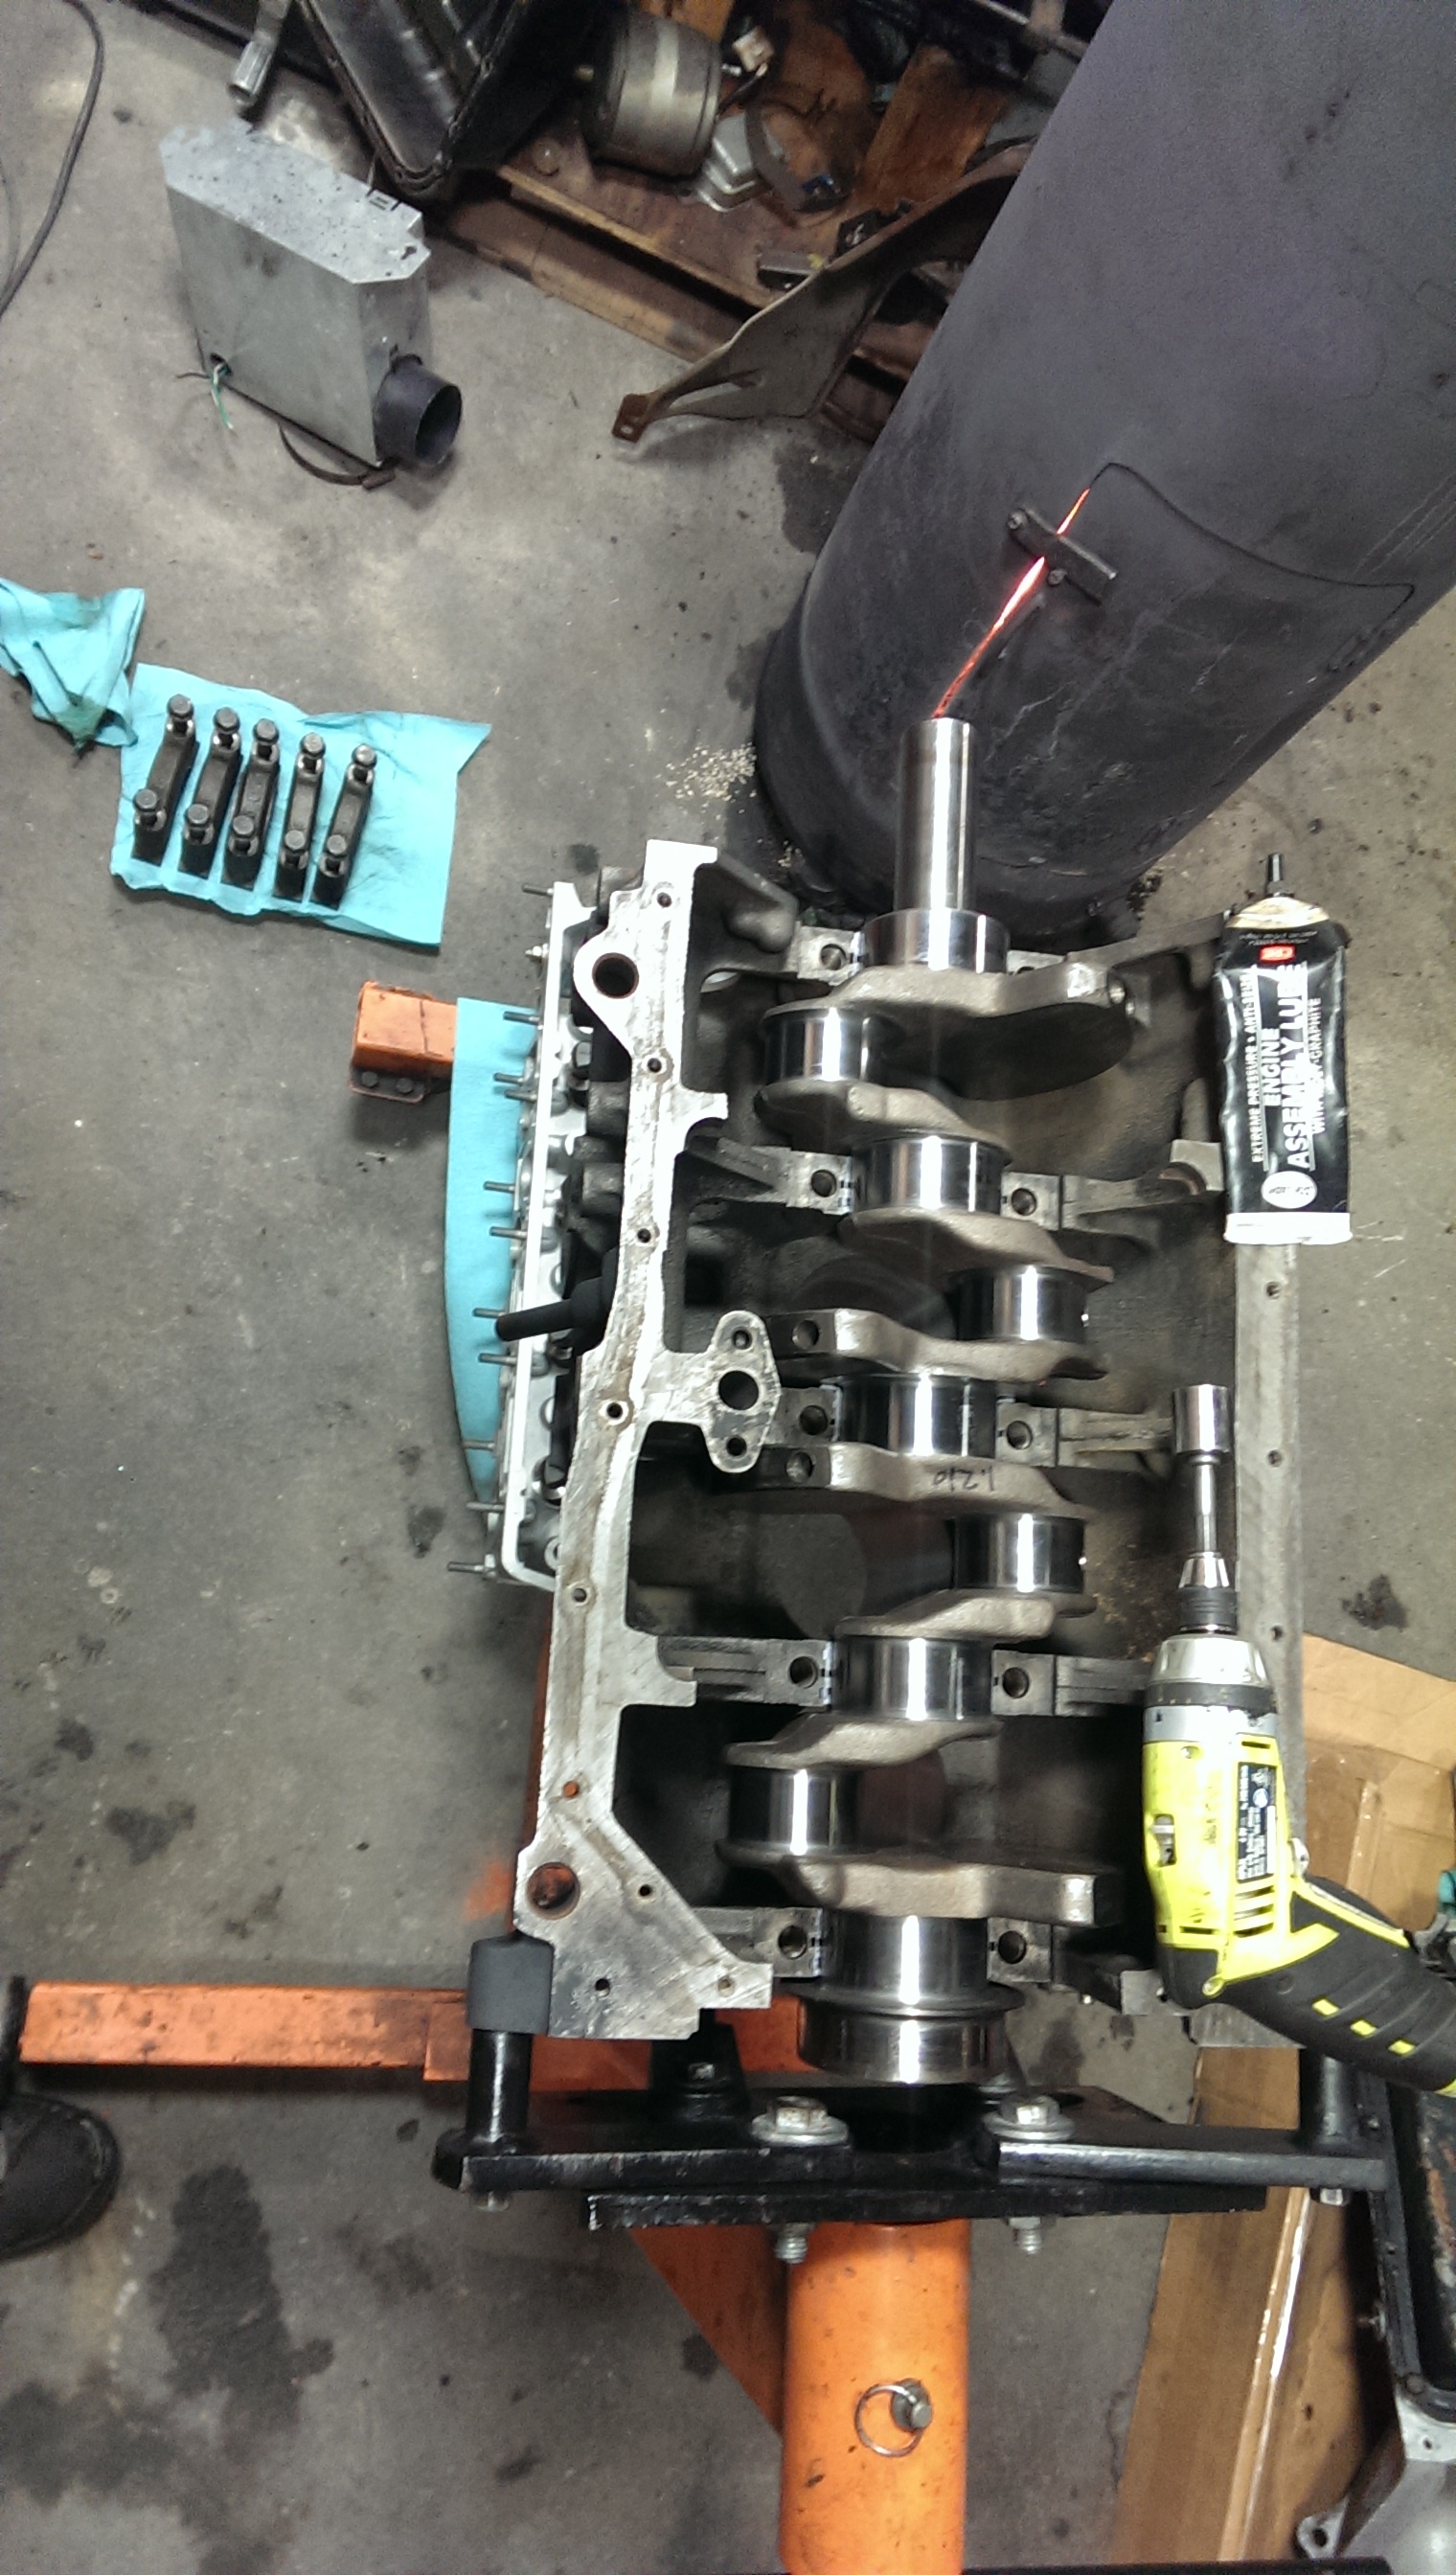
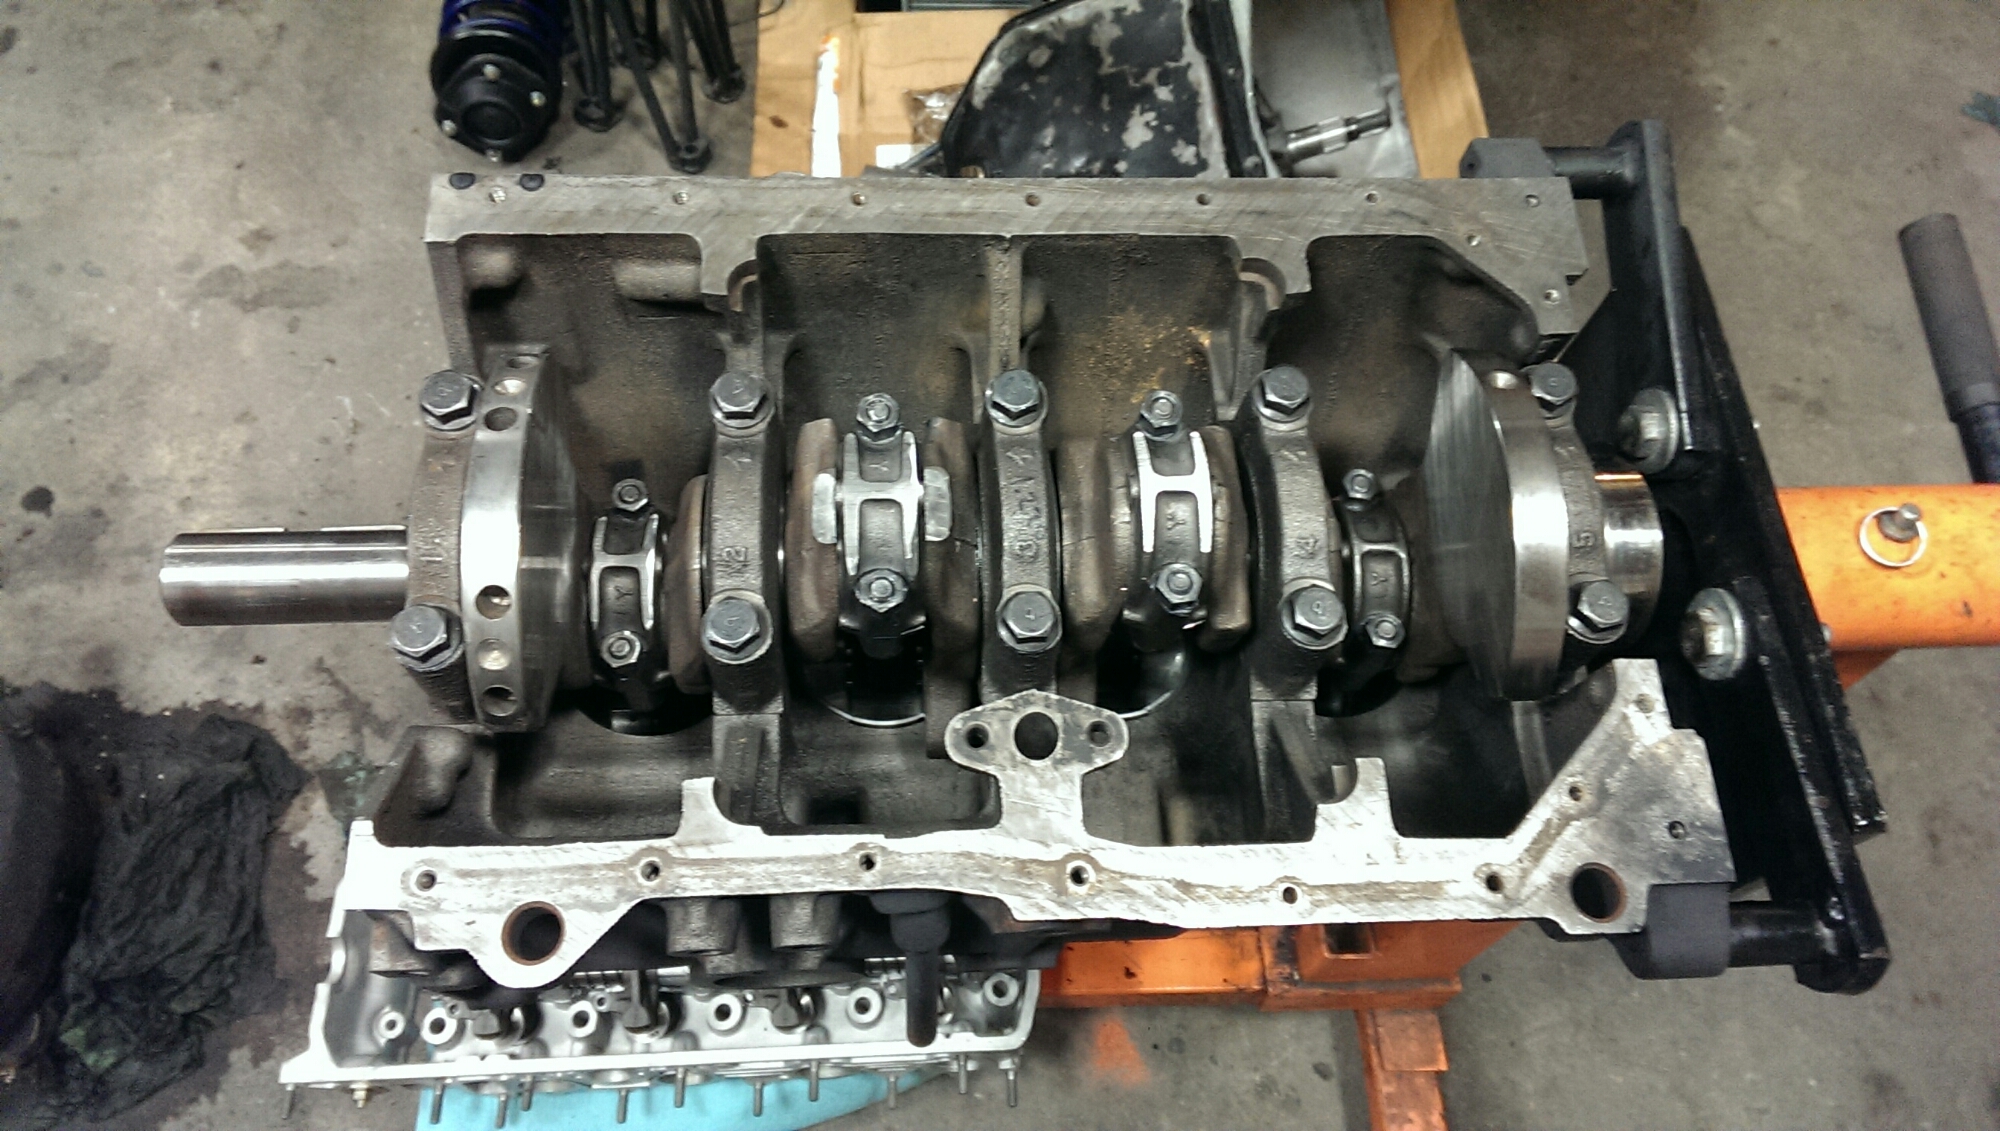
Once the bearings are lubed and installed in the block and caps, install the crankshaft.
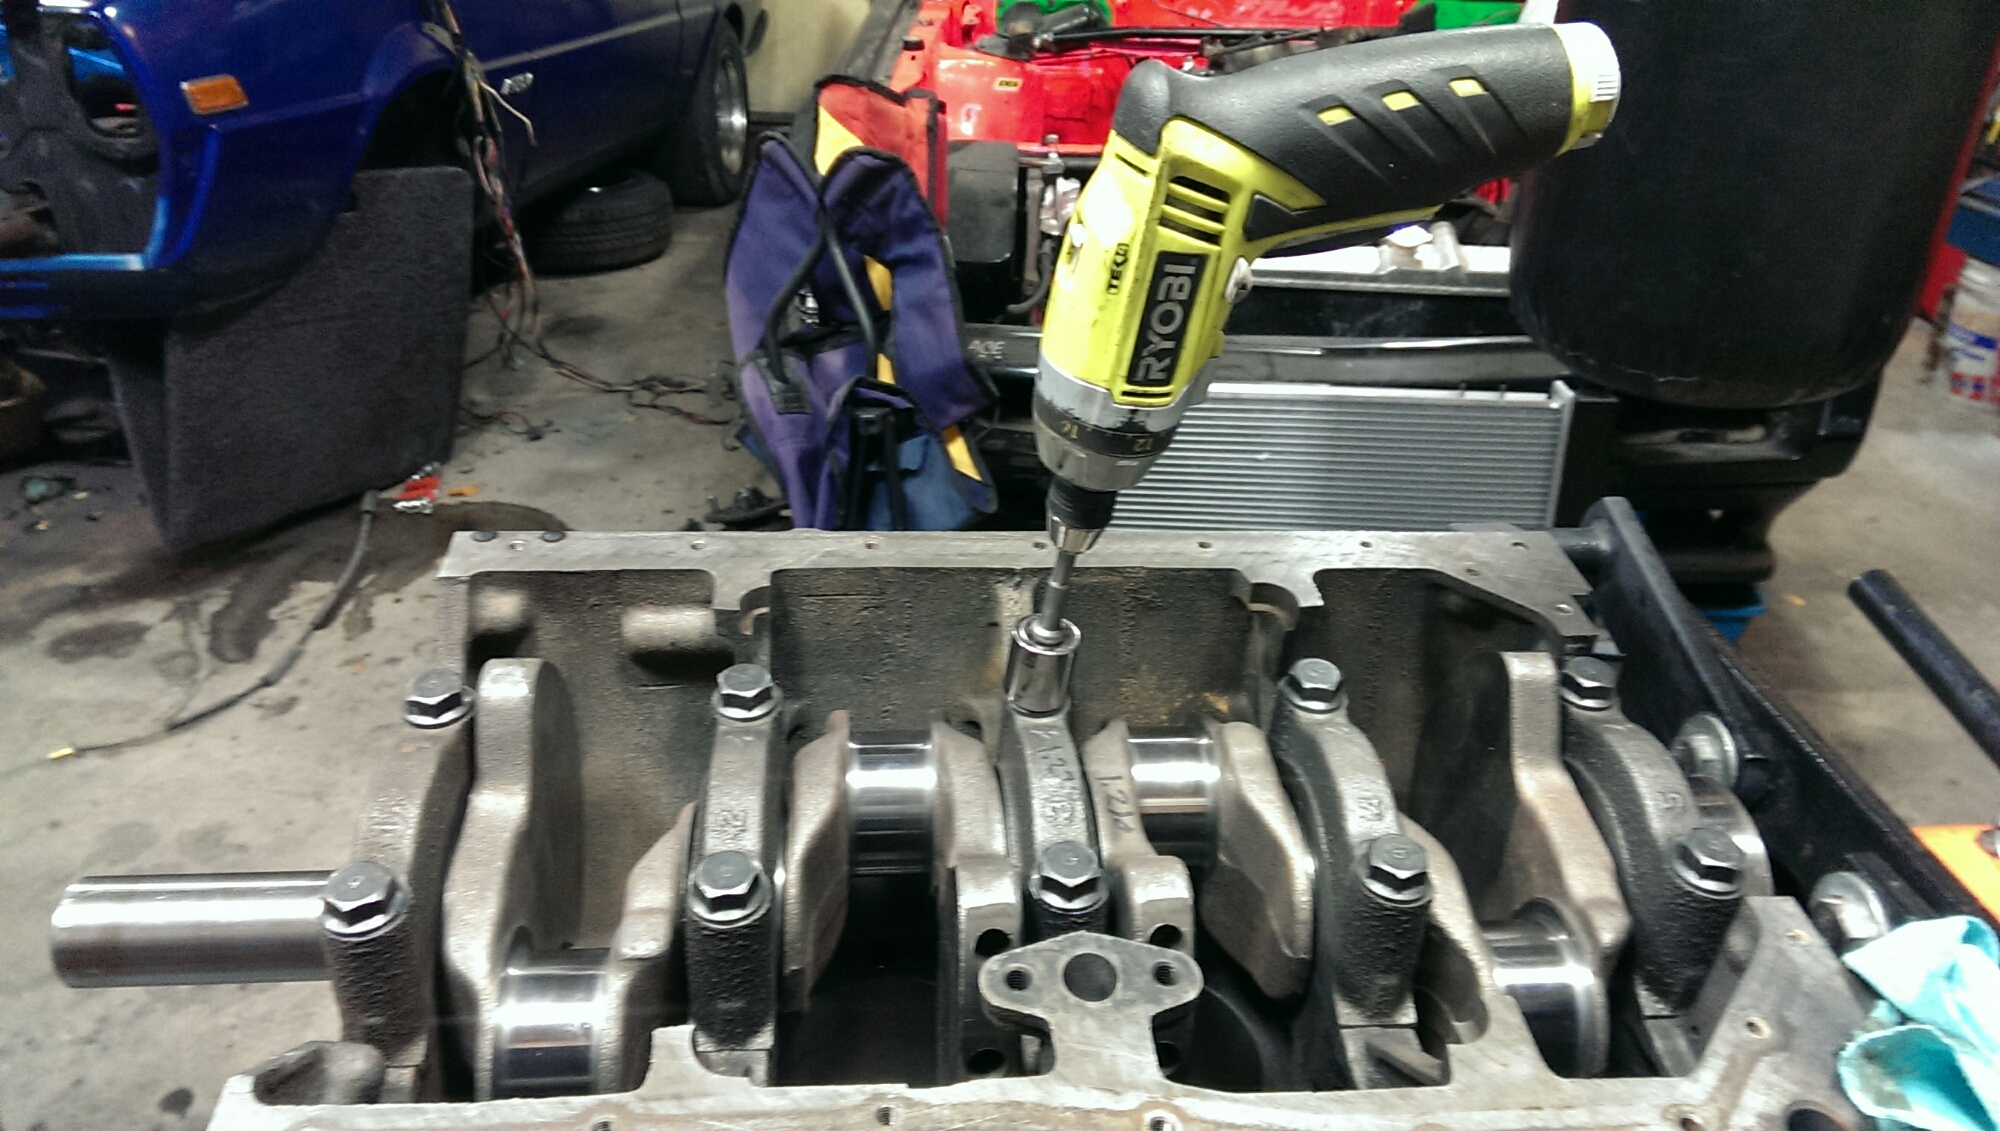
Then I’ll install the bearing caps.
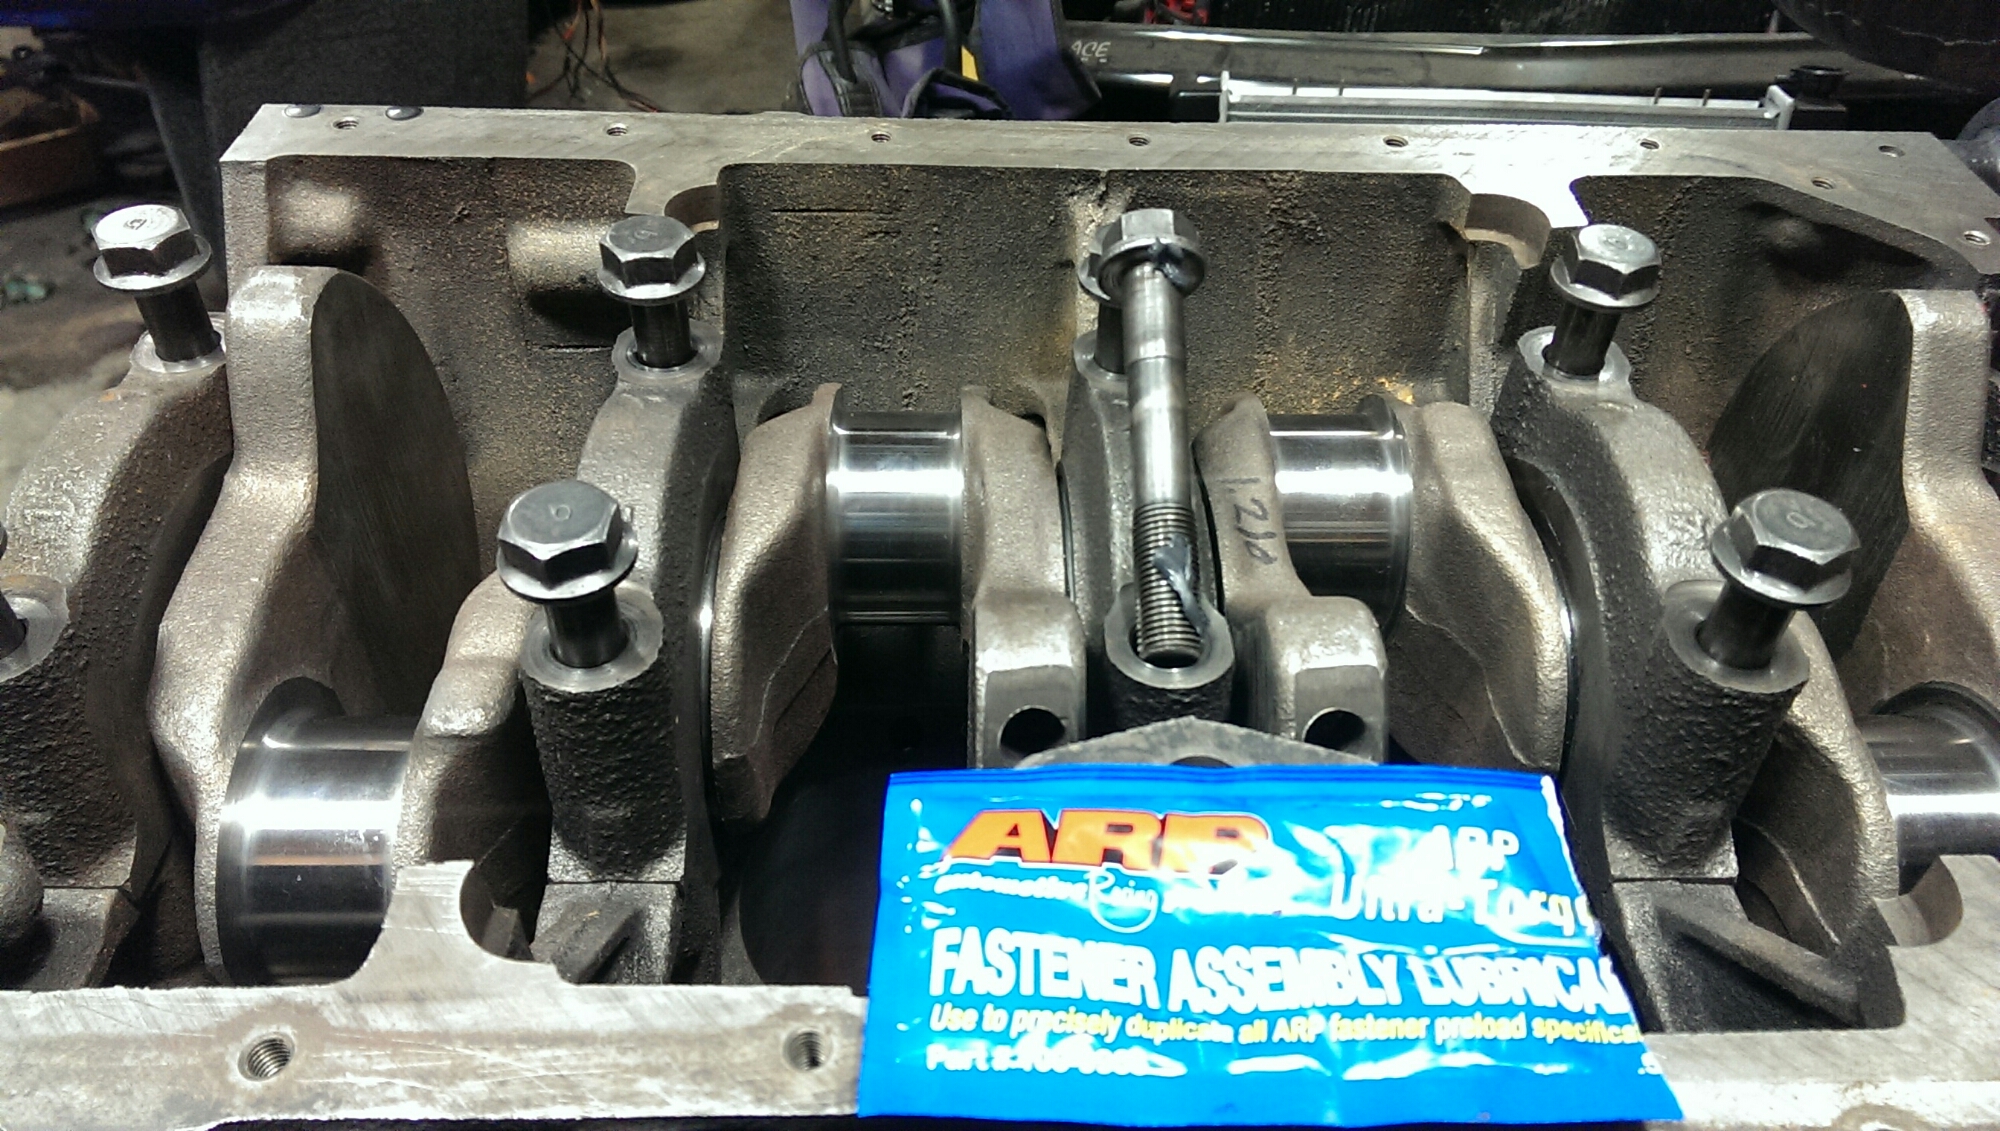
I prefer to use arp ultra torque. Even if I’m not using arp fasteners. You could use oil, or assembly lube.
I cheat a little and pretorque the bolts with my ryobi. I think it only goes up to 20, but I dial it back to 16 or so.
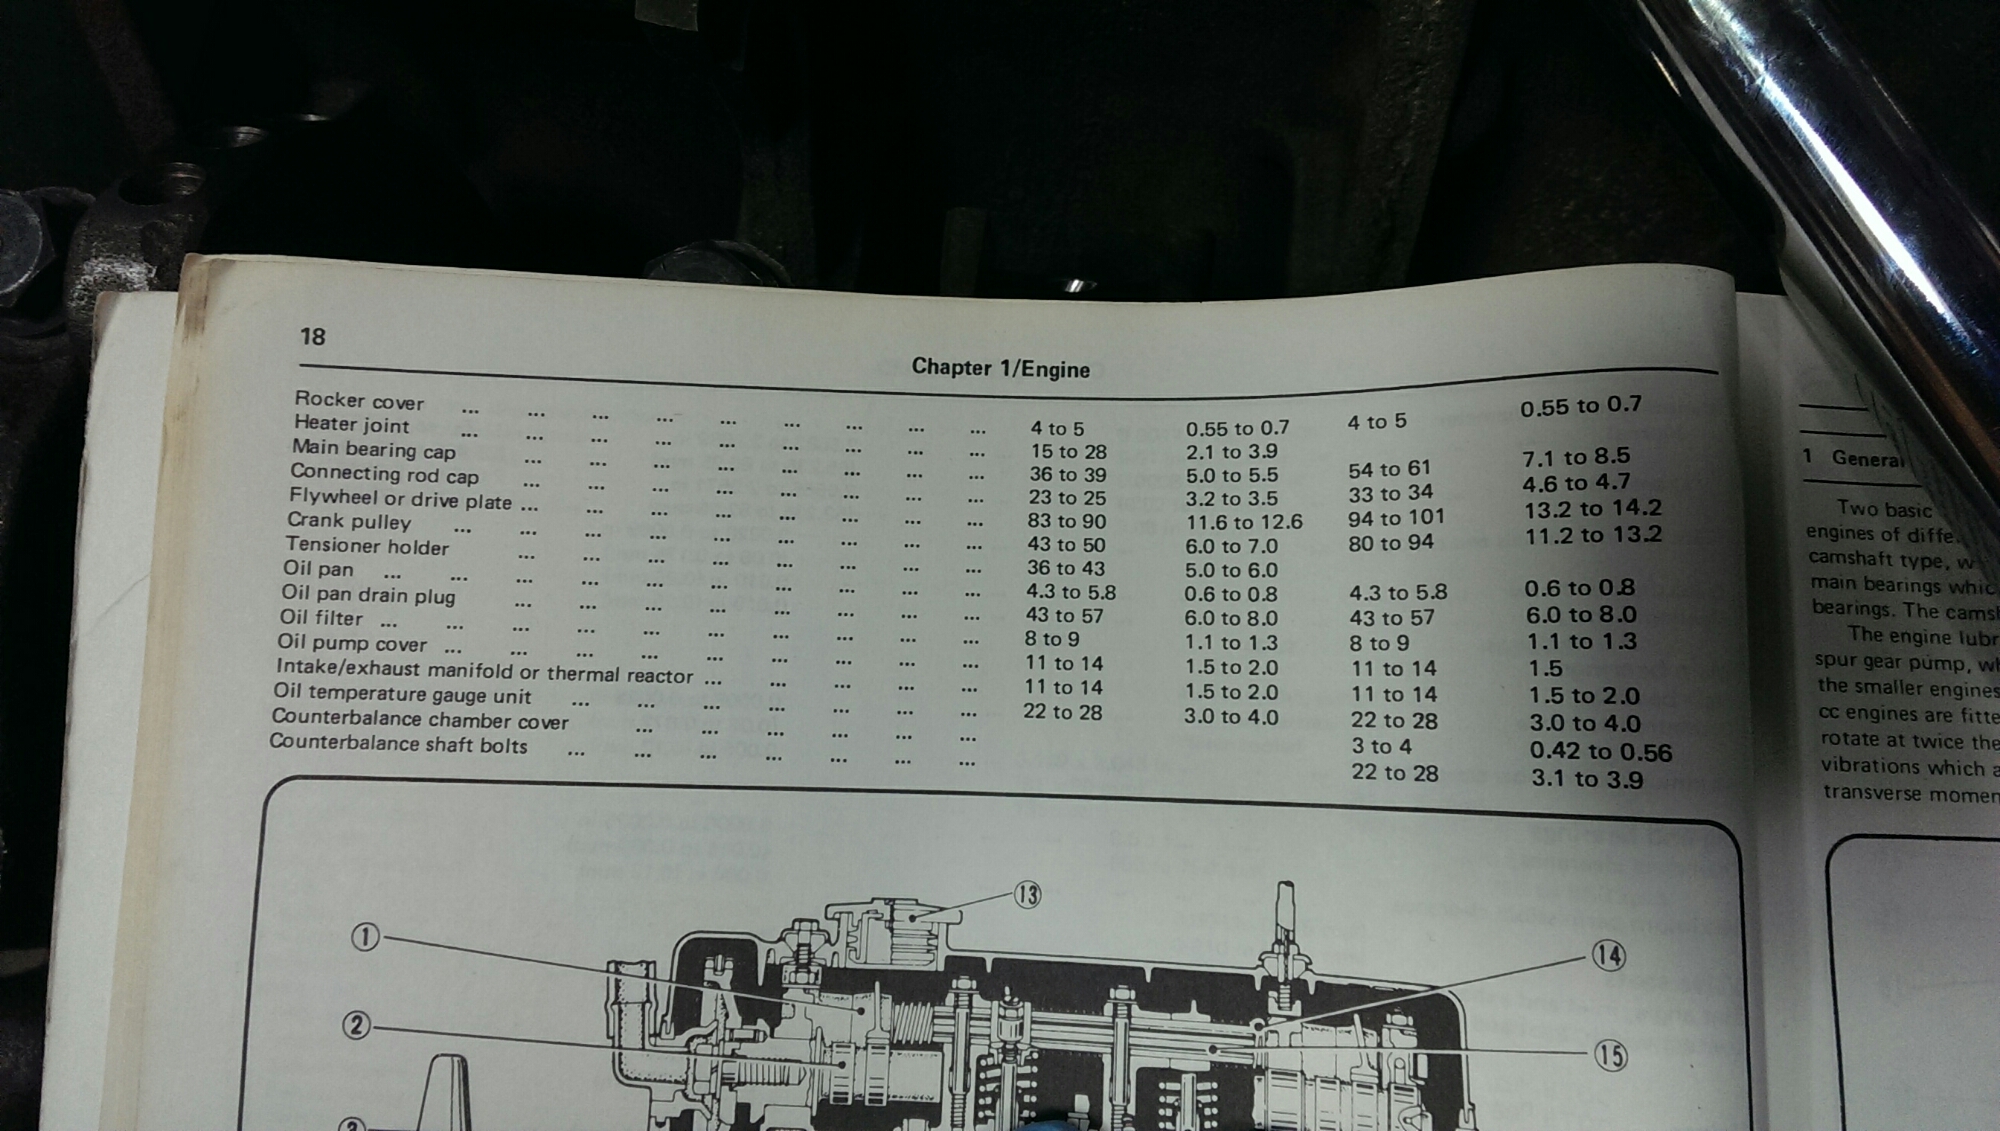
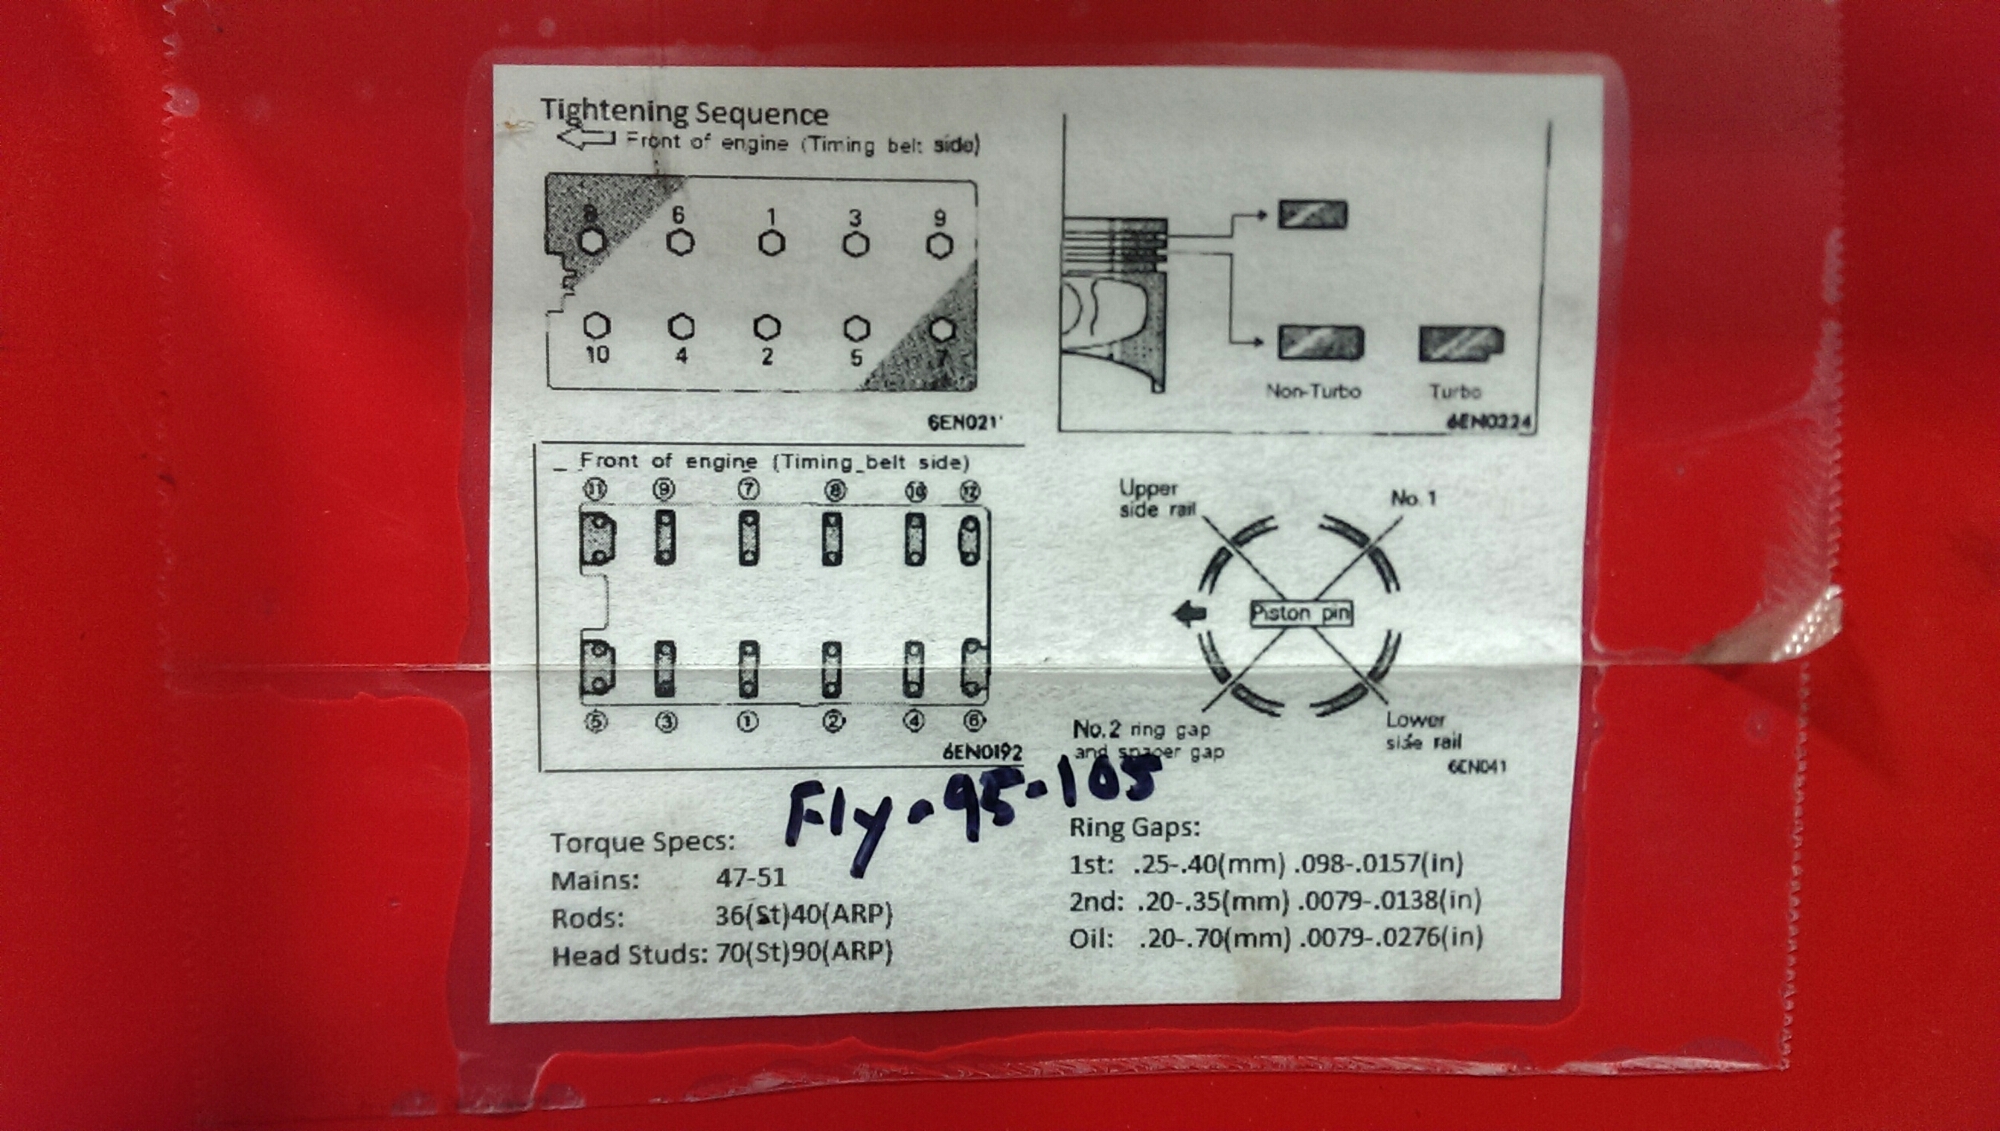
Then, torque them to spec. I’m going to use the same setting I used when I plastigauged the crank, 60 ft/lbs.
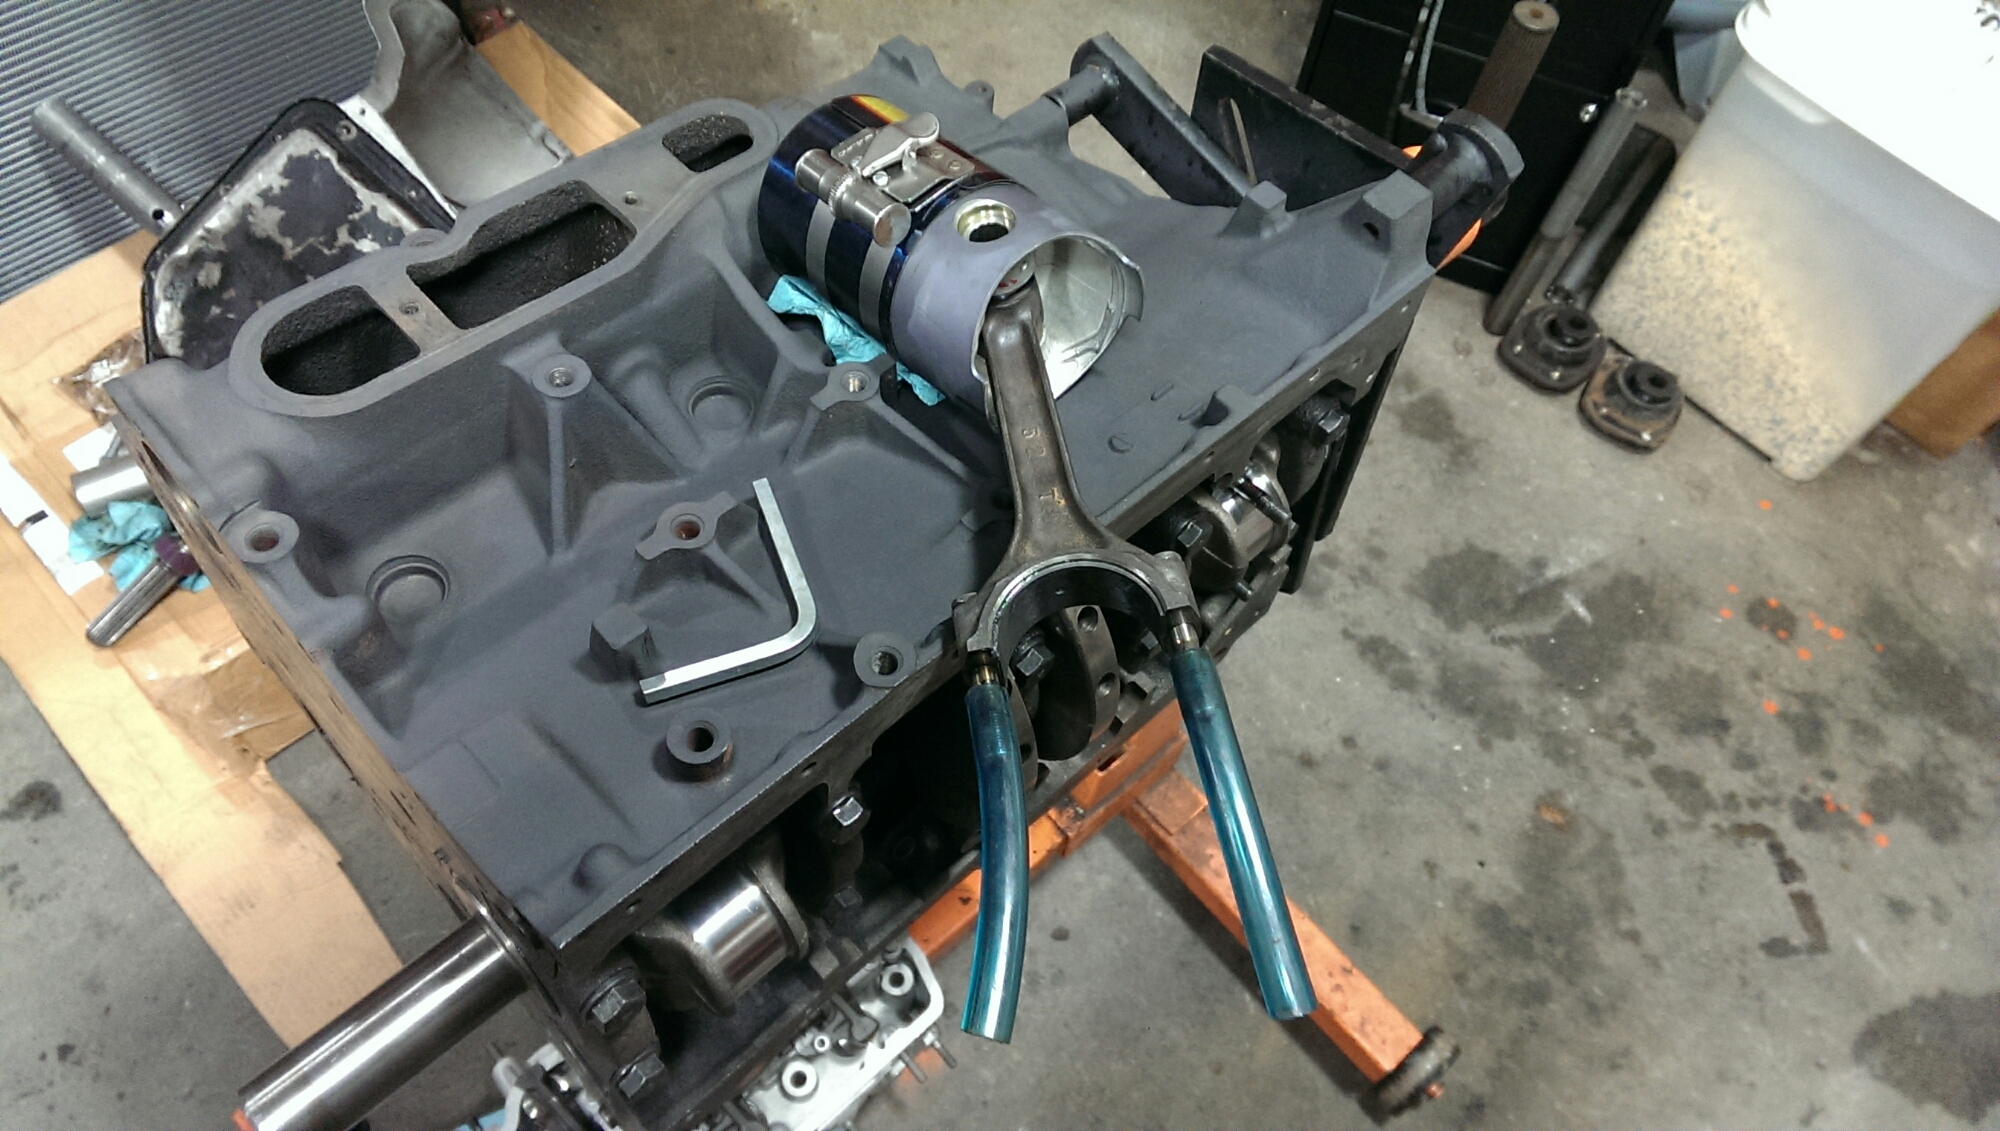
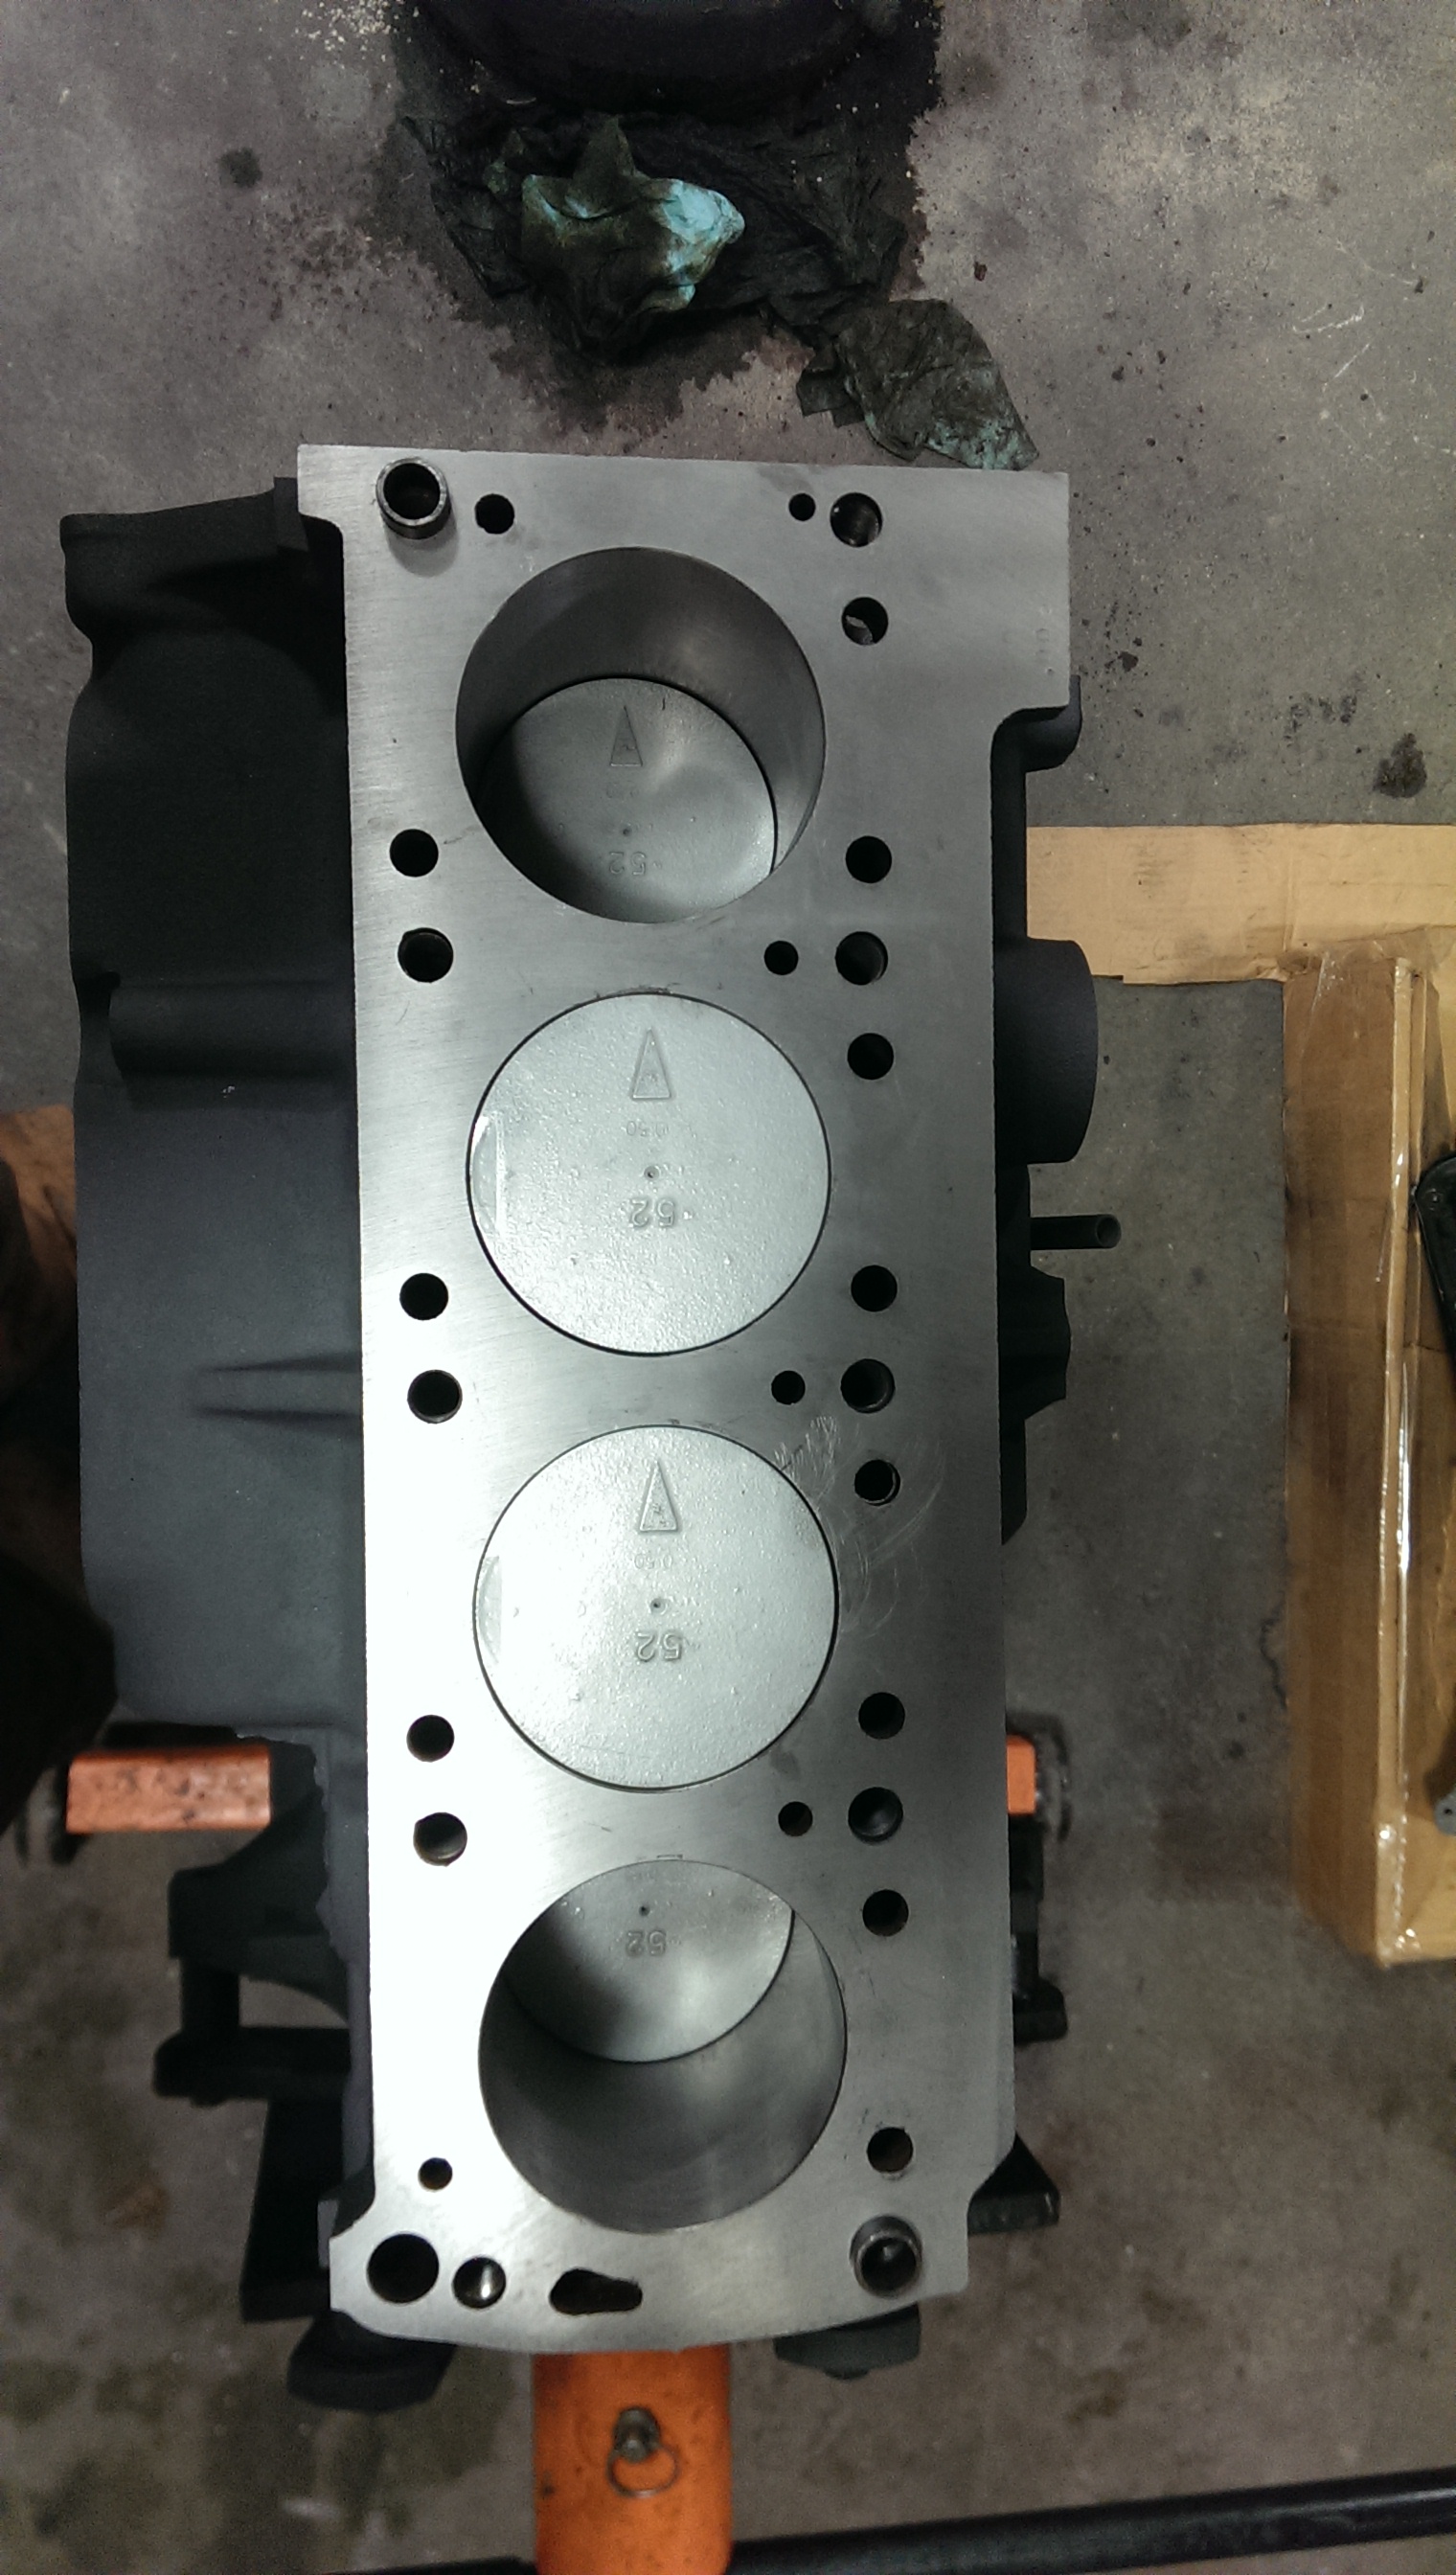
Once the crank is bolted in, I’ll flip the block over, or on its side, to start installing the pistons.
Proper ring placement is important.
In order not to scratch the newly ground crankshaft, I’m using pieces of silicone hose. They also help give an indication of how far, or how straight the piston is.
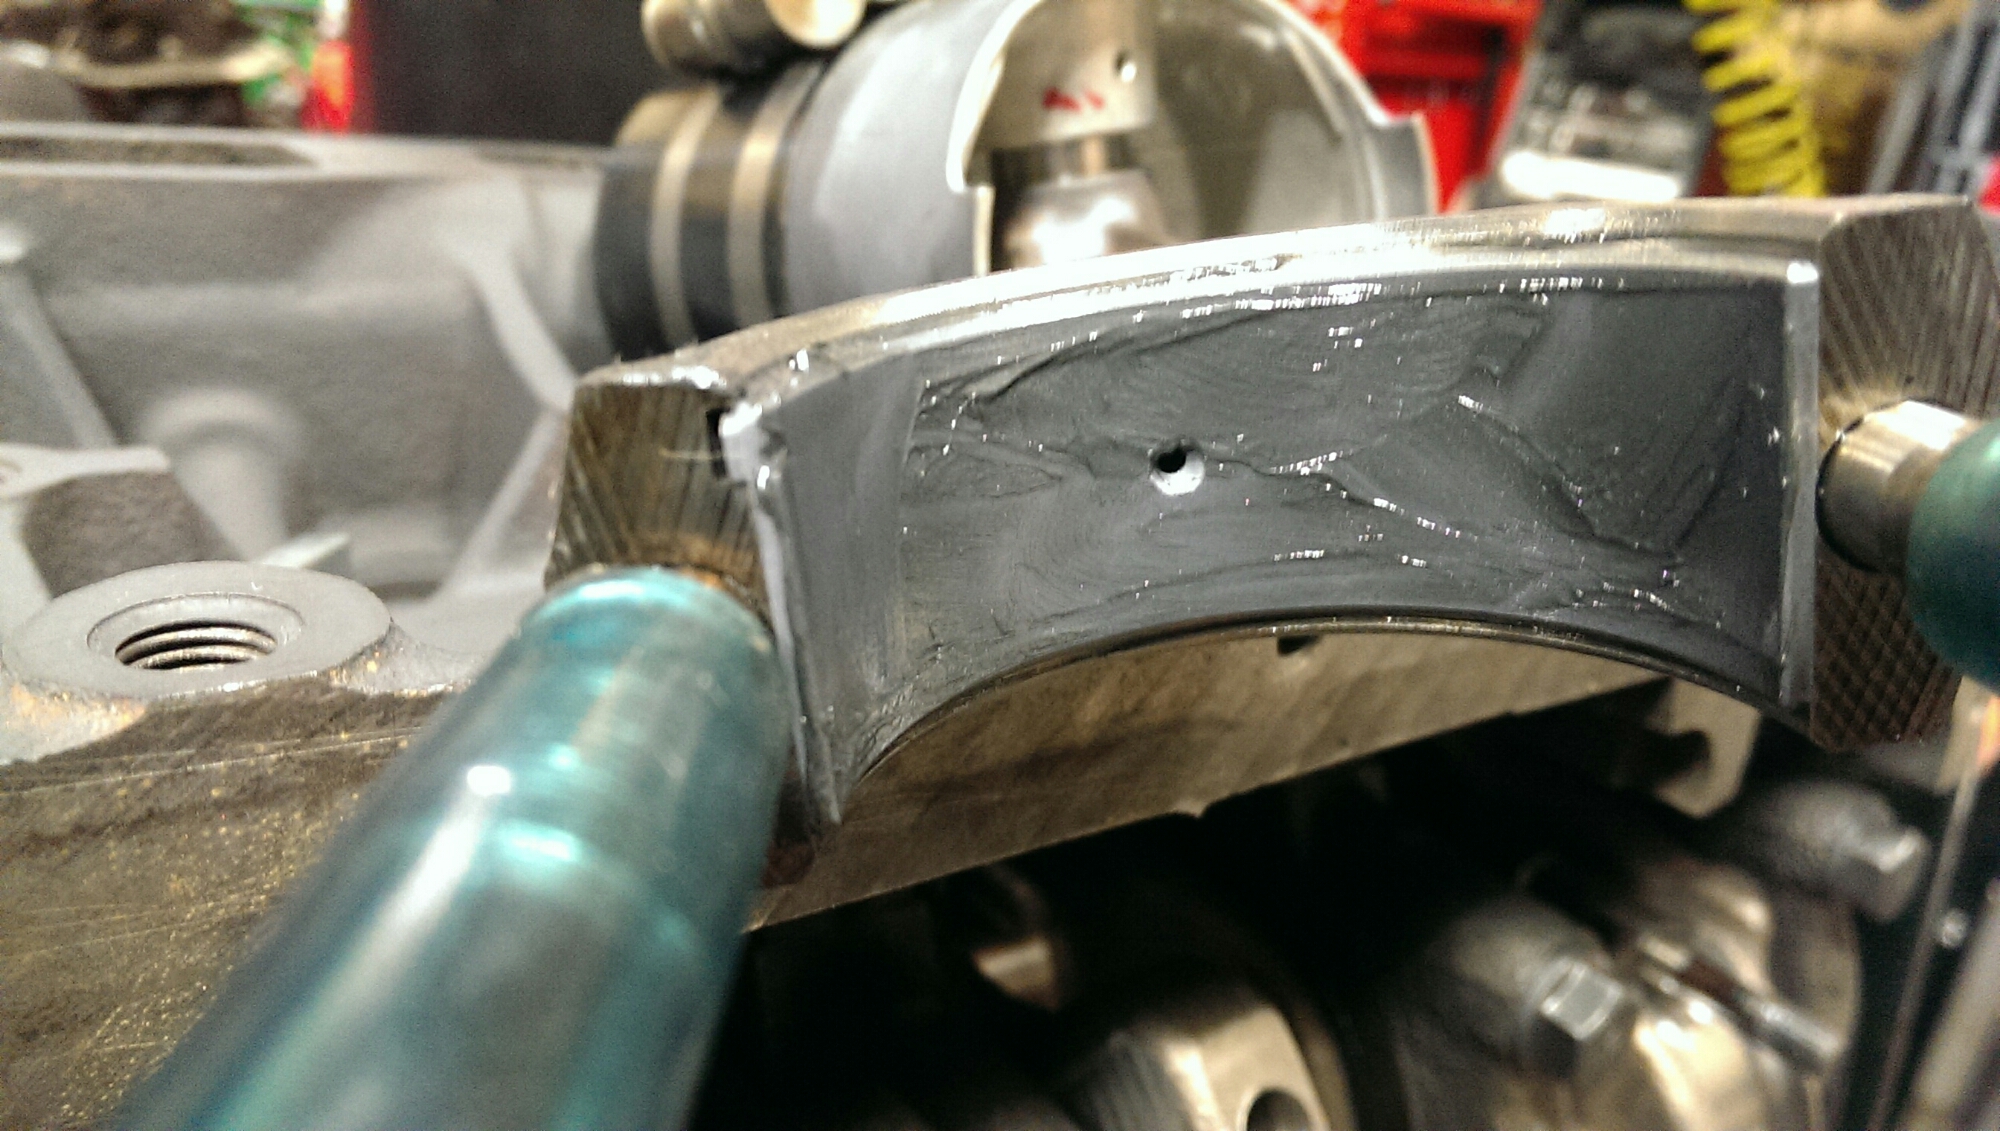
When I apply assembly lube to the big end caps, I try not to pack it in the hole.
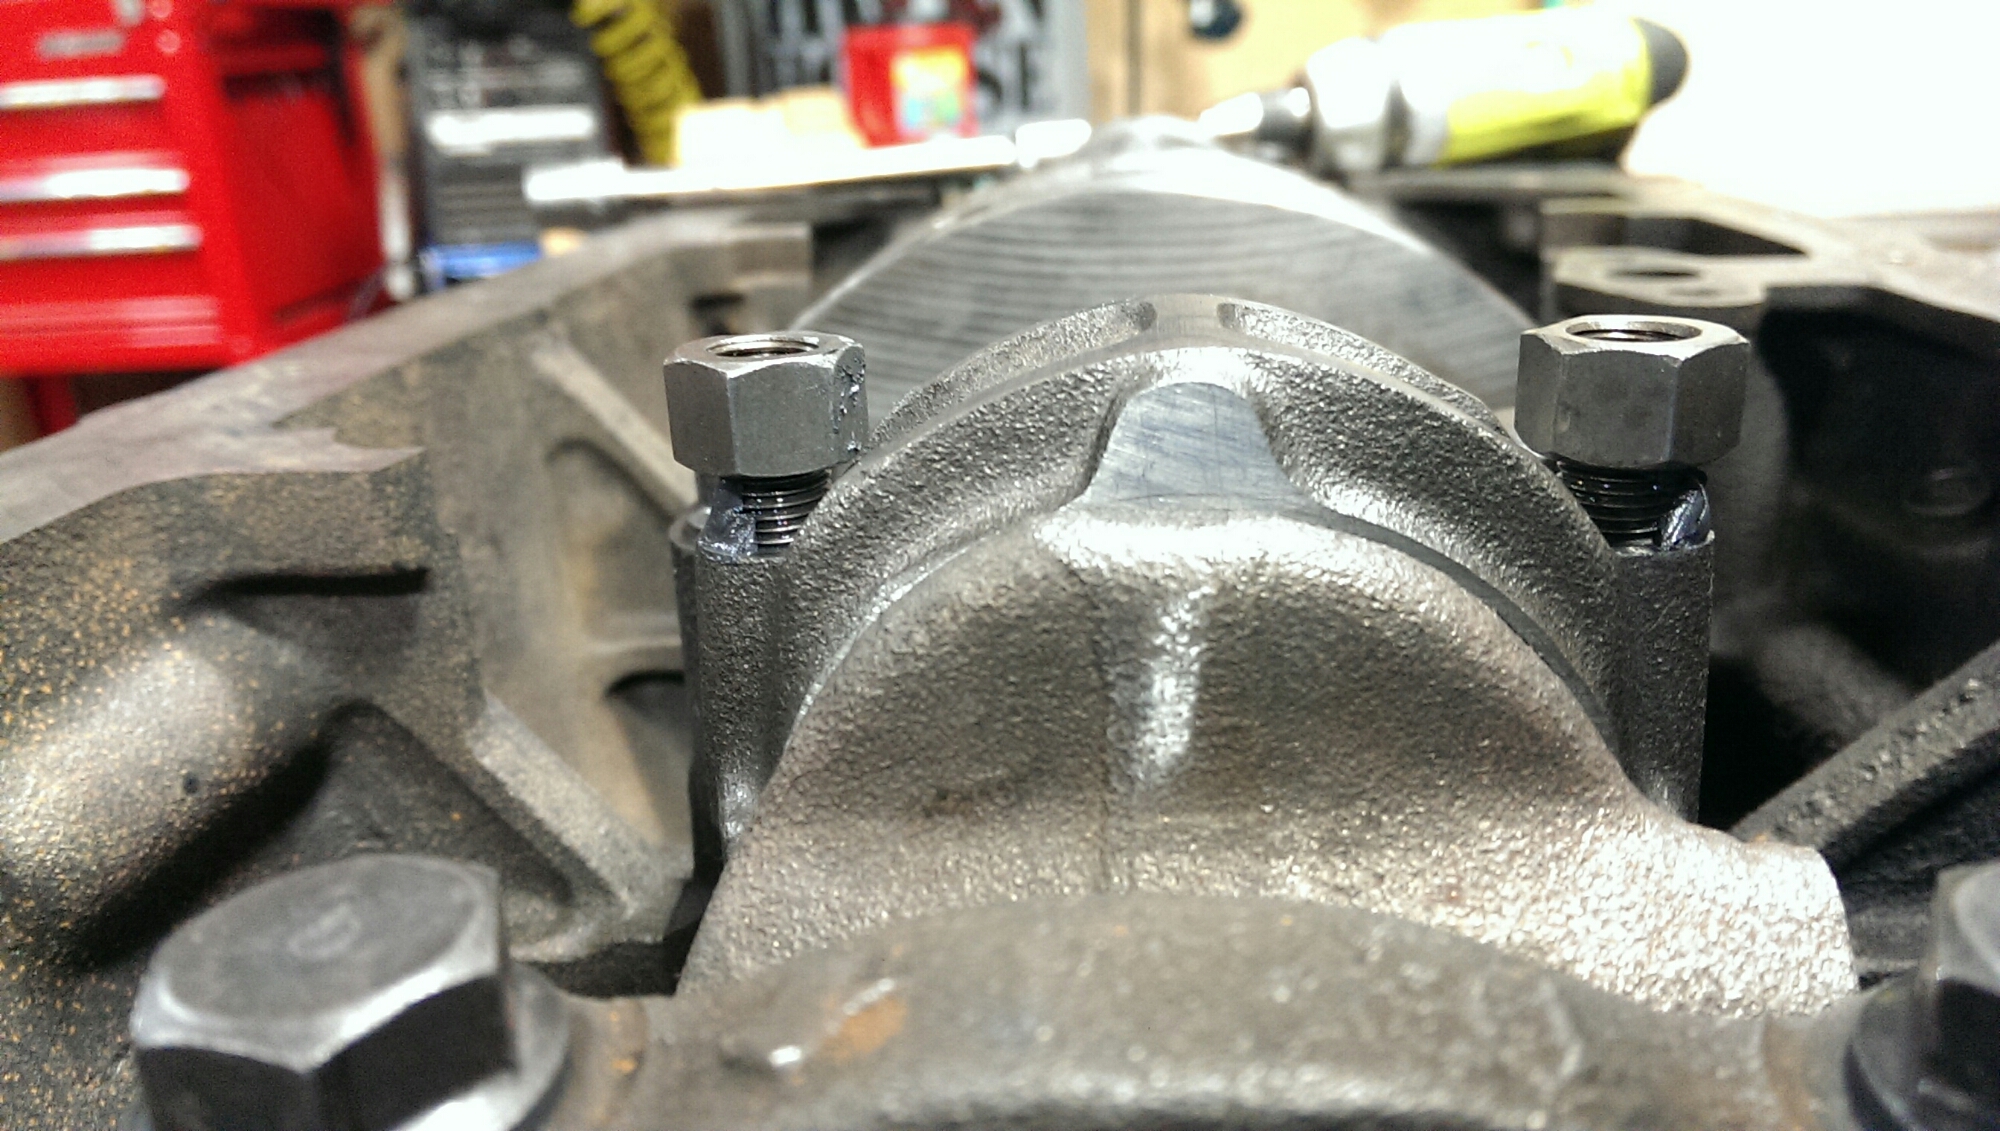
I apply the ultra torque to the rod bolts, and nut base like so. Also torque to the same spec as plastigauged.
Then you should be able to rotate the assembly with a bit of effort. If you can’t rotate it, something went wrong.
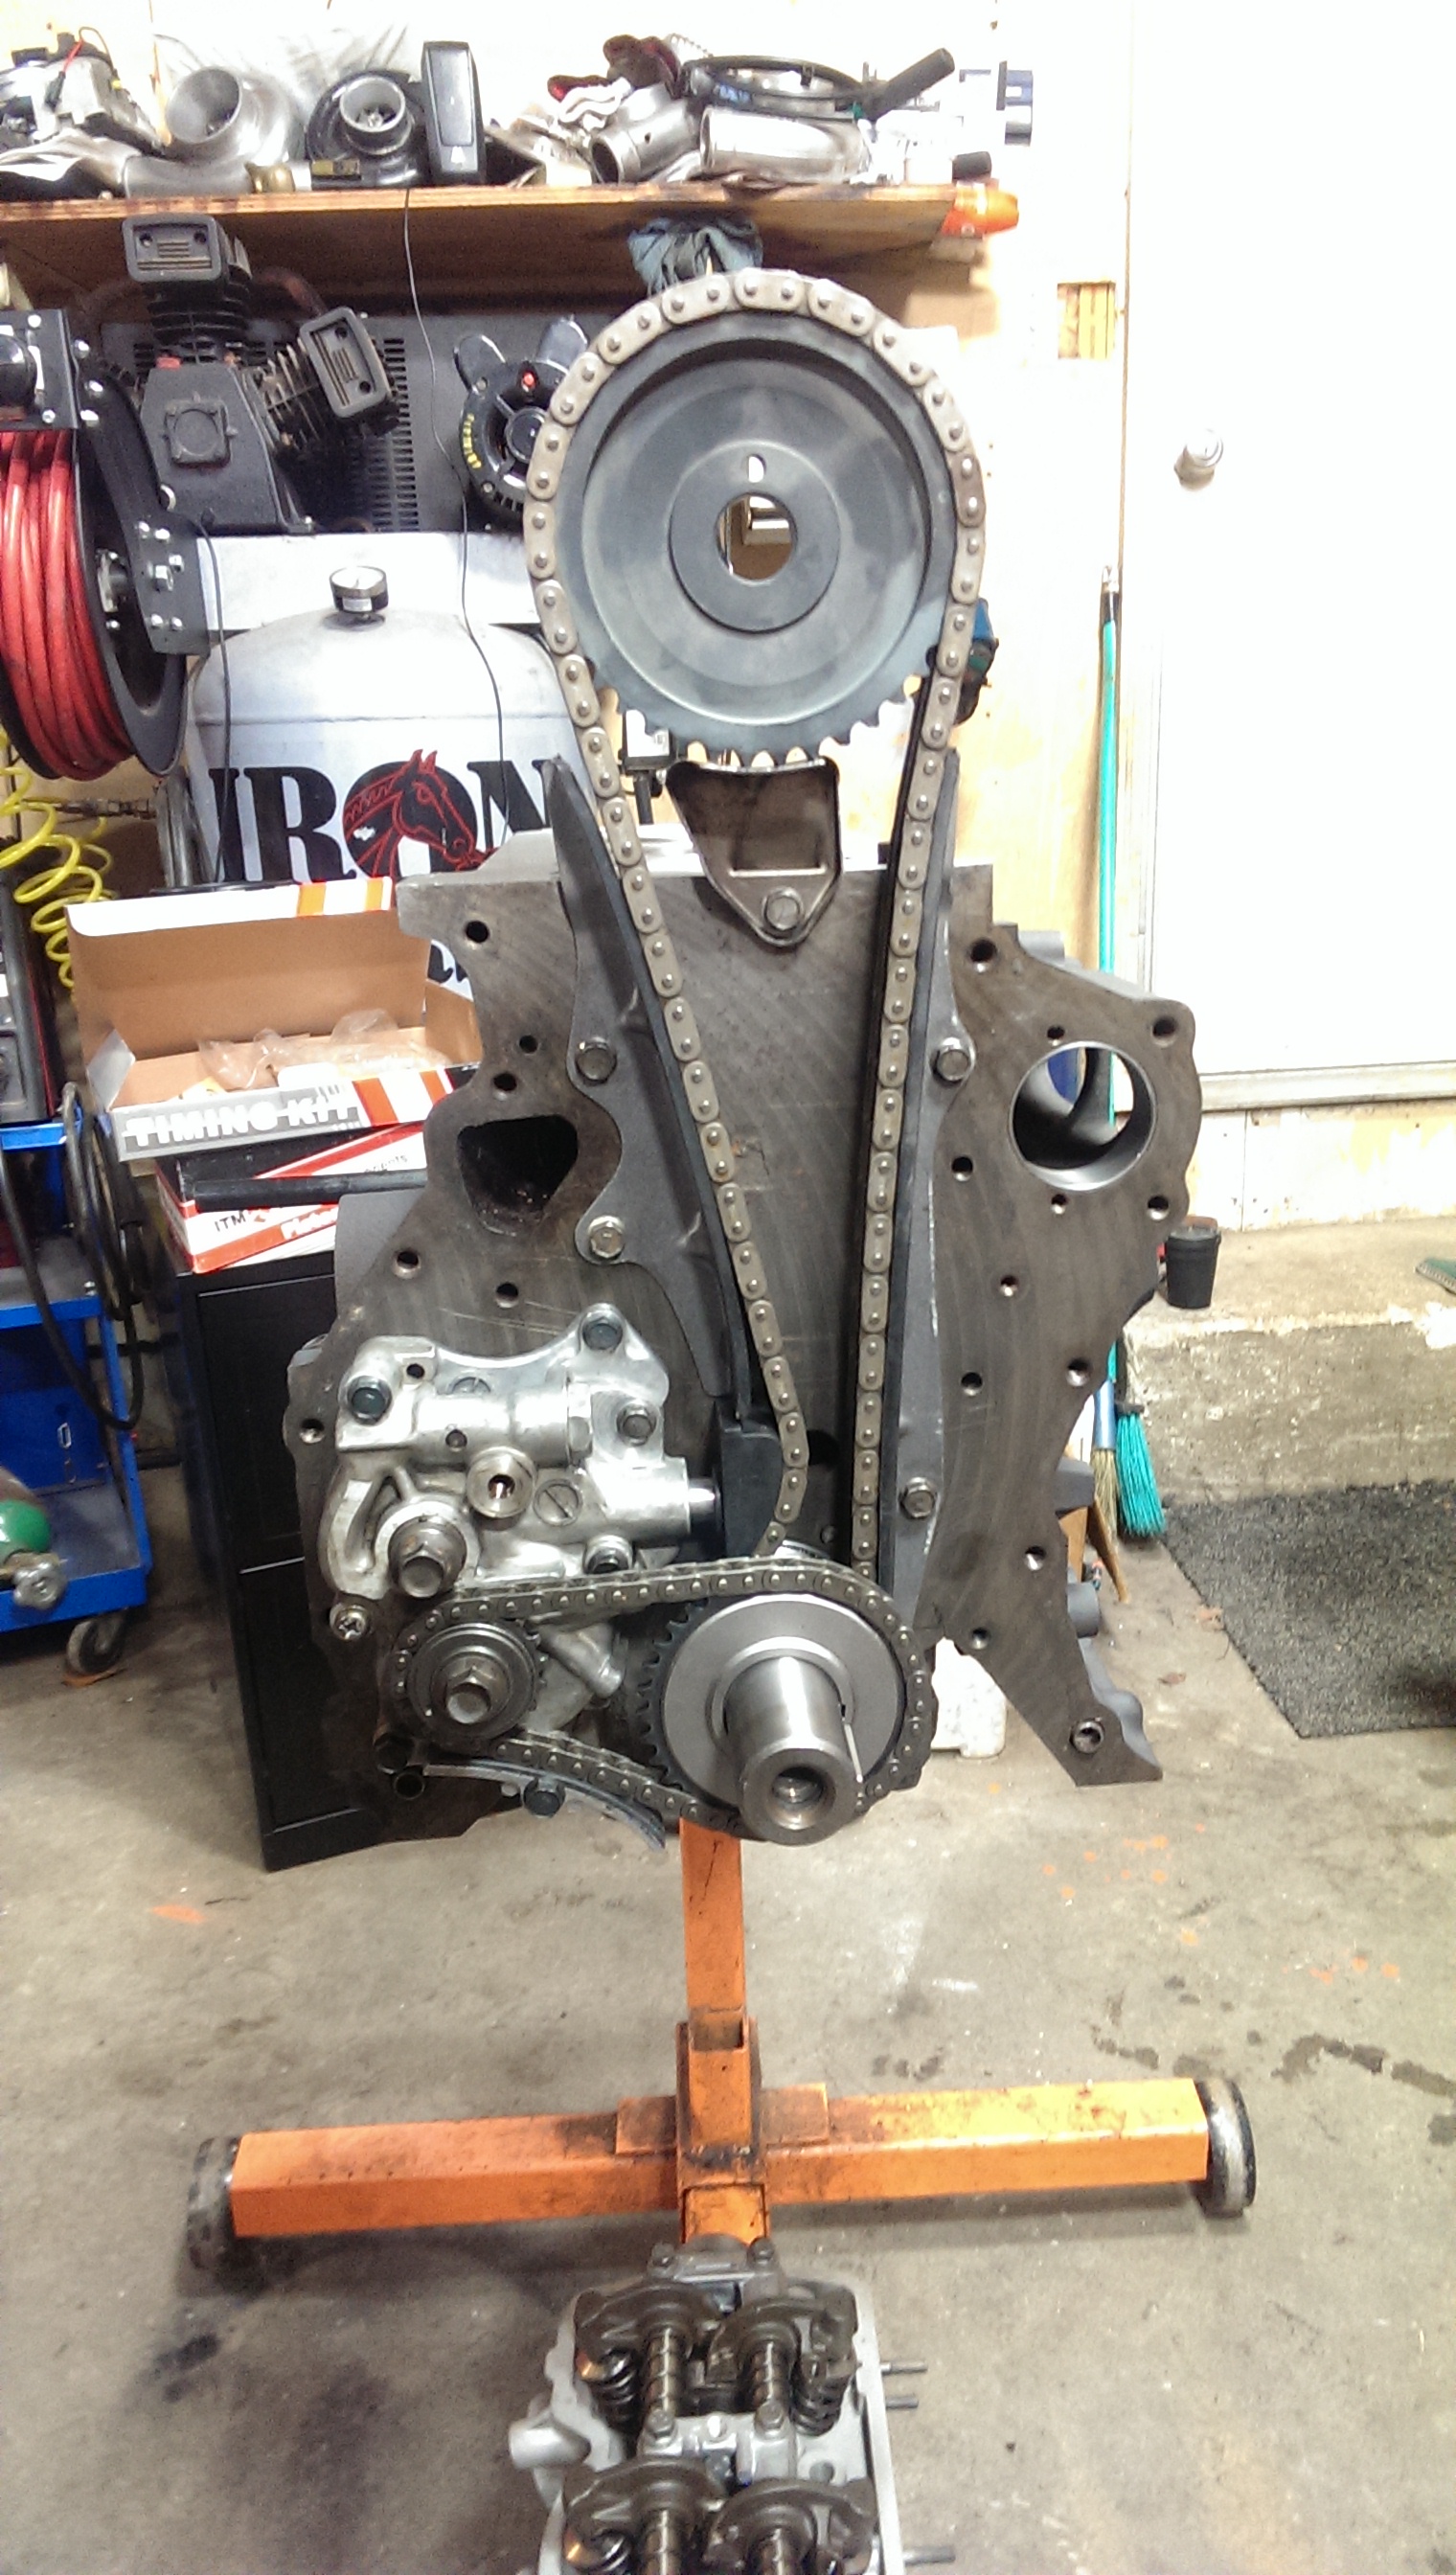
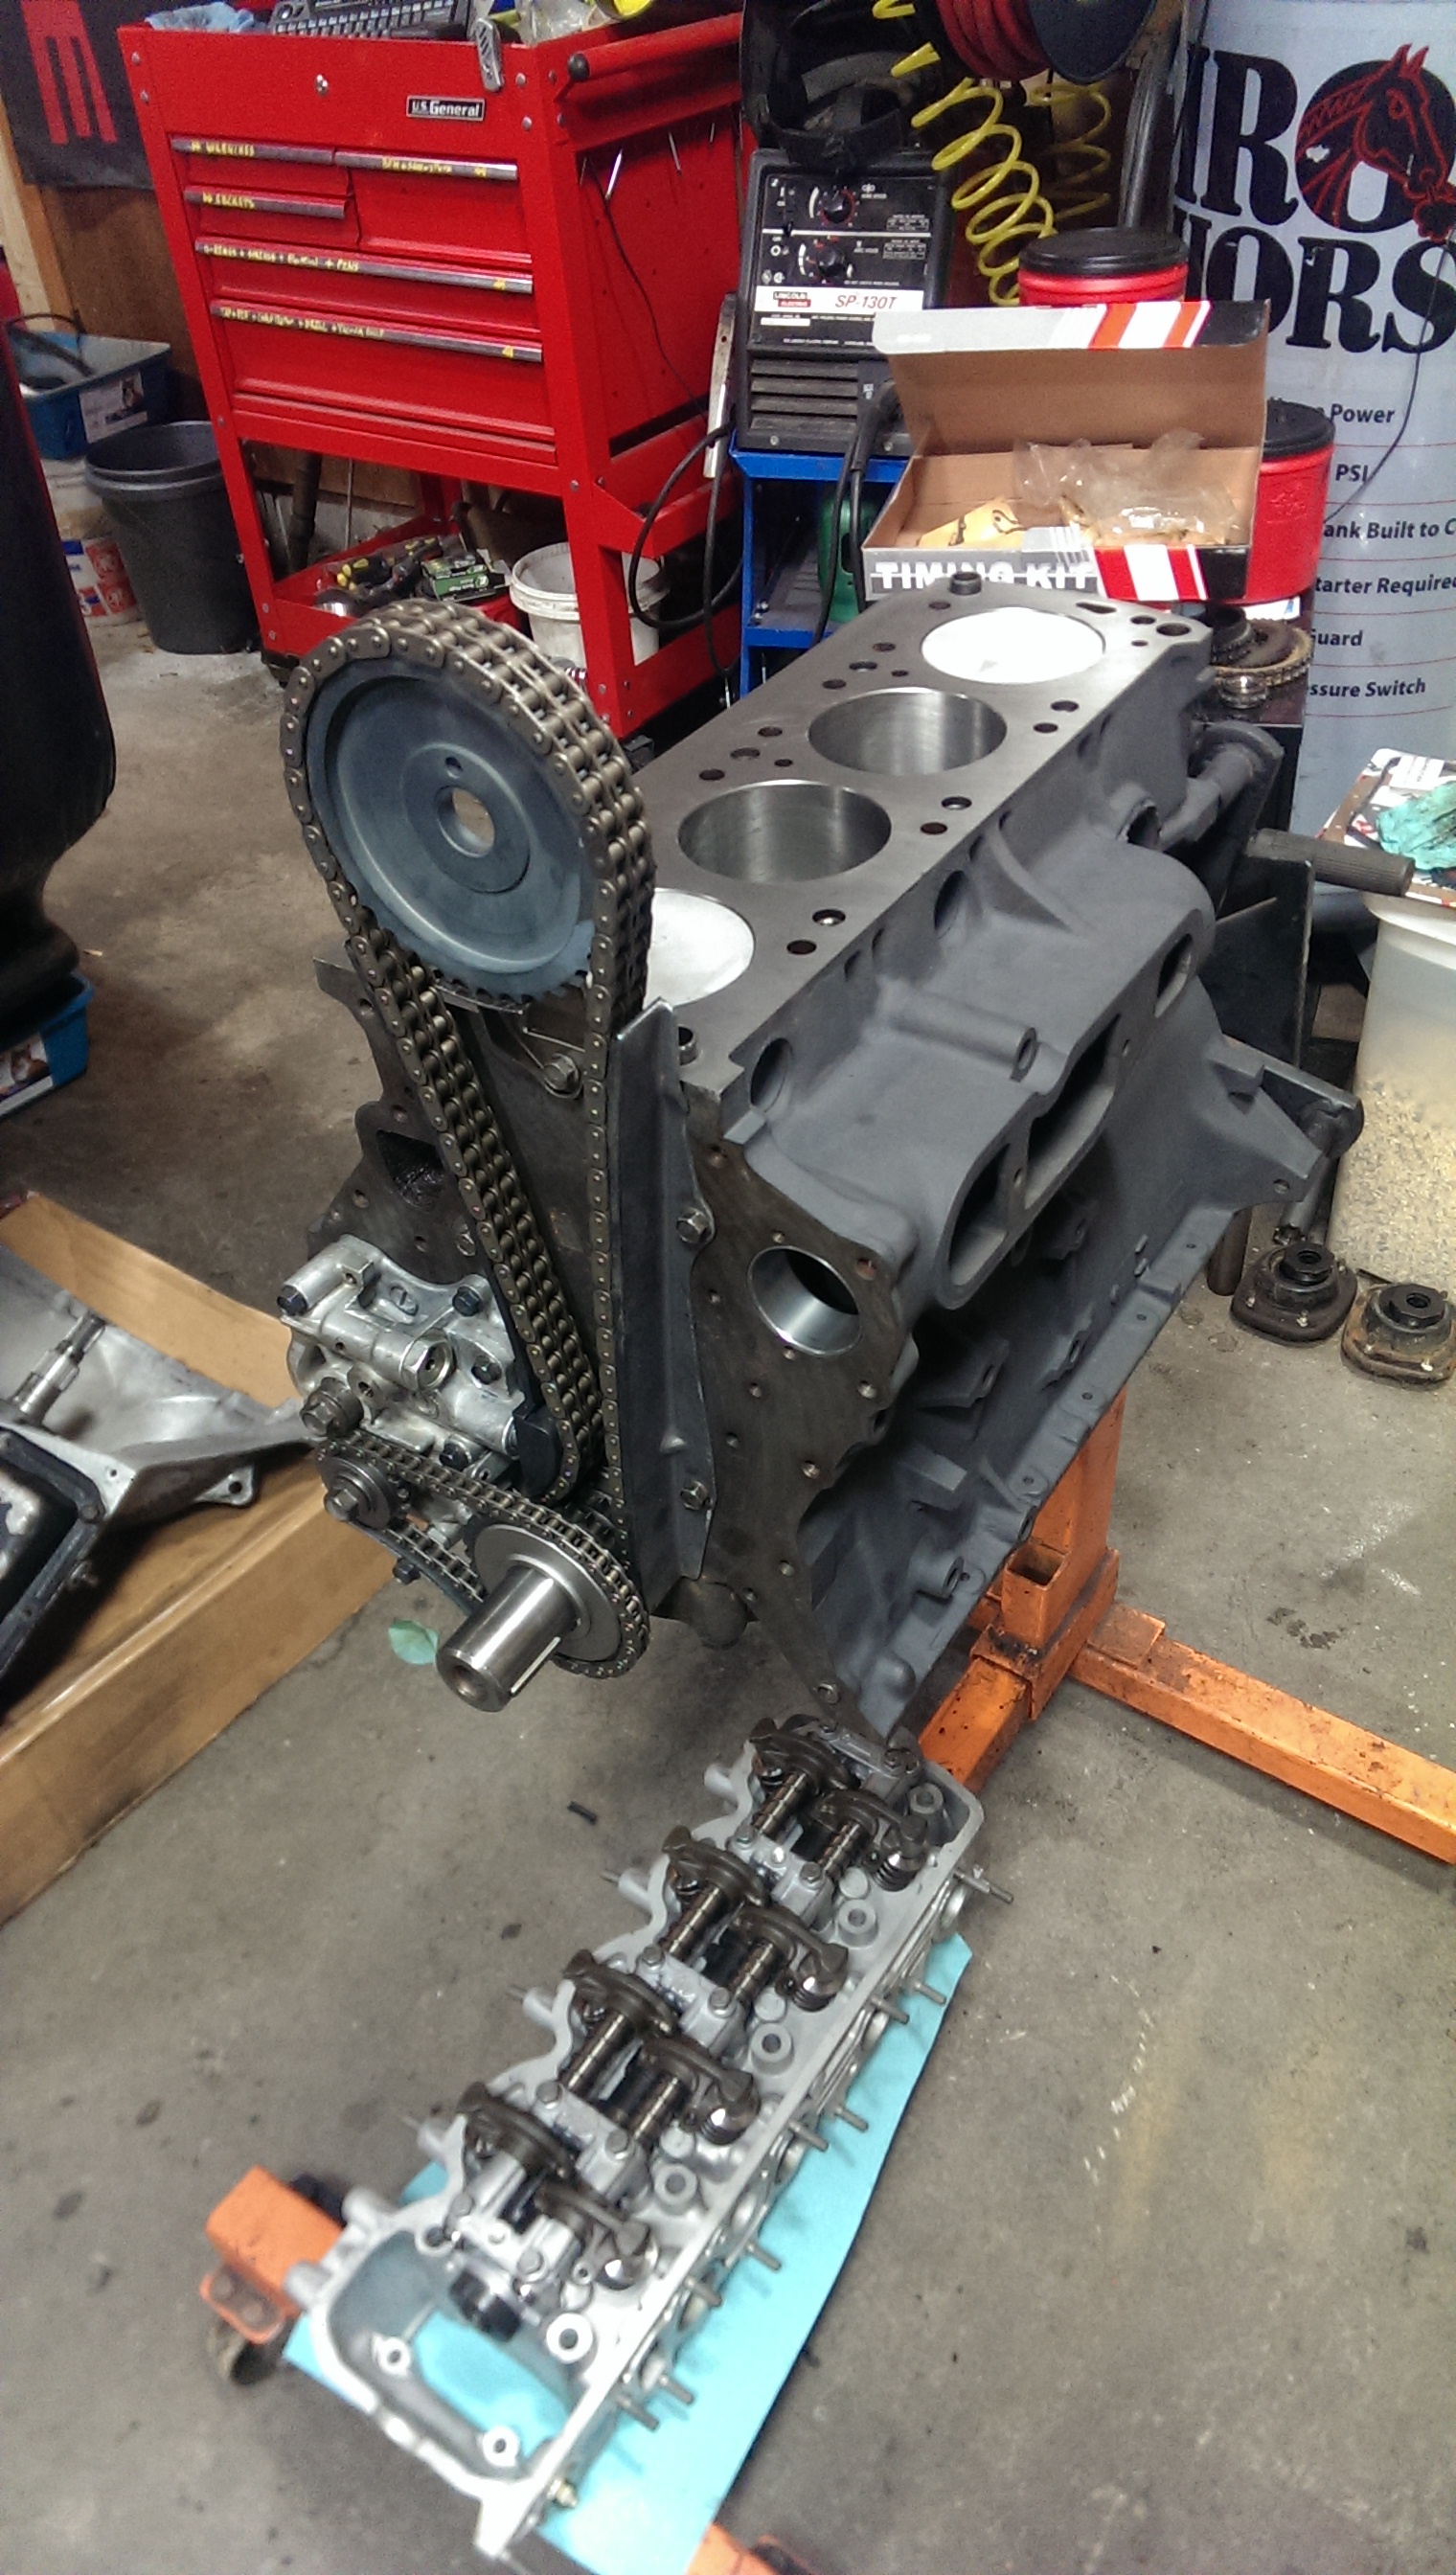
The last thing I did, was setup the timing components.
It’s a little puzzle in itself, just because you have to align key ways, pins, dots and links.
Oh the joy.
